
 Save
Save
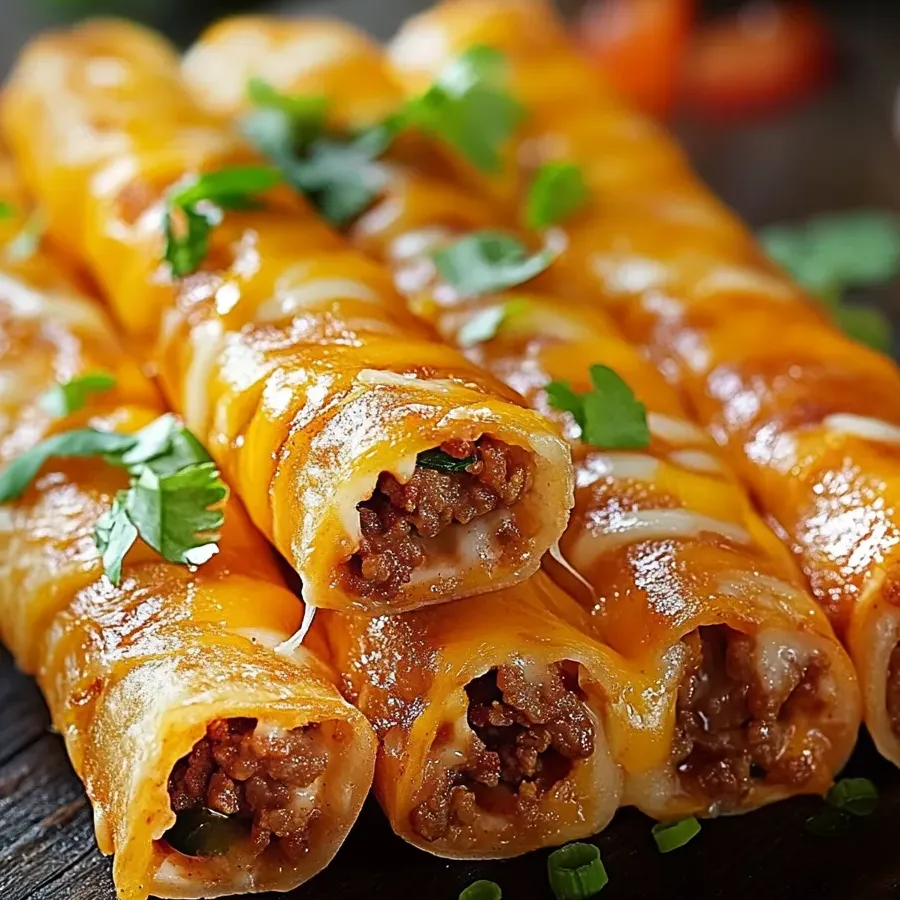
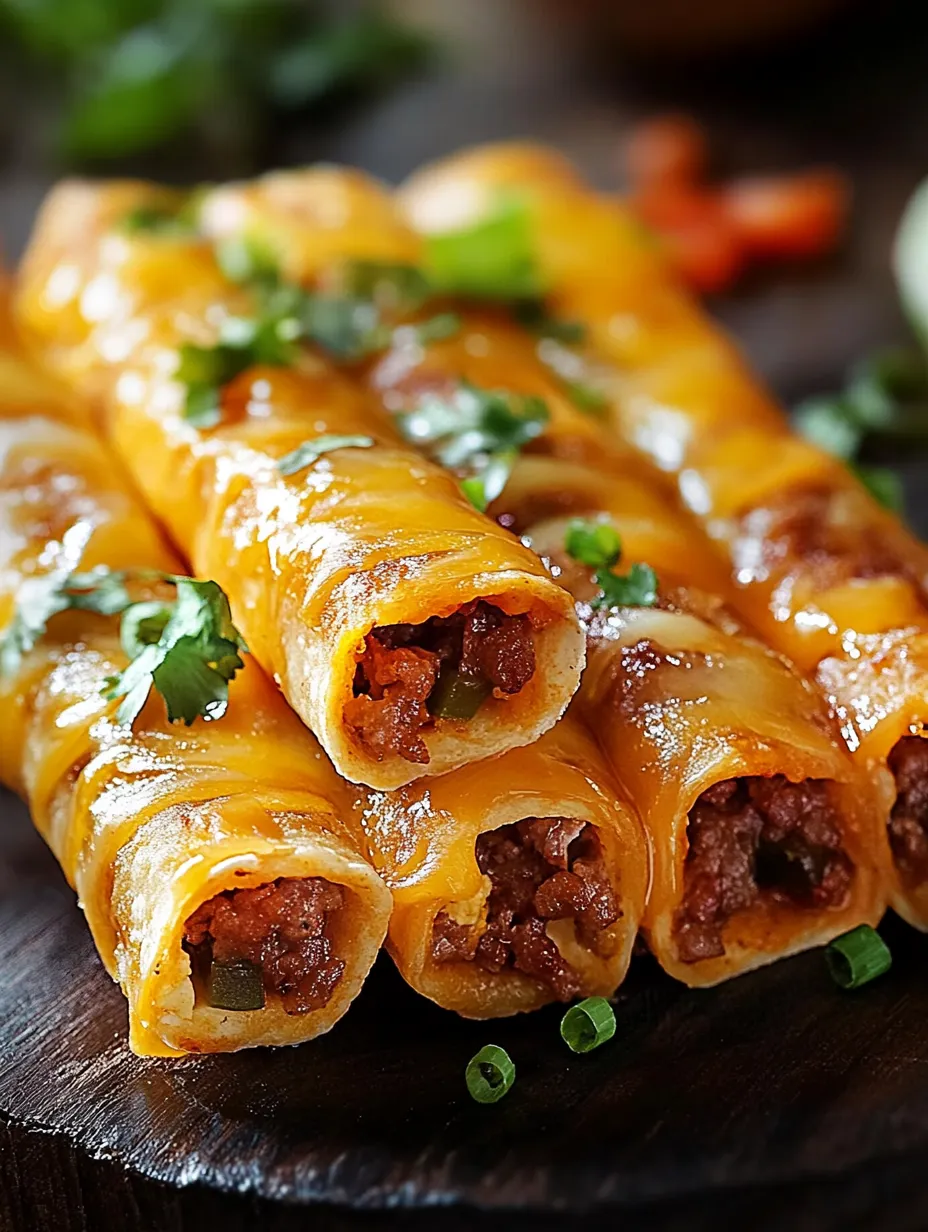
This cheesy taco stick recipe transforms simple ingredients into an irresistible snack that disappears within minutes at any gathering. The combination of seasoned beef, melty cheese, and buttery garlic coating creates a portable version of everyone's favorite taco flavors in a fun, dippable format.
I first made these taco sticks for my nephew's birthday party as an alternative to the usual pizza rolls. They were such a hit that they've become my go to contribution for potlucks and the first thing my family requests when watching Sunday football games.
Ingredients
- Ground beef: delivers hearty protein and takes on the taco seasoning beautifully
- Taco seasoning mix: saves time while providing authentic Mexican flavor profile
- Pillsbury Pizza Dough: creates a perfect golden exterior that's both crispy and soft
- Cheese sticks: the combination of colby jack and cheddar provides optimal meltiness
- Butter: enhances browning and creates an irresistible garlic herb coating
- Garlic powder: adds aromatic depth to the exterior without overwhelming
- Dried parsley: brings a subtle freshness that balances the rich filling
Step-by-Step Instructions
- Preheat and Prepare:
- Heat your oven to 400°F and line a baking sheet with parchment paper. This temperature creates the perfect environment for browning the dough while melting the cheese inside. The parchment prevents any cheese that might leak from sticking permanently to your pan.
- Brown the Meat:
- Cook ground beef in a skillet over medium heat until completely browned, breaking it into small crumbles with your spoon. Be sure to drain excess fat carefully to prevent greasy taco sticks. Add the taco seasoning according to package directions, ensuring the meat is evenly coated for consistent flavor in every bite.
- Prepare the Dough:
- Roll out the pizza dough on a lightly floured work surface and cut into 10 equal rectangles. Work quickly as the dough becomes harder to manage as it warms to room temperature. If the dough feels too sticky, dust your hands with a bit of flour for easier handling.
- Assemble the Sticks:
- Place a portion of seasoned beef onto each rectangle, keeping it centered but leaving about half an inch around the edges. Lay a halved cheese stick on top of the meat, then roll the dough around the filling, pinching all seams firmly to create a tight seal. Place seam side down on your prepared baking sheet to prevent unraveling during baking.
- Create Flavor Coating:
- Mix melted butter, garlic powder and dried parsley in a small bowl until well combined. Use a pastry brush to generously coat each taco stick with this mixture, ensuring even coverage for maximum flavor and beautiful browning.
- Bake to Perfection:
- Bake for 12 to 15 minutes, watching carefully toward the end. The taco sticks should be golden brown with slightly darker edges when done. Some cheese might bubble out slightly, which creates deliciously crispy spots.
- Rest and Serve:
- Allow the taco sticks to cool for 3 to 5 minutes before serving. This brief rest allows the cheese to set slightly so it doesn't immediately flow out when bitten. Arrange on a serving platter alongside your favorite dipping options.
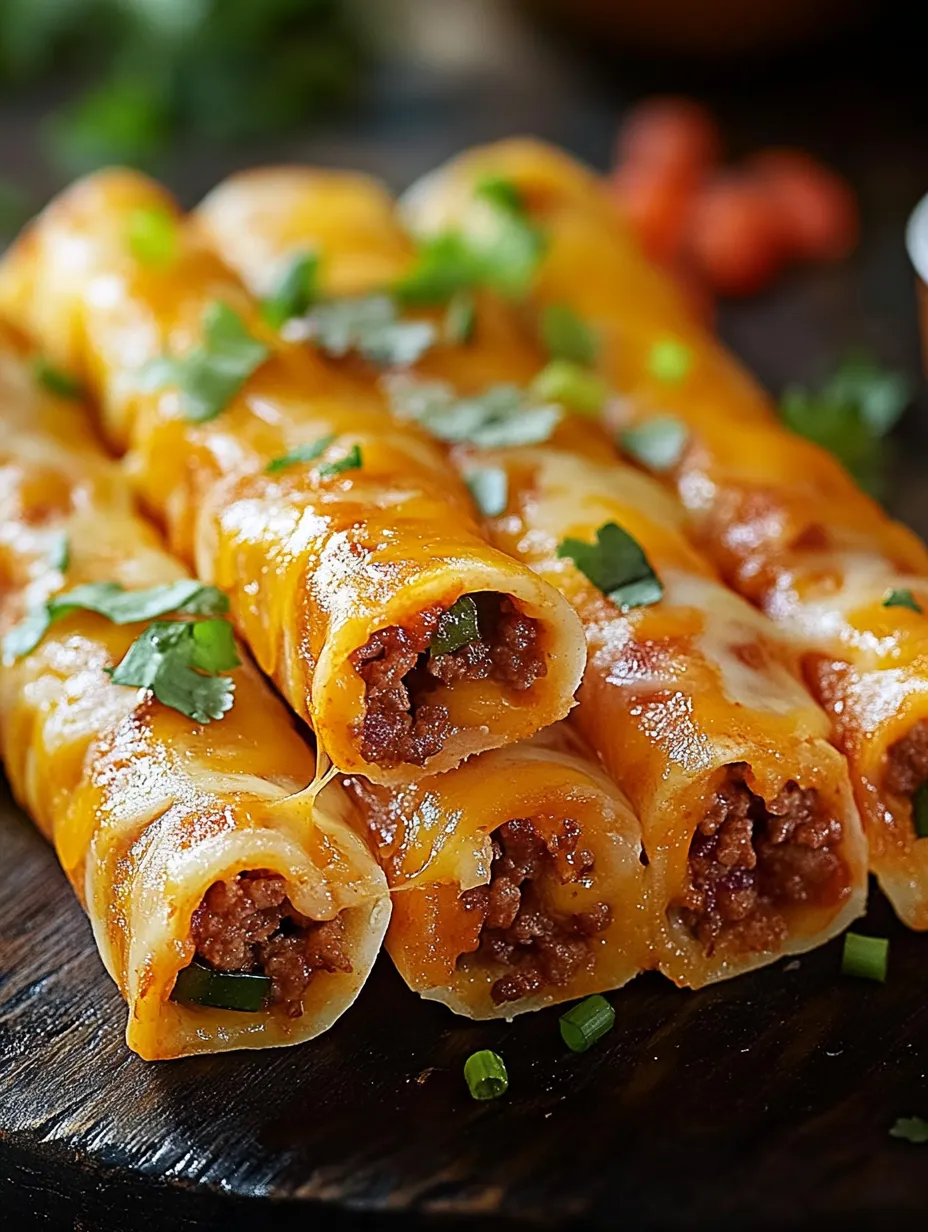
The seasoned butter coating is what truly transforms these taco sticks from good to exceptional. My daughter once called them disrespectful because they were too delicious to stop eating. I now keep cheese sticks and pizza dough on hand specifically for those nights when we need comfort food in a hurry.
Make Ahead Options
These taco sticks can be fully assembled up to 24 hours in advance and kept refrigerated before baking. Simply prepare through the assembly stage, cover tightly with plastic wrap, and refrigerate. When ready to bake, brush with the butter mixture and add an extra 2 minutes to the baking time since they'll be starting cold.
Customization Ideas
The basic recipe provides an excellent foundation for countless variations. Try using ground turkey or chicken for a lighter option, or substitute vegetarian crumbles for a meatless version. For breakfast taco sticks, use scrambled eggs, breakfast sausage and cheese with a sprinkle of taco seasoning. The pizza dough works beautifully with any filling that isn't overly wet.
Perfect Pairings
Serve these taco sticks with an array of dipping options to elevate the experience. Classic choices include salsa, guacamole, and sour cream, but don't overlook enchilada sauce, queso dip, or even ranch dressing. For a complete meal, pair with a simple side salad dressed with lime vinaigrette to balance the richness of the taco sticks.
Frequently Asked Cooking Questions
- → Can I make these taco sticks ahead of time?
Yes! Prepare them up to the baking step, then refrigerate for up to 24 hours. When ready to serve, brush with the garlic butter mixture and bake, adding 2-3 minutes to the cooking time since they'll be cold.
- → What can I substitute for ground beef?
Ground turkey, chicken, or plant-based meat alternatives work well. You could also use refried beans or black beans for a vegetarian option. Just ensure the filling isn't too wet to prevent soggy dough.
- → Can I freeze these taco sticks?
Absolutely! Freeze them unbaked on a baking sheet until solid, then transfer to a freezer bag. Bake from frozen at 400°F for 18-20 minutes or until golden brown and heated through.
- → What dipping sauces work best with these?
Classic pairings include salsa, guacamole, and sour cream. Ranch dressing, nacho cheese sauce, or a spicy sriracha mayo also complement the flavors wonderfully.
- → Can I use crescent roll dough instead of pizza dough?
Yes, crescent roll dough makes a good substitute. Press the perforations together before cutting into rectangles. The result will be slightly flakier but equally delicious.
- → How do I prevent the cheese from leaking out during baking?
Make sure to seal the edges very well by pinching firmly. Place the sticks seam-side down on the baking sheet, and don't overfill with beef. You can also chill the assembled sticks for 15 minutes before baking to help seal.