
 Save
Save
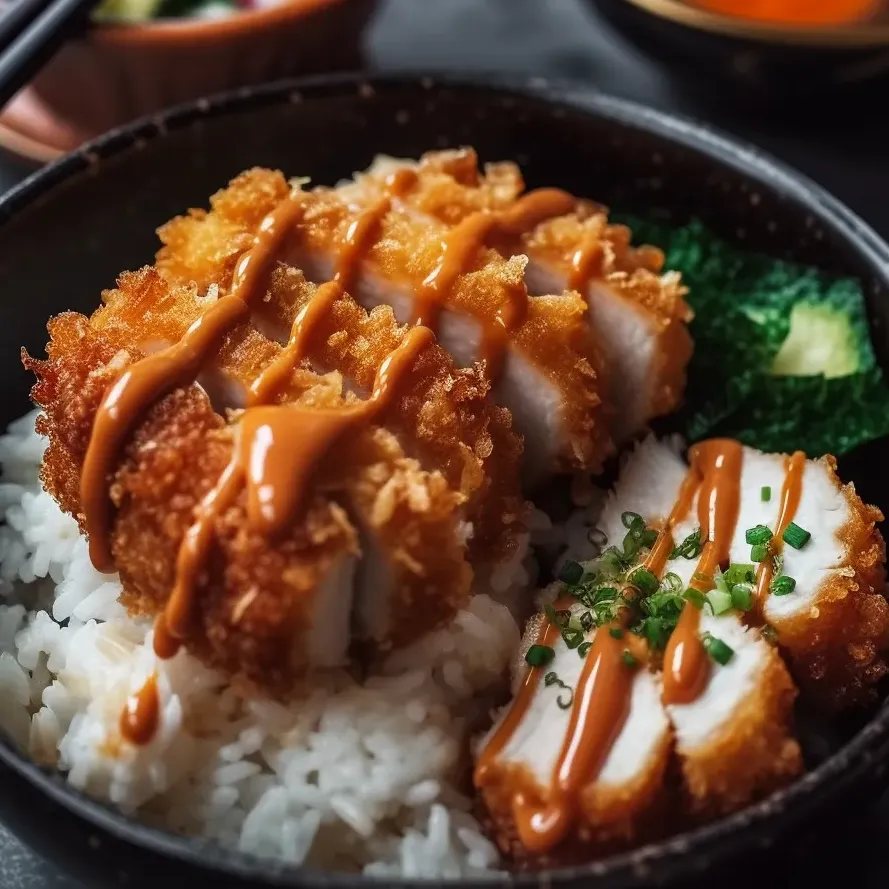
This Japanese comfort food has transformed my weeknight dinners with its perfect balance of crispy cutlets and savory-sweet sauce. The contrast between the crunchy exterior and tender meat creates a satisfying meal that brings restaurant quality right to your home table.
I discovered katsu bowls during my first trip to Japan and have been perfecting this recipe ever since. My family now requests it weekly its become our Friday night tradition that everyone looks forward to.
Ingredients
- Boneless chicken breasts or pork loin cutlets: choose meat that has some marbling for the juiciest results
- Panko breadcrumbs: the Japanese style breadcrumbs create that signature ultra crispy texture that regular breadcrumbs cant match
- All purpose flour: helps the egg adhere and creates the foundation for your coating
- Large eggs: provides the essential binding that makes panko stick perfectly
- White rice: preferably sushi rice for its perfect sticky texture that pairs beautifully with the katsu
- Tonkatsu sauce: the sweet tangy sauce that makes this dish truly special
- Frying oil: vegetable or canola oils high smoke point makes it ideal for achieving that golden crust
- Fresh herbs: optional but adds brightness and color to the finished dish
Step-by-Step Instructions
- Prepare the Meat:
- Pound chicken breasts or pork cutlets to approximately half inch thickness using a meat mallet or rolling pin. This ensures even cooking and tender results. Season both sides generously with salt and pepper allowing the flavors to penetrate the meat.
- Set Up Breading Station:
- Arrange three shallow bowls in sequence. Place flour in the first bowl beaten eggs in the second and panko breadcrumbs in the third. This assembly line approach makes the breading process efficient and less messy. Keep one hand for dry ingredients and one for wet to prevent clumping.
- Bread the Cutlets:
- Take each seasoned cutlet and coat thoroughly in flour shaking off excess. Dip completely in beaten egg allowing extra to drip off. Finally press firmly into panko breadcrumbs ensuring an even coating on all sides. The panko should completely cover the meat with no bare spots visible.
- Fry to Perfection:
- Heat oil in a large skillet until it reaches about 350°F. The ideal depth is about half inch of oil. Test readiness by sprinkling a few breadcrumbs if they sizzle immediately the oil is ready. Cook chicken for 3 to 4 minutes per side or pork for 2 to 3 minutes until deeply golden brown and cooked through. The internal temperature should reach 165°F for chicken or 145°F for pork.
- Assemble Your Bowls:
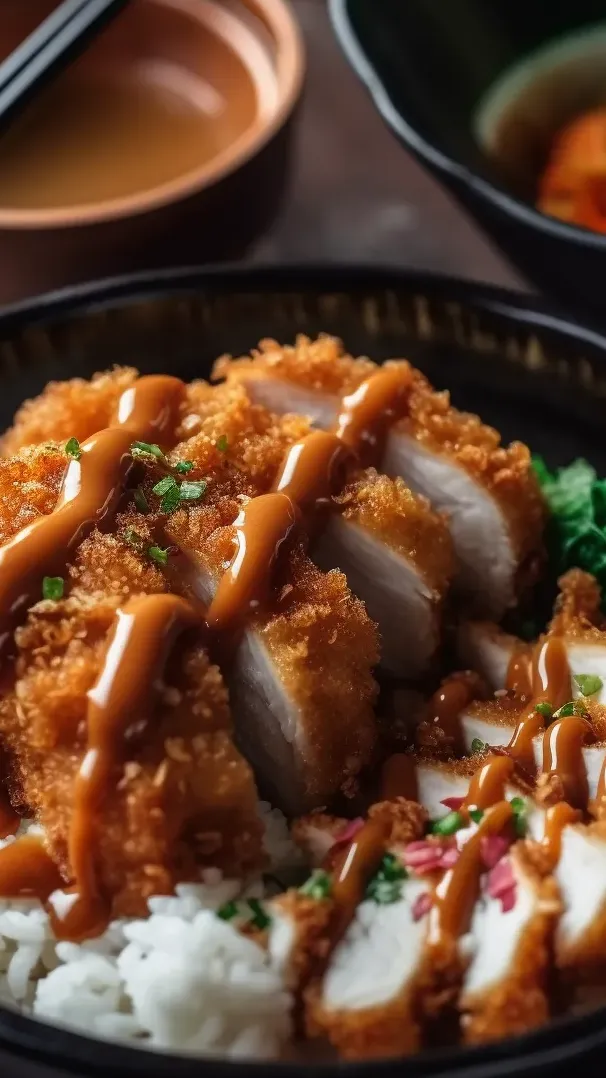
- Layer fluffy cooked rice in each serving bowl. Slice the crispy katsu into strips and arrange attractively over the rice. Drizzle generously with tonkatsu sauce allowing it to cascade over the cutlet and slightly into the rice. Garnish with fresh herbs if desired for a pop of color and freshness.
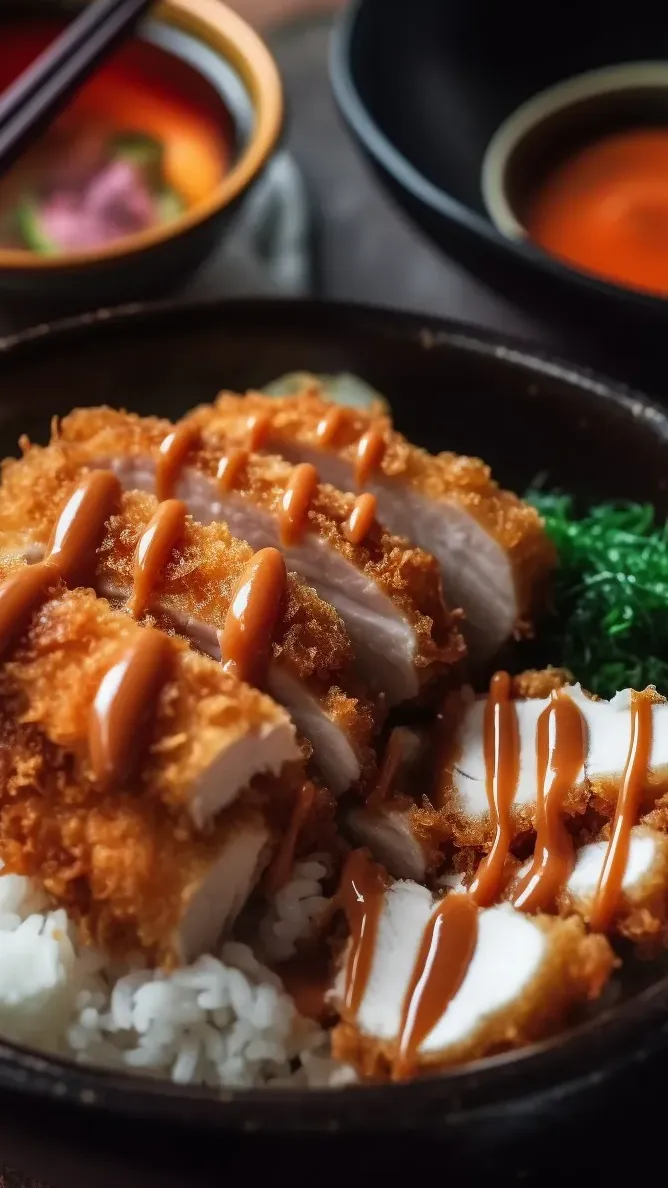
My absolute favorite part of this recipe is the moment you bite through that shatteringly crisp coating into the juicy meat beneath. Its that textural contrast that makes katsu so addictive. I still remember the first time I had this in a tiny restaurant in Tokyo where the chef spent decades perfecting just this dish.
Making Homemade Tonkatsu Sauce
While store bought options work well making your own tonkatsu sauce elevates this dish to new heights. The perfect balance comes from the sweet tanginess of ketchup combined with the umami depth of Worcestershire and soy sauce. You can adjust the sweetness by varying the sugar amount. Some families even add grated apple for natural sweetness and complexity. The sauce will keep in the refrigerator for up to two weeks in an airtight container making it worth the small effort to prepare a larger batch.
Perfect Rice Technique
The foundation of any great katsu bowl is properly cooked rice. For authentic results rinse your sushi rice several times until the water runs clear which removes excess starch. Use a 1:1.1 ratio of rice to water and let it rest covered for 10 minutes after cooking. This resting period allows the moisture to distribute evenly throughout the grains resulting in that perfect sticky yet fluffy texture that complements the crispy katsu beautifully.
Katsu Bowl Variations
While the traditional katsu bowl features rice and cutlets there are countless ways to personalize this dish. Try adding shredded cabbage for freshness and crunch the traditional Japanese way. For a complete meal incorporate some quick pickled vegetables or kimchi for acidity. Many Japanese families serve katsu with curry sauce instead of tonkatsu sauce creating the beloved katsu curry. For a lighter version bake the breaded cutlets at 400°F for 20 minutes instead of frying.
Frequently Asked Cooking Questions
- → Can I bake the katsu instead of frying?
Yes! For a lighter version, spray or brush the breaded cutlets with oil and bake at 400°F (200°C) for about 20-25 minutes, flipping halfway through, until golden and cooked through. The texture won't be quite as crispy as fried, but still delicious.
- → What can I serve with katsu bowls?
Traditional sides include shredded cabbage salad, miso soup, pickled vegetables (tsukemono), or cucumber salad. For a complete meal, you can also add steamed vegetables like broccoli or edamame to your bowl.
- → Can I make katsu bowls ahead of time?
While the katsu is best served immediately after frying to maintain crispiness, you can prepare the cutlets up to the breading stage and refrigerate for several hours before cooking. The tonkatsu sauce can be made up to a week ahead and stored in the refrigerator.
- → What's the difference between chicken katsu and tonkatsu?
The main difference is the protein used - chicken katsu uses chicken cutlets while tonkatsu specifically refers to breaded pork cutlets. The preparation method, breading, and sauce are generally the same for both versions.
- → Is there a gluten-free option for katsu?
Yes, you can make gluten-free katsu by substituting the all-purpose flour with rice flour or gluten-free flour blend, and using gluten-free panko breadcrumbs. Also ensure your Worcestershire and soy sauce are gluten-free varieties when making the tonkatsu sauce.
- → How do I know when the oil is ready for frying?
If you don't have a thermometer, drop a few panko breadcrumbs into the oil. If they sizzle immediately and float to the surface, your oil is ready (around 350°F/175°C). If they sink or burn quickly, adjust your heat accordingly.