
 Save
Save
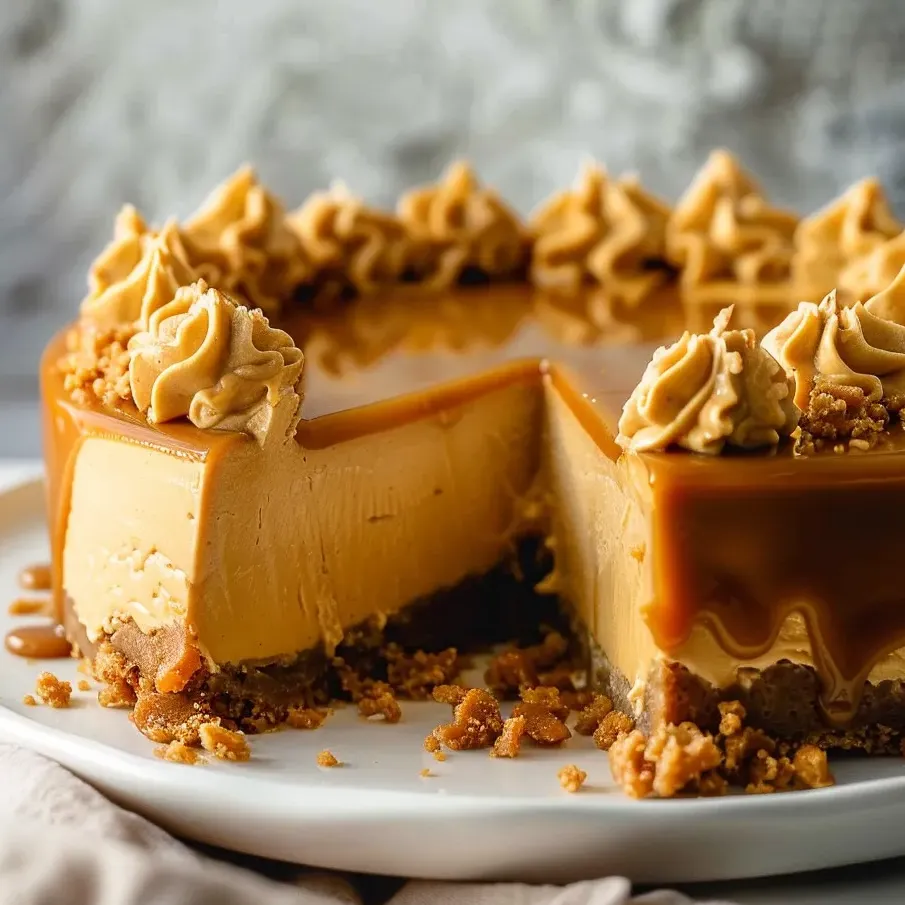
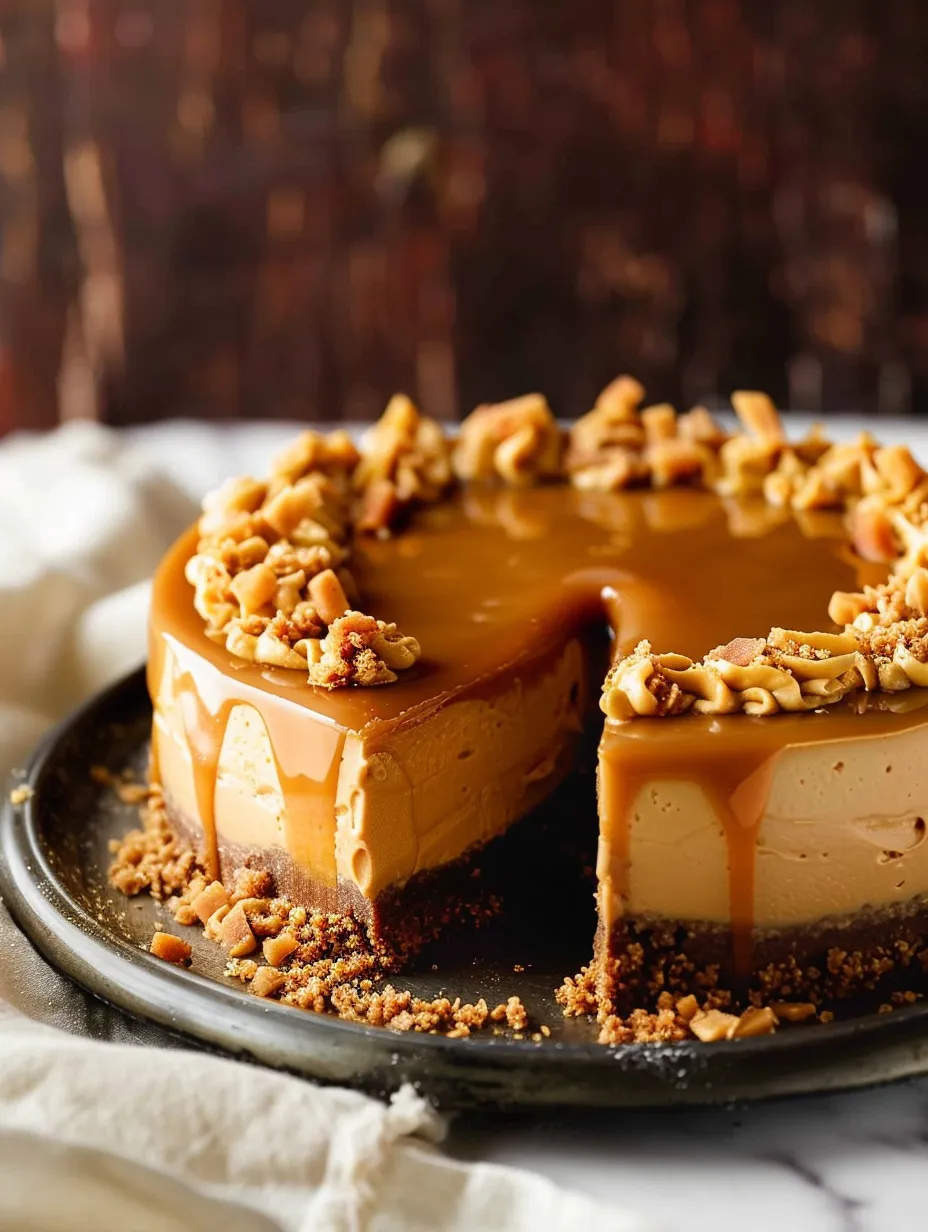
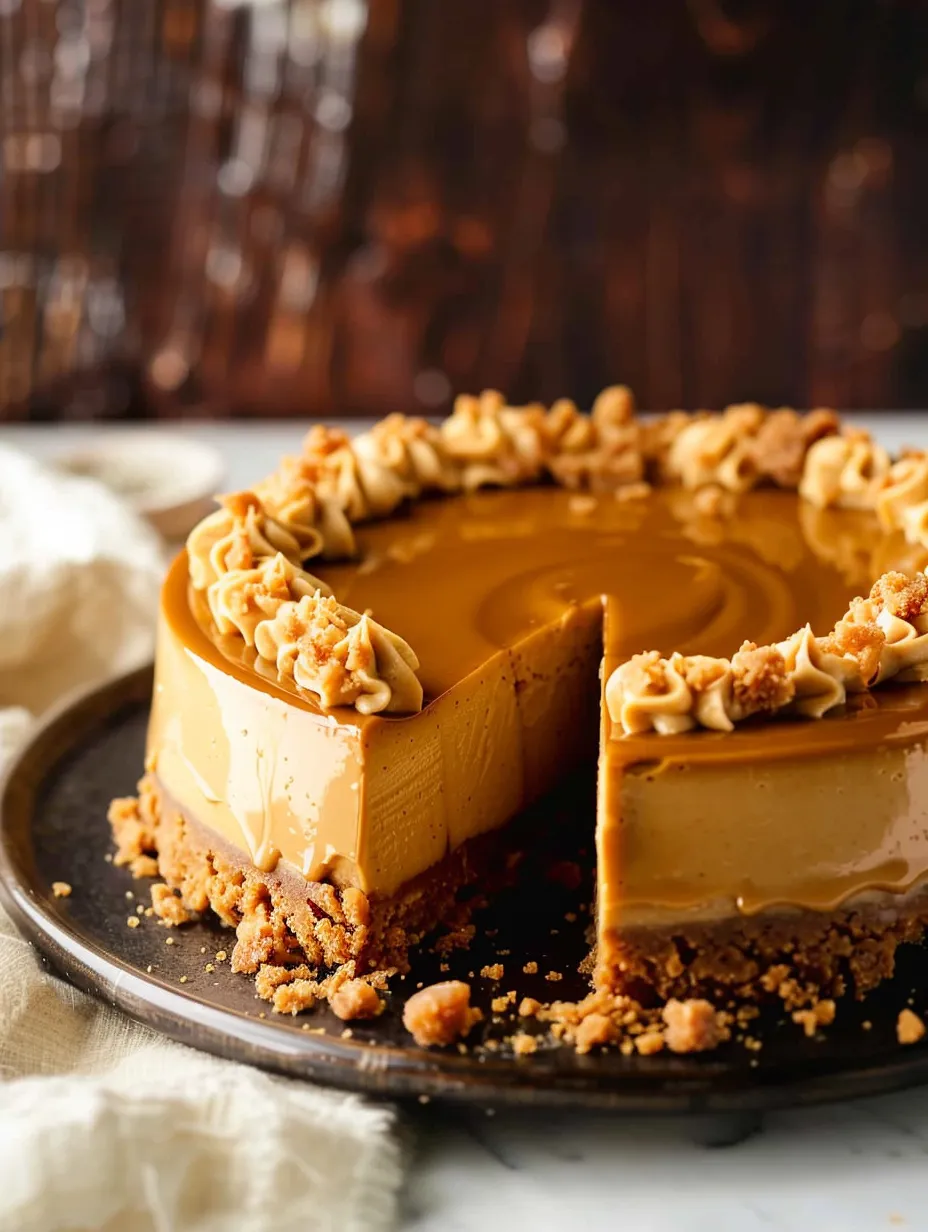
This indulgent butterscotch cheesecake transforms plain cream cheese into a rich dessert that will make your taste buds dance with joy. The butterscotch chips infuse every bite with a warm caramel flavor that pairs perfectly with the graham cracker crust.
I first created this cheesecake for my daughter's birthday when she requested something different than the usual chocolate cake. The way her eyes lit up with the first bite made this recipe an instant family classic that we now make for every special occasion.
Ingredients
- Graham cracker crumbs: Create the perfect crunchy base for this creamy dessert
- Butterscotch chips: Add that signature caramel flavor throughout the filling and topping
- Cream cheese: Provides the rich foundation; look for full fat blocks for the best texture
- Brown sugar: Enhances the butterscotch flavor with its molasses notes
- Sour cream: Adds tanginess to balance the sweetness
- Vanilla extract: Brings warmth and depth to the filling
- Heavy cream: Helps create the silky smooth butterscotch drizzle
Step-by-Step Instructions
- Prepare the crust:
- Combine the graham cracker crumbs with melted butter and granulated sugar until every crumb is moistened. The mixture should hold together when pressed. Pack it firmly into your springform pan using a flat bottomed measuring cup to create an even compact base. Bake just until fragrant and slightly golden around the edges. This short bake time ensures your crust will hold together when sliced.
- Create the filling:
- Beat the cream cheese until completely smooth before adding any other ingredients. This is crucial to avoid lumps in your final cheesecake. Incorporate the brown sugar and beat until the mixture is light and fluffy. Add eggs one at a time allowing each to fully incorporate before adding the next. Scrape down the sides and bottom of your bowl frequently during this process to ensure everything is evenly mixed. Fold in the butterscotch chips using a gentle hand to maintain the air incorporated during mixing.
- Water bath baking:
- Wrap your springform pan meticulously with aluminum foil ensuring there are no gaps where water could seep in. Place in a larger roasting pan and add hot water halfway up the sides. This water bath method prevents cracking by providing gentle even heat around your cheesecake. Bake until the edges are set but the center still jiggles slightly like firm Jello. The slow cooling with the oven door cracked prevents the dramatic temperature change that can cause cracks.
- Final touches:
- Allow your cheesecake to cool completely before refrigerating for at least 6 hours or preferably overnight. This resting time lets the flavors meld and the texture set perfectly. For the topping heat butterscotch chips with heavy cream using short bursts in the microwave stirring between each until completely smooth. Let it cool slightly before drizzling over your chilled cheesecake for a professional looking finish.
One summer when the power went out during a thunderstorm I was in the middle of making this cheesecake. Rather than giving up I finished mixing by hand and baked it on our gas grill using indirect heat. The slightly smoky undertone actually enhanced the butterscotch flavor making it even more memorable.
Preventing Cheesecake Cracks
The water bath method is your best defense against cracks but there are additional precautions you can take. Make sure all ingredients are at room temperature before mixing to ensure smooth incorporation. Avoid overmixing after adding the eggs which can introduce too much air. After baking allow the cheesecake to cool gradually in the turned off oven with the door slightly open then at room temperature before refrigerating. This slow temperature transition prevents the sudden contraction that causes cracks.
Creative Variations
Transform this basic butterscotch cheesecake by adding complementary flavors. Try mixing crushed Biscoff cookies into the crust for a spiced caramel note. For a salted butterscotch version add a teaspoon of sea salt to the filling and sprinkle flaky salt on top. Create a chocolate butterscotch version by adding 1/4 cup cocoa powder to the filling or swirl in some dark chocolate ganache before baking. For special occasions layer thin slices of caramelized bananas between the crust and filling for a banoffee inspired treat.
Make It Mini
Turn this recipe into individual portions by using a muffin tin lined with paper liners or small mason jars. Reduce the baking time to about 20 minutes or until the centers just slightly jiggle. These mini versions are perfect for portion control and make wonderful gifts. They also freeze beautifully so you can always have dessert ready for unexpected guests. For an elegant presentation top each mini cheesecake with a single butterscotch chip and a small edible gold leaf.
Frequently Asked Cooking Questions
- → Why do you bake this cheesecake in a water bath?
A water bath creates a humid environment in the oven that allows the cheesecake to bake more evenly and prevents the top from cracking. The gentle, moist heat helps the cheesecake maintain a creamy texture throughout.
- → Can I use salted butter instead of unsalted for the crust?
Yes, you can use salted butter, but you might want to reduce or omit the additional sugar in the crust to maintain the proper flavor balance. Unsalted butter is preferred because it allows better control over the total salt content.
- → How do I know when the cheesecake is properly baked?
The cheesecake is ready when the edges are set but the center still has a slight jiggle when you gently shake the pan. It will continue to set as it cools. Overbaking can lead to a dry, cracked cheesecake.
- → Why should I leave the cheesecake in the oven with the door open?
This step allows the cheesecake to cool gradually, which helps prevent cracks from forming due to sudden temperature changes. It's a crucial technique for achieving that perfect smooth top.
- → Can I make this cheesecake without butterscotch chips?
Yes, you can substitute the butterscotch chips with chocolate chips, peanut butter chips, or caramel bits for a different flavor profile. You could also omit them entirely for a plain brown sugar cheesecake.
- → How far in advance can I make this cheesecake?
This cheesecake can be made up to 2 days in advance and stored in the refrigerator. Add the butterscotch topping just before serving for the best presentation and texture.