
 Save
Save
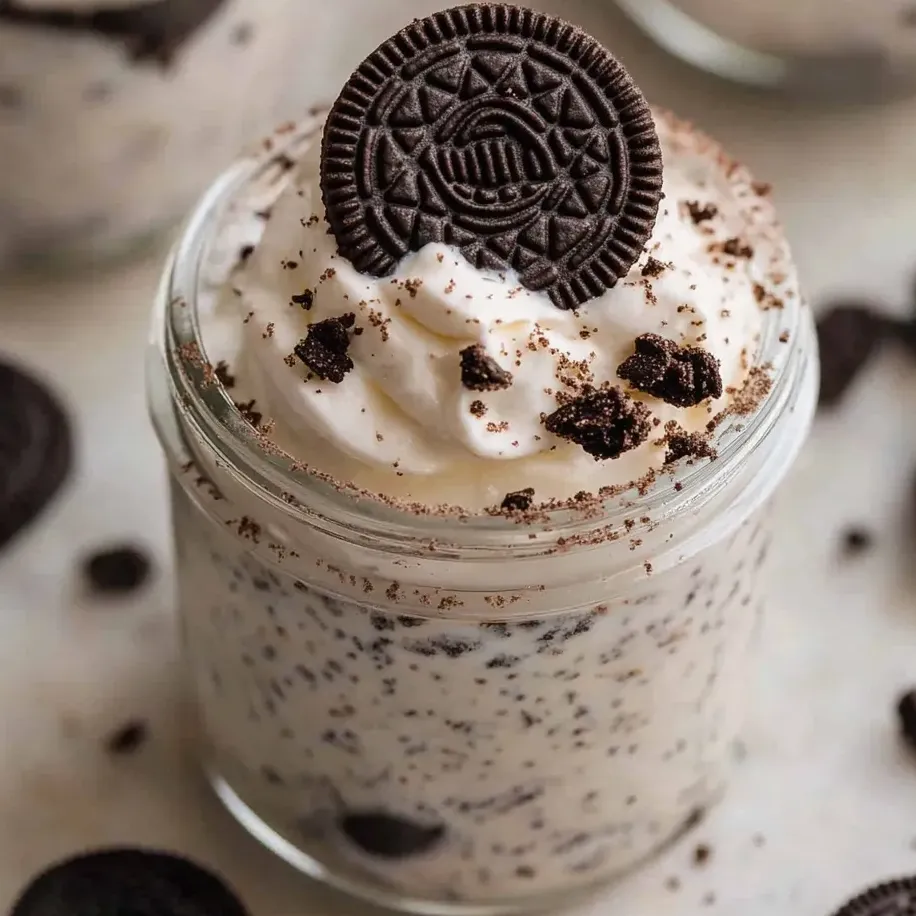
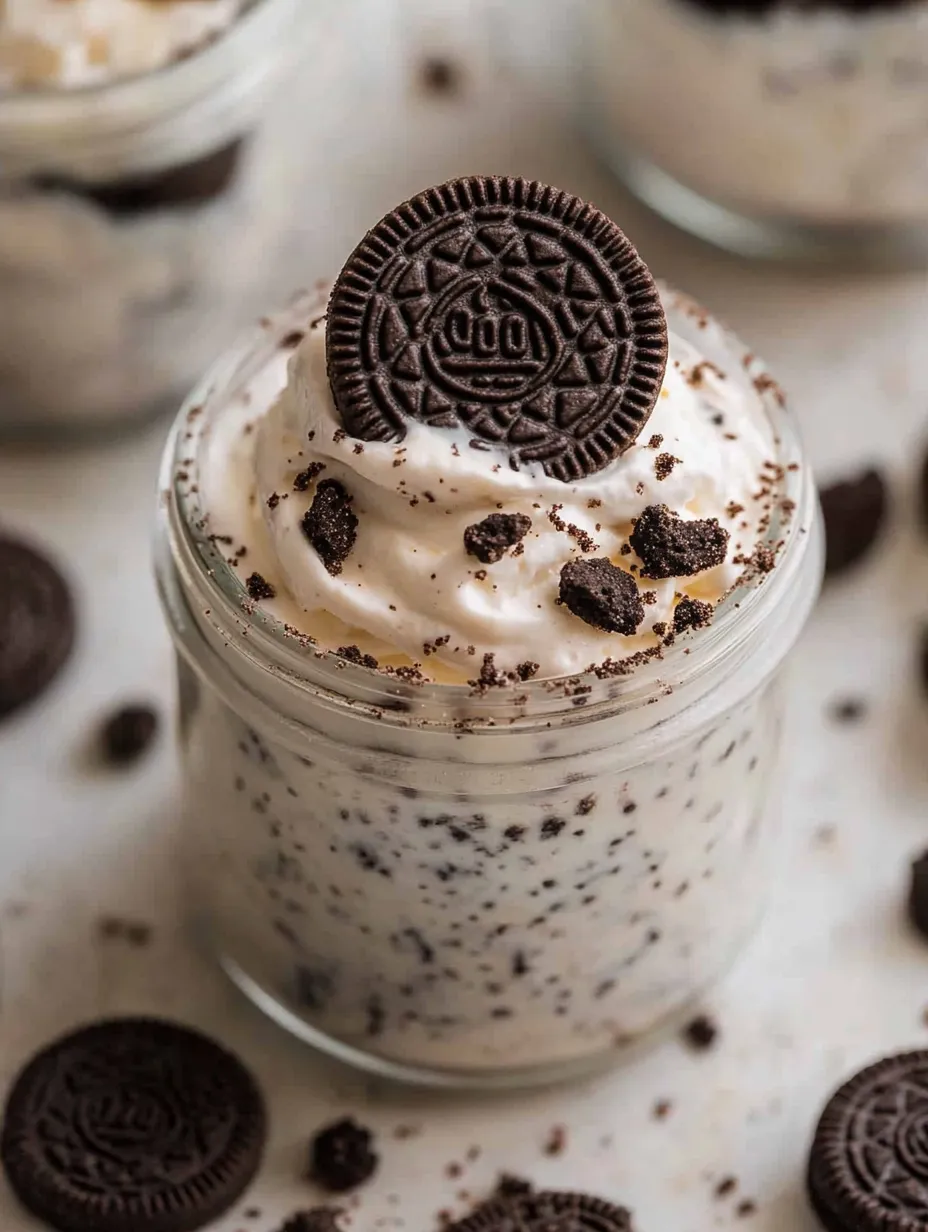
This Oreo No-Bake Cheesecake Cups recipe transforms simple ingredients into an indulgent dessert without ever turning on the oven. Perfect for summer gatherings or when you need a quick impressive dessert, these creamy cups deliver all the cheesecake flavor with minimal effort.
I first made these for my nephew's birthday when the summer heat made traditional baking unbearable. The cups disappeared within minutes, and they've become my most requested dessert for family gatherings ever since.
Ingredients
- 8 oz block cream cheese: softened at room temperature for at least 30 minutes for the smoothest texture possible
- 8 oz Cool Whip or whipped topping: thawed completely for proper folding
- 2/3 cup powdered sugar: sifted to prevent any lumps in your silky filling
- 1 teaspoon vanilla extract: use pure rather than imitation for the best flavor profile
- 24–26 Oreo cookies: the classic flavor works beautifully but feel free to experiment
Step-by-Step Instructions
- Prepare the Oreo Base:
- Place the Oreos in a sealed plastic bag and crush them using a rolling pin until they resemble coarse crumbs with some small chunks remaining for texture. Distribute about 2 tablespoons of these crumbs into the bottom of each serving cup, pressing gently to create a stable base that will hold your creamy filling.
- Mix the Cheesecake Filling:
- Beat the softened cream cheese and powdered sugar together using an electric mixer on medium speed for approximately 2 minutes until the mixture becomes light and fluffy with no cream cheese lumps remaining. Add the vanilla extract and beat for another 30 seconds to incorporate fully throughout the mixture.
- Fold in Whipped Topping:
- Using a spatula or large spoon, gently fold the Cool Whip into the cream cheese mixture using a figure eight motion from bottom to top. This preserves the air bubbles that create that perfect mousse-like texture. Once combined, fold in most of the remaining crushed Oreos, reserving some for topping later.
- Assemble and Chill:
- Carefully spoon or pipe the cheesecake mixture into each prepared cup, aiming for an even distribution that fills each cup almost to the top. Smooth the surfaces with the back of a spoon and refrigerate for at least one hour to allow the dessert to set properly and flavors to meld together.

The moment these cups hit my family table, everyone goes silent except for the sounds of spoons scraping glass. My husband claims the secret is in the ratio of cookies to cream cheese, but I believe it’s the contrast between the crunchy cookie base and the cloud-like filling that makes these irresistible.
Storage Solutions
These cheesecake cups maintain their creamy texture and flavor profile for up to three days when stored in the refrigerator. Cover each cup individually with plastic wrap to prevent them from absorbing other flavors from your refrigerator. The cookie base may soften slightly over time, but many of my guests actually prefer this texture after the first day.
Creative Variations
The beauty of this recipe lies in its versatility. Try using Golden Oreos with a touch of lemon zest for a citrus twist, or substitute chocolate mint Oreos with a drop of peppermint extract for a refreshing after-dinner treat. During the holiday season, I often use red velvet Oreos and top with festive sprinkles for an easy Christmas dessert that looks as good as it tastes.
Serving Suggestions
While these cups are perfect as standalone desserts, they can be elevated for special occasions. Serve alongside fresh berries for a color contrast and brightness that cuts through the richness. For dinner parties, I place each cup on a small plate with a chocolate-covered strawberry for an elegant presentation that takes minimal effort but receives maximum compliments.
Make Ahead Benefits
The no-bake nature of these cheesecake cups makes them ideal for preparing in advance. The flavors actually develop and improve when allowed to rest overnight in the refrigerator. This makes them perfect for busy hosts who want to prepare dessert a day before the gathering, leaving more time to focus on other aspects of entertaining.
Frequently Asked Cooking Questions
- → Can I make these Oreo cheesecake cups ahead of time?
Yes, you can prepare these up to 24 hours in advance. Store them covered in the refrigerator, but add the whipped cream topping and final Oreo crumbles just before serving for best texture and presentation.
- → What can I substitute for Cool Whip?
You can substitute 2 cups of homemade whipped cream (1 cup heavy cream whipped to stiff peaks) for the Cool Whip. For best results, stabilize it with 2 tablespoons of powdered sugar and 1/2 teaspoon vanilla while whipping.
- → Can I freeze these cheesecake cups?
Yes, these freeze well for up to 2 months. Freeze without the whipped cream topping, wrap each cup tightly in plastic wrap, then foil. Thaw overnight in the refrigerator and add fresh toppings before serving.
- → How many servings does this make?
This recipe makes 6 individual servings in small dessert dishes (3/4-1 cup size). You can adjust portions for smaller or larger serving containers as needed.
- → What other Oreo flavors work well in this dessert?
Golden Oreos, Mint, Peanut Butter, Birthday Cake, and seasonal varieties all work beautifully. Match your extracts accordingly - vanilla with Golden Oreos, mint extract with Mint Oreos, etc. for complementary flavors.
- → Can I make this as one large dessert instead of individual cups?
Absolutely! Use an 8x8 inch dish or a 9-inch pie plate. Layer the crust on the bottom, add the filling, and chill. Cut into portions when serving. Increase the chilling time to at least 3 hours for proper setting.