
 Save
Save
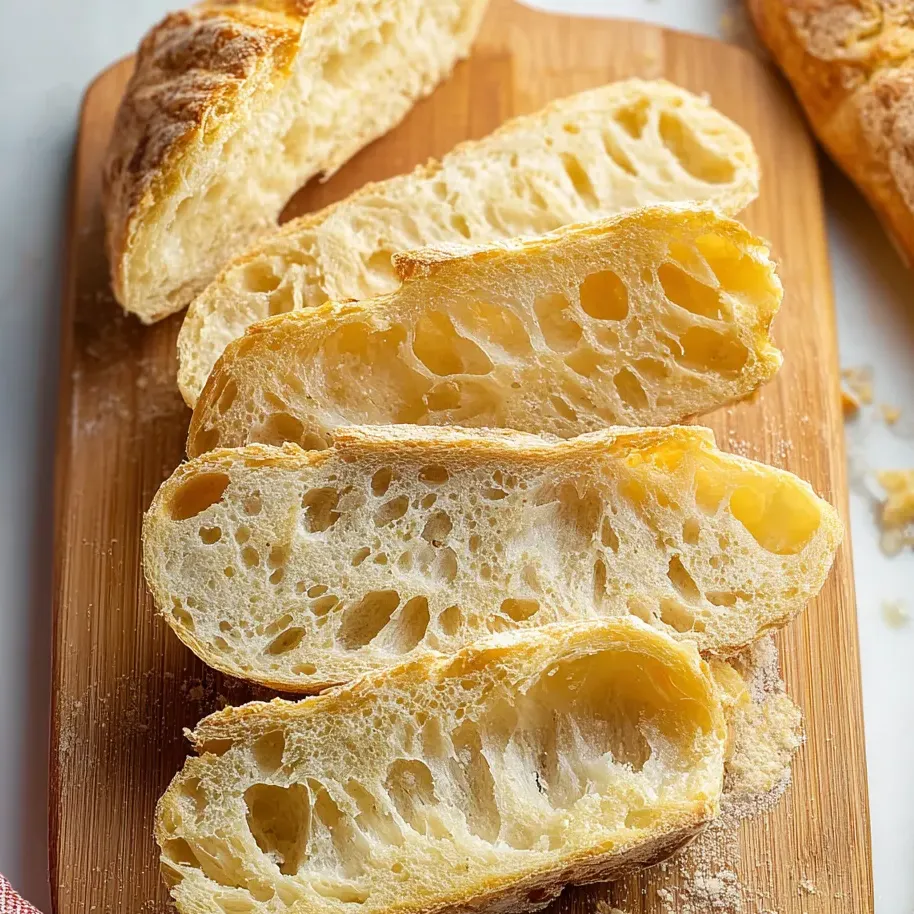
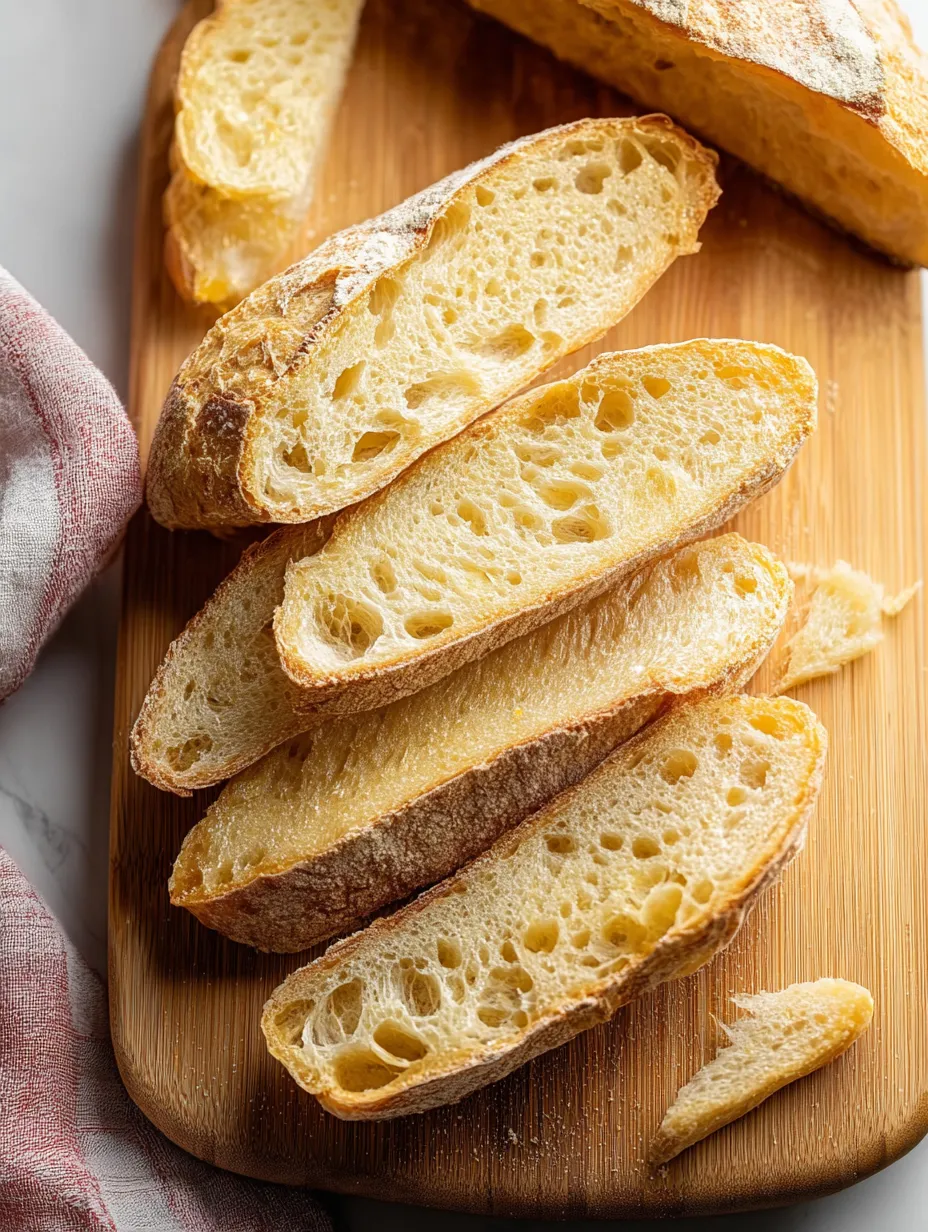
No fuss bread baking totally changed how I make bread at home. You don’t need fancy mixers or much energy. You’ll pull out a loaf with a crispy shell and fluffy middle. Anyone can handle this technique, and it’s awesome with soup, dips, or just spread some butter and call it a snack.
This method saved me once when my sandwich bread ran out. I still think it’s wild to bake a beautiful, golden loaf in a tiny kitchen oven.
Amazing Ingredients
- Bread flour: gives bread a pillowy, stretchy bite If you can measure by weight that’s best Regular all purpose works if you need but bread flour gives extra rise
- Salt: brings out flavor and makes the dough sturdy I lean toward natural sea salt or Redmond for great taste but any salt’s okay
- Olive oil: brings moisture and a little zing If you’ve got extra virgin, use it for extra flavor
- Butter: gets the crust golden and tasty A real quality butter makes everything better
- Barely warm water: jumpstarts the yeast Just needs to be about as warm as your skin, check with a thermometer if you want
- Sugar: feeds the yeast and boosts rise Any granulated sugar is just fine
- Instant yeast: helps dough puff up smoothly Rapid or active dry yeast both work – just grab a fresh one
Simple Step Guide
- Let It Cool
- Don’t cut the bread right away Give at least five minutes so it keeps its airy crumb
- Bake Away
- Pick up the parchment and plop your dough into the Dutch oven Put on the lid Bake forty minutes, then brush on melted butter Take off the lid and keep baking ten to twelve more minutes until top’s deep golden
- Oven Ready
- Set the oven to four twenty five and put your Dutch oven inside to heat up Double check that yours can handle those temps
- Get It Prepped
- Tip the dough out onto floured parchment Fold edges to the middle until it firms up Lightly spray, cover, and let it puff up again for about forty five minutes Preheat oven in this time
- Give It Time
- Form into a loose ball Spray with oil, wrap up, and drape with a towel Let it rise for a couple hours until big and puffy For rich flavor leave in the fridge after that for up to three days
- Mix It Up
- In a big bowl, whisk flour with salt Pour in olive oil and the yeast water Use a silicone spatula and mix until gooey and blended It’ll feel sticky
- Wake the Yeast
- Stir yeast, sugar, and warm water together in a small bowl Cover it and rest for five minutes until you see bubbles
My favorite part is honestly how the whole place smells sweet and toasty while it bakes My kids hover by the oven waiting for the first warm slice Passing chunks around always feels like a piece of home for us
How to Store
Once cool, stash in anything air tight and leave on the counter up to five days Want to keep bread longer? The fridge buys up to ten days Freezer saves it for three months Slice before freezing so you can grab and toast without thawing the whole thing
Swaps and Tweaks
No bread flour? Go for all purpose instead, just expect a little more heft but still really good Any salt is fine, though plain table salt can taste a bit sharper If you want to try something new, toss chopped herbs right into the dough
Ways to Serve
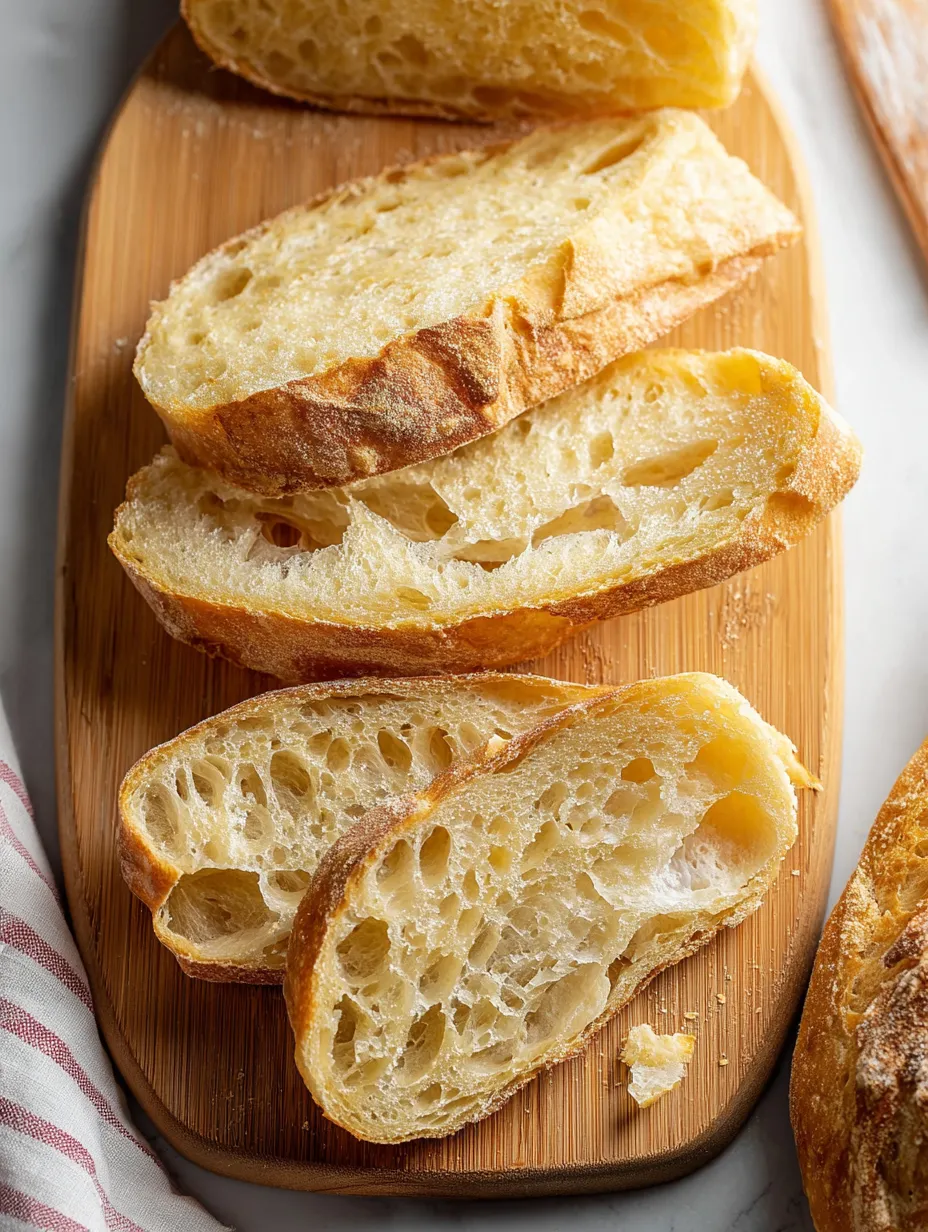
This bread’s got a tough crust so it’s awesome for dunking in good olive oil or next to hot chili Makes killer grilled cheese too Try thin slices topped with jam or creamy cheese for breakfast – heaven
Baking Backstory
People really started buzzing about no knead bread after Jim Lahey’s slow rise trick hit the spotlight with Mark Bittman in the early 2000s You don’t need a lot of muscle to make a fantastic, rustic loaf like this Sharing warm bread has always meant comfort and togetherness and now anyone can make it at home without a sweat
Frequently Asked Cooking Questions
- → Can I use all-purpose flour instead of bread flour?
Yep, you can swap in all-purpose flour. Bread flour just makes things chewier and holds the loaf up better. If you switch, you might need to toss in a pinch less water.
- → How do I get a crispier crust?
If you're after crunch, you want steam. Steam comes easy with a Dutch oven, but you can also just put a tray of water in your oven for that flaky outside.
- → Is there a way to develop a tangier flavor?
For a sharp, bold taste, let your dough hang out in the fridge for a couple days before you bake it. That break really bumps up the flavor.
- → My dough isn't rising well. What should I do?
If your dough seems stuck, double-check your yeast's good. Set the dough near a cozy spot—on top of your oven or near a heater—to pick up the pace.
- → How should I store leftover bread?
Pop leftovers into a container and leave it on your counter for around 5 days. You can also chill it in the fridge for up to 10 days, or freeze it for 3 months easy.
- → Can I make this bread without a Dutch oven?
You sure can! Shape the dough and bake it right on a baking sheet or even a skillet. Add a water pan to the oven and you'll still get a killer crust.