
 Save
Save
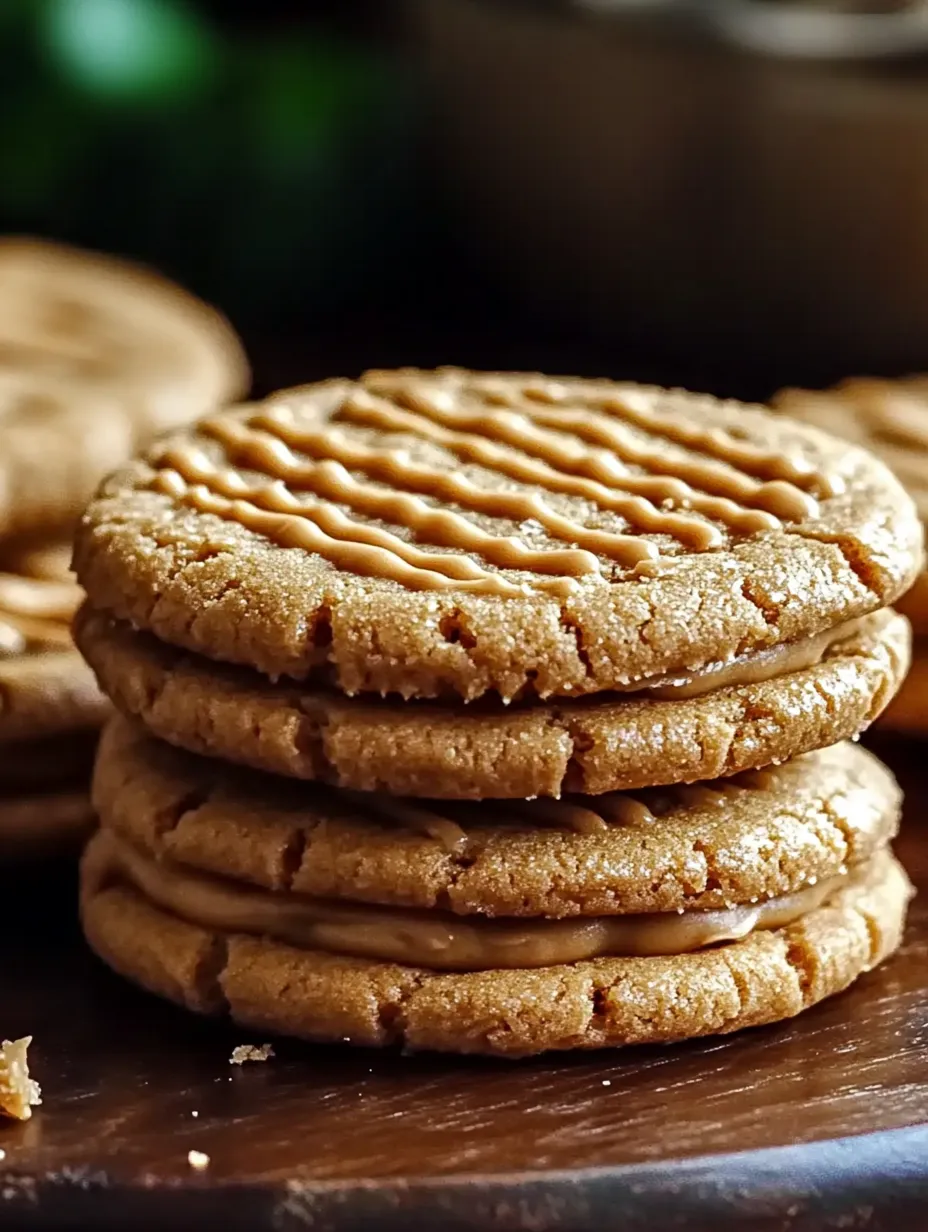
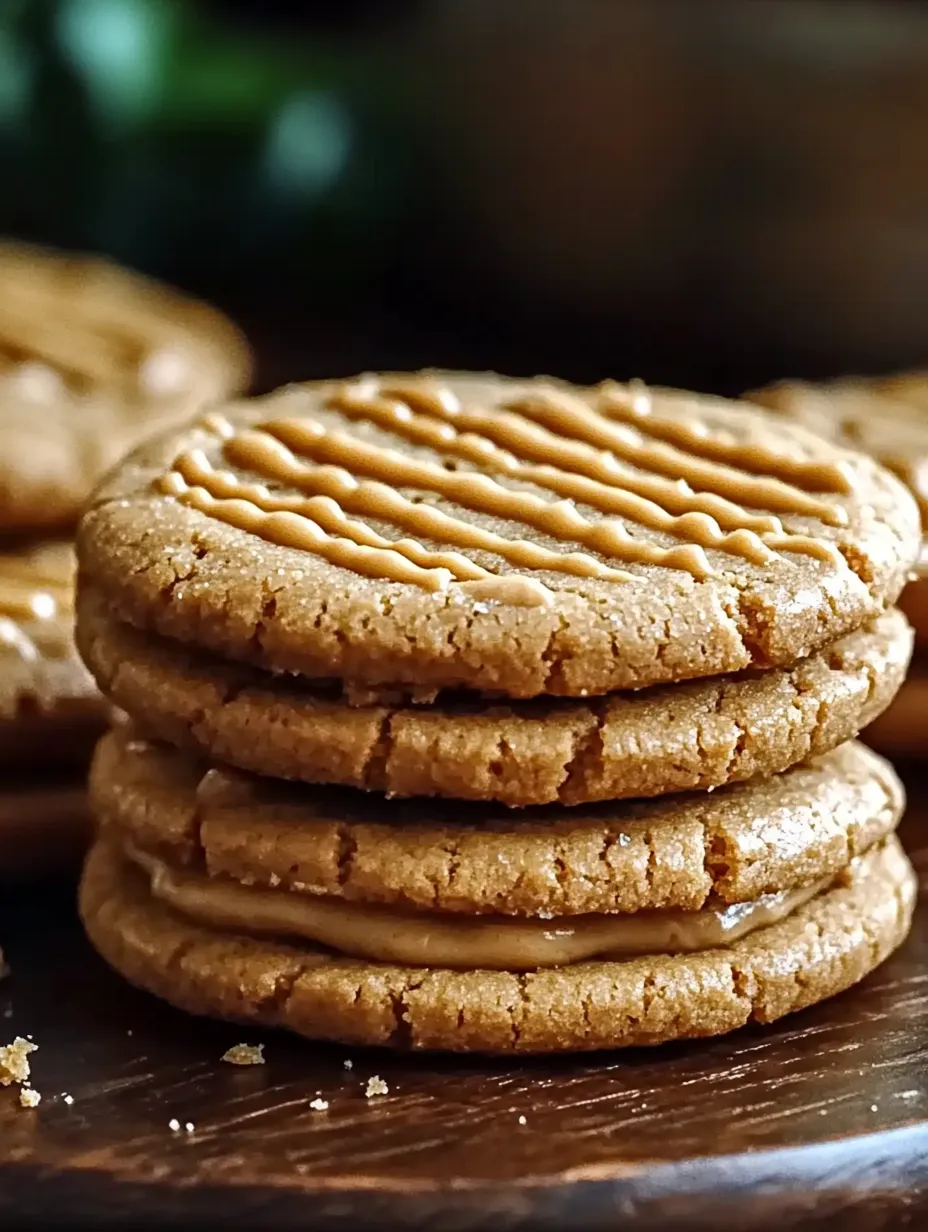
These peanut butter sandwich cookies deliver the perfect balance of rich, nutty flavor and sweetness that will transport you straight back to childhood. The combination of crisp cookies filled with creamy peanut butter filling creates a treat that's both nostalgic and undeniably delicious.
I first made these cookies during a rainy weekend when my kids were complaining of boredom. The familiar scent of peanut butter cookies baking instantly brightened the house, and now they request these sandwich cookies for every special occasion.
Ingredients
- All purpose flour: creates the perfect tender structure for these cookies
- Baking soda: gives just the right amount of lift without making them cakey
- Salt: enhances all the flavors and balances the sweetness
- Unsalted butter: provides richness and helps create crisp edges
- Creamy peanut butter: forms the foundation of flavor look for a quality brand
- Granulated sugar: creates the perfect cookie texture
- Brown sugar: adds depth and moisture to the cookies
- Large egg: binds everything together
- Vanilla extract: enhances the warm flavor profile
- Creamy peanut butter: creates that luscious center choose a smooth variety
- Powdered sugar: sweetens and stabilizes the filling
- Vanilla extract: adds aromatic depth
- Unsalted butter: makes the filling perfectly spreadable
Step-by-Step Instructions
- Prepare Your Space:
- Begin by preheating your oven to 350°F and lining two baking sheets with parchment paper. The parchment prevents sticking and makes cleanup effortless. Take a moment to gather all ingredients so everything is within reach.
- Mix Dry Ingredients:
- In a medium bowl, whisk the flour, baking soda, and salt until fully combined. This even distribution ensures every cookie has the perfect texture and rise. Make sure to break up any clumps in the flour for the smoothest dough.
- Create The Base:
- In a large bowl, combine softened butter, peanut butter, granulated sugar, and brown sugar. Beat until the mixture becomes noticeably lighter in color and fluffy in texture, about 2 3 minutes. The creaming process incorporates air for a tender cookie.
- Add Wet Ingredients:
- Add the egg and vanilla to your butter mixture, beating until completely incorporated. The mixture should look smooth and glossy. Scrape down the sides of the bowl to ensure everything is evenly mixed.
- Combine Wet And Dry:
- Gradually add the dry ingredients to the wet mixture, mixing on low speed just until combined. Overmixing at this stage can develop too much gluten, resulting in tough cookies. Stop mixing as soon as no dry spots remain.
- Shape The Cookies:
- Scoop tablespoon sized portions of dough and roll into even balls. Place them on your prepared baking sheets, leaving about 2 inches between each for spreading. Press each ball with a fork to create the classic criss cross pattern, flattening them slightly.
- Bake To Perfection:
- Bake the cookies for 10 12 minutes until the edges turn golden while the centers remain soft. They may look slightly underdone in the middle, but they will firm up as they cool. Rotating the pans halfway through ensures even baking.
- Cooling Process:
- Allow the cookies to rest on the baking sheets for 5 minutes before transferring to a wire rack to cool completely. This resting period allows them to set up without breaking. Make sure they are completely cool before filling.
- Make The Filling:
- While the cookies cool, beat together peanut butter, powdered sugar, vanilla, and softened butter until smooth and fluffy. The filling should be thick enough to hold its shape but still spreadable. If too thick, add a teaspoon of milk to adjust consistency.
- Assemble The Cookies:
- Once cookies are completely cool, spread a generous amount of filling on the flat side of one cookie. Top with another cookie, pressing gently to create a sandwich. The filling should reach the edges but not squeeze out.
My absolute favorite part of making these cookies is watching my husband secretly sneak them from the cookie jar. Despite making them monthly for years, he still thinks I dont notice when the stack mysteriously shrinks overnight. Its become our little unspoken game.
Storage Solutions
These peanut butter sandwich cookies stay fresh in an airtight container at room temperature for about a week. The filling actually helps keep the cookies moist longer than regular peanut butter cookies. For extended storage, place them in a single layer in a freezer safe container with parchment between layers. They freeze beautifully for up to three months. Let them thaw at room temperature for about an hour before serving.
Perfect Variations
While the classic recipe is hard to beat, there are several delicious ways to customize these cookies. Try using crunchy peanut butter instead of creamy for added texture in both the cookies and filling. For chocolate lovers, mix mini chocolate chips into the cookie dough or drizzle the finished sandwiches with melted chocolate. During the holidays, roll the edges of the filled cookies in colorful sprinkles or crushed peanuts for a festive touch.
Serving Suggestions
These peanut butter sandwich cookies make a perfect afternoon treat alongside a cold glass of milk or hot coffee. For an indulgent dessert, sandwich a small scoop of vanilla ice cream between two cookies and freeze until firm. They also make wonderful gifts when packed in decorative tins, especially for peanut butter lovers. Add them to a dessert platter with other cookies for a beautiful variety of textures and flavors.
Frequently Asked Cooking Questions
- → How long do these peanut butter sandwich cookies stay fresh?
These cookies can be stored in an airtight container at room temperature for up to one week, maintaining their texture and flavor. For longer storage, you can freeze them for up to 3 months.
- → Can I use crunchy peanut butter instead of creamy?
Yes, you can substitute crunchy peanut butter if you prefer some texture in your cookies. The filling might be slightly less smooth, but it will add an interesting textural contrast to the finished cookies.
- → Why do you need to create a criss-cross pattern on the cookies?
The traditional criss-cross pattern made with a fork not only creates the iconic peanut butter cookie look but also helps flatten the cookies to ensure even baking. It also provides a nice textural element to the finished sandwich cookies.
- → What can I do if my cookie dough is too sticky to work with?
If your dough is too sticky, refrigerate it for about 30 minutes before rolling into balls. This will firm up the butter and make the dough easier to handle while also helping the cookies maintain their shape during baking.
- → How do I know when the cookies are done baking?
The cookies are done when they're just turning golden around the edges, typically after 10-12 minutes of baking. They may still look slightly soft in the center, but they'll continue to set as they cool. Overbaking will result in dry cookies.
- → Can I make these cookies ahead of time for an event?
Absolutely! You can make the cookies a few days ahead and store them in an airtight container. For maximum freshness, you might consider making the cookie portions ahead of time and adding the filling closer to when you'll be serving them.