
 Save
Save
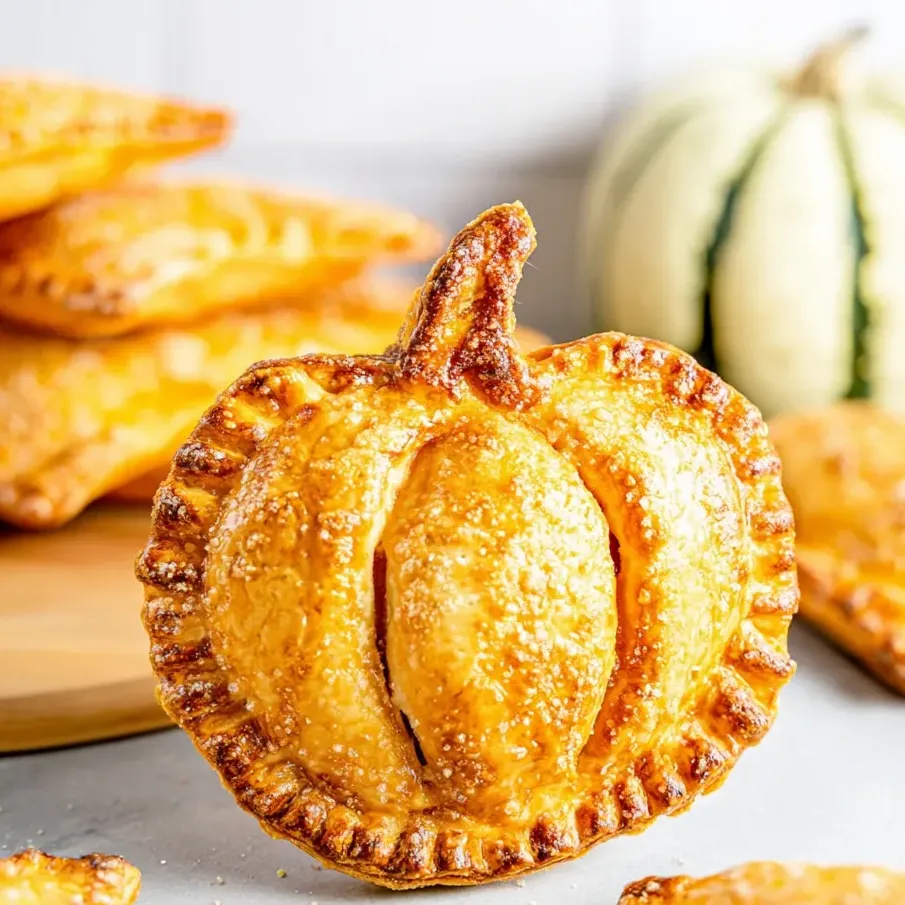
Bring some pumpkin pie magic to your next get-together with these adorable Pumpkin Hand Pies. Each flaky little pocket is loaded with creamy spiced pumpkin, finished with crunchy sugar on top. They're real favorites for the holidays—honestly, any time works.
People always get excited when these come out—my crew jumps in to help seal them and throw on extra sugar.
Tempting Ingredients
- Heavy cream: Pours richness into your mix; pick the thickest you can find for the dreamiest filling
- Brown sugar: Lends cozy sweetness and a little molasses; get the soft kind for easy mixing
- Kosher salt: Makes the flavors pop; aim for fine so it melts right in
- Pumpkin pie spice: Packs all the autumn vibes; look for cinnamon, nutmeg, ginger, cloves here
- Egg: Makes a sticky glue to seal and helps turn the crust golden and shiny; fresher is always better
- Water: Helps the egg wash go on nice and smooth; filtered if your tap water’s funky
- Coarse sanding sugar or turbinado sugar: Totally optional but brings sparkly crunch; big crystals are best
- Pumpkin puree: Go for pure, bright orange unsweetened; you get to control the sweet stuff
- Refrigerated pie crusts: Faster and always flaky; choose buttery brands for the best bite
Step-by-Step Instructions
- Chill and Cut Out Shapes:
- Pop your dough in the fridge while you prep, then use pumpkin cookie cutters (about 3 to 4 inches). Score extra pumpkins by rolling leftover scraps once—shoot for 16 to 20 cutouts. Move them to lined baking sheets as you go.
- Even Out Pie Dough:
- Sprinkle flour on your counter and gently roll out the crust. Just smooth the folds, don't thin too much or it'll rip.
- Heat Up the Oven:
- Crank the temperature to 400 Fahrenheit. Line a couple of big baking pans with parchment so nothing sticks and keep them handy.
- Prep Filling:
- Grab a medium bowl. Toss in pumpkin puree, brown sugar, heavy cream, kosher salt, and a teaspoon of pumpkin spice. Whisk until totally creamy and everything's blended.
- Stuff the Hand Pies:
- Scoop 2–3 tablespoons of filling onto each cutout (from one sheet), but don’t go all the way to the edges—leave about 1/3 inch clear so you’ll be able to close ‘em.
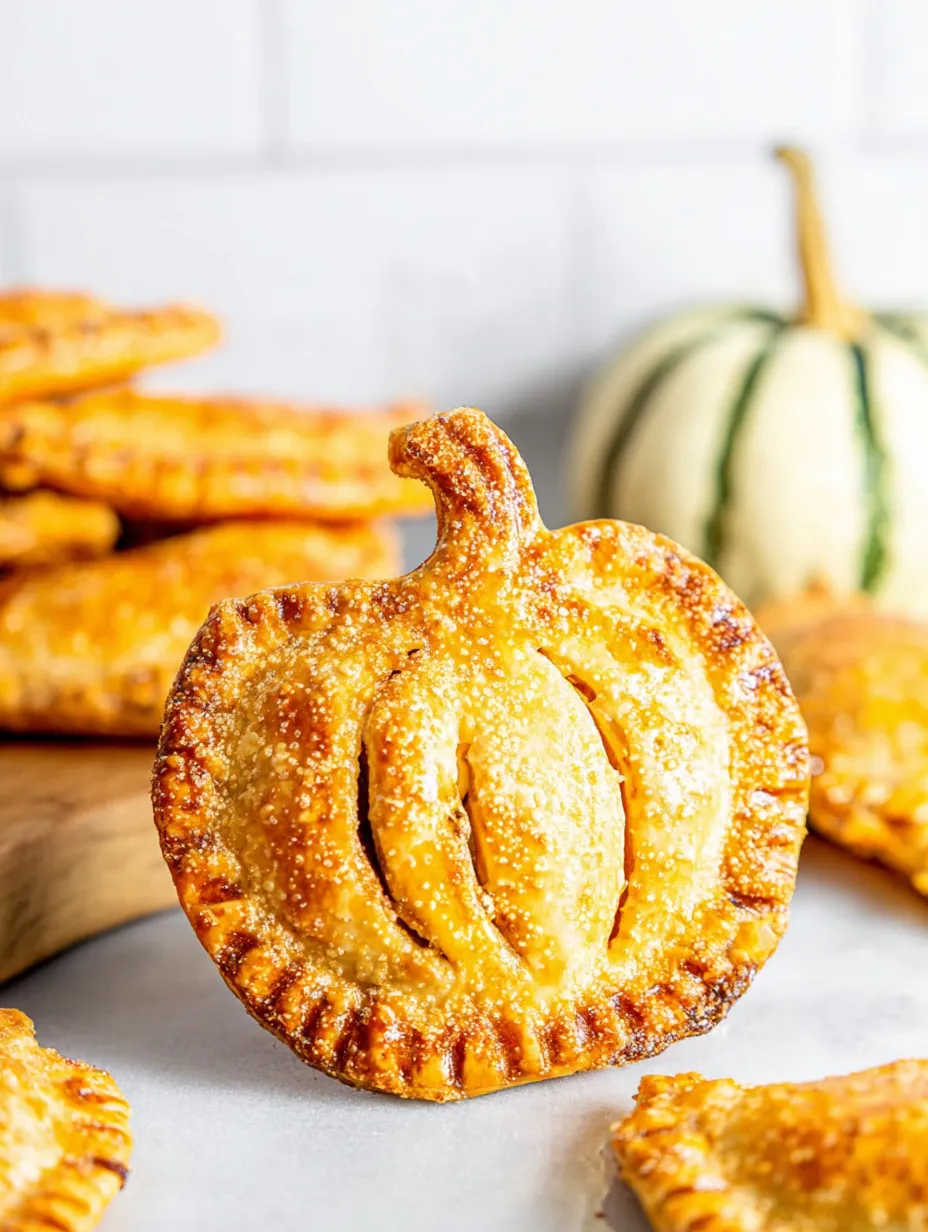
- Score Decorative Tops:
- Grab the other tray of pumpkins. Carefully make four curved slits in each with a small knife to get that pumpkin look.
- Seal and Crimp Edges:
- Whisk your egg with a splash (1 teaspoon) of water in a tiny bowl to make an egg wash. Brush this on the edges of filled pies, lay a scored shape on top, and gently press to stick. Then use a fork to crimp all the way around for an awesome seal.
- Sprinkle and Finish:
- Brush more egg wash over the tops. Mix a little extra pumpkin spice with coarse sugar, then generously shake that over each pie for sparkle.
- Bake the Pies:
- Slide your sheets into the oven and bake for 15 to 20 minutes. If the edges brown too fast (it happens), just lay foil over those bits to keep them perfect (watch those delicate stems).
- Let Cool and Enjoy:
- Give the treats 5 minutes to rest on the pans, then move ‘em to a rack so they can finish cooling. You can dig in warm or once they've cooled off.
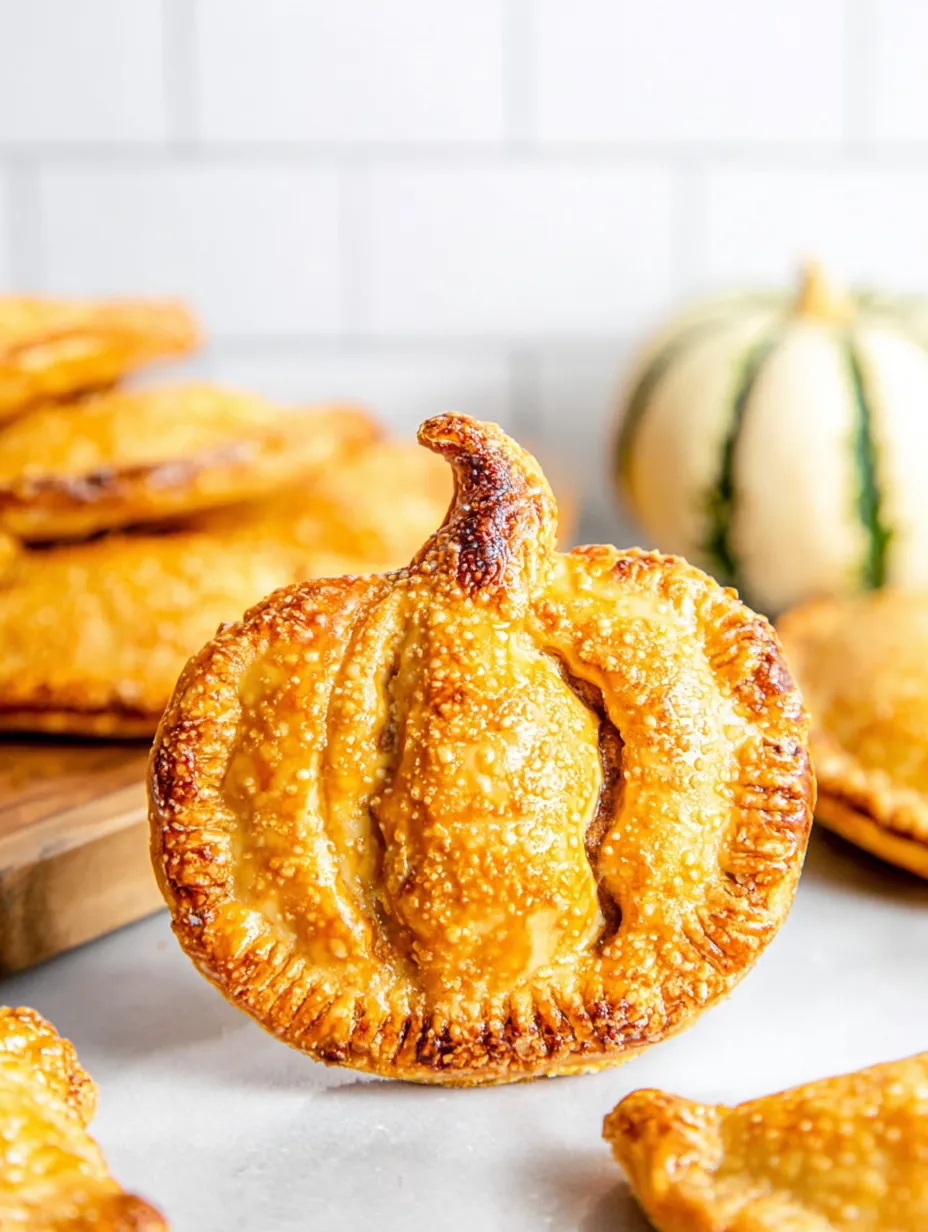
I look forward to that sweet buttery aroma when the oven door opens. My youngest always wants extras—the sugar on top is her favorite thing, hands down.
Storage Tips
Cool your pumpkin hand pies until they're not warm any more, then pop them in a closed container. They'll keep nicely in the fridge for up to four days. If you want them crisp again, warm them for a few minutes in a 350 degree oven or use your air fryer to perk up the pastry.
Ingredient Swaps
No store dough? If you’ve got a homemade crust, go for it. Out of brown sugar? Try coconut sugar or a drizzle of maple syrup. Need dairy-free? Coconut cream subs for heavy cream, and swap out the egg for any plant-based milk to brush the tops.
Serving Ideas
Show off your pumpkin hand pies on a fun platter, and dust with extra pumpkin spice for a pretty touch. Pair with chilled apple cider or a hot mug of coffee. Or, brighten up lunchboxes with one for an autumn pick-me-up.
Background
Pumpkin pie has been loved in America way back since colonial days. These little pies just make it way easier to carry (and eat) one! I first spotted the idea at a Vermont fall fair and just had to try them at home.
Frequently Asked Cooking Questions
- → What's the secret to a super flaky crust?
Don’t manhandle your dough too much—work it just enough, and try to keep everything chilly to get those lovely flaky layers.
- → Am I okay to use pie dough I make at home?
Absolutely, your own dough brings a special taste and feel to these little pies.
- → How do I stop the filling from leaking everywhere?
Leave a gap along the edge, stuff the filling in the middle, and use a fork to really clamp the sides closed before baking.
- → Can these be made in advance?
You sure can—build them and freeze before baking. Just bake straight from the freezer with an egg wash and a sprinkle of sugar for best crunch.
- → Should I eat them warm or straight from the fridge?
Both work, but heating them up makes the flavors pop and the crust stay nice and crisp.