
 Save
Save
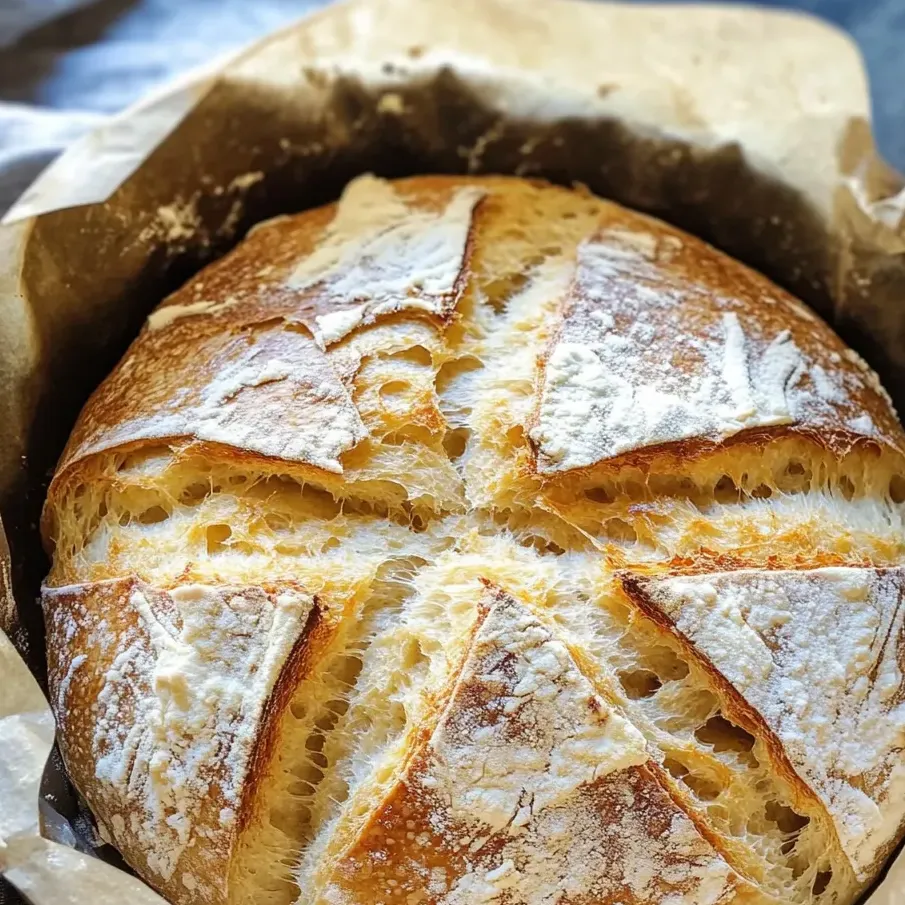
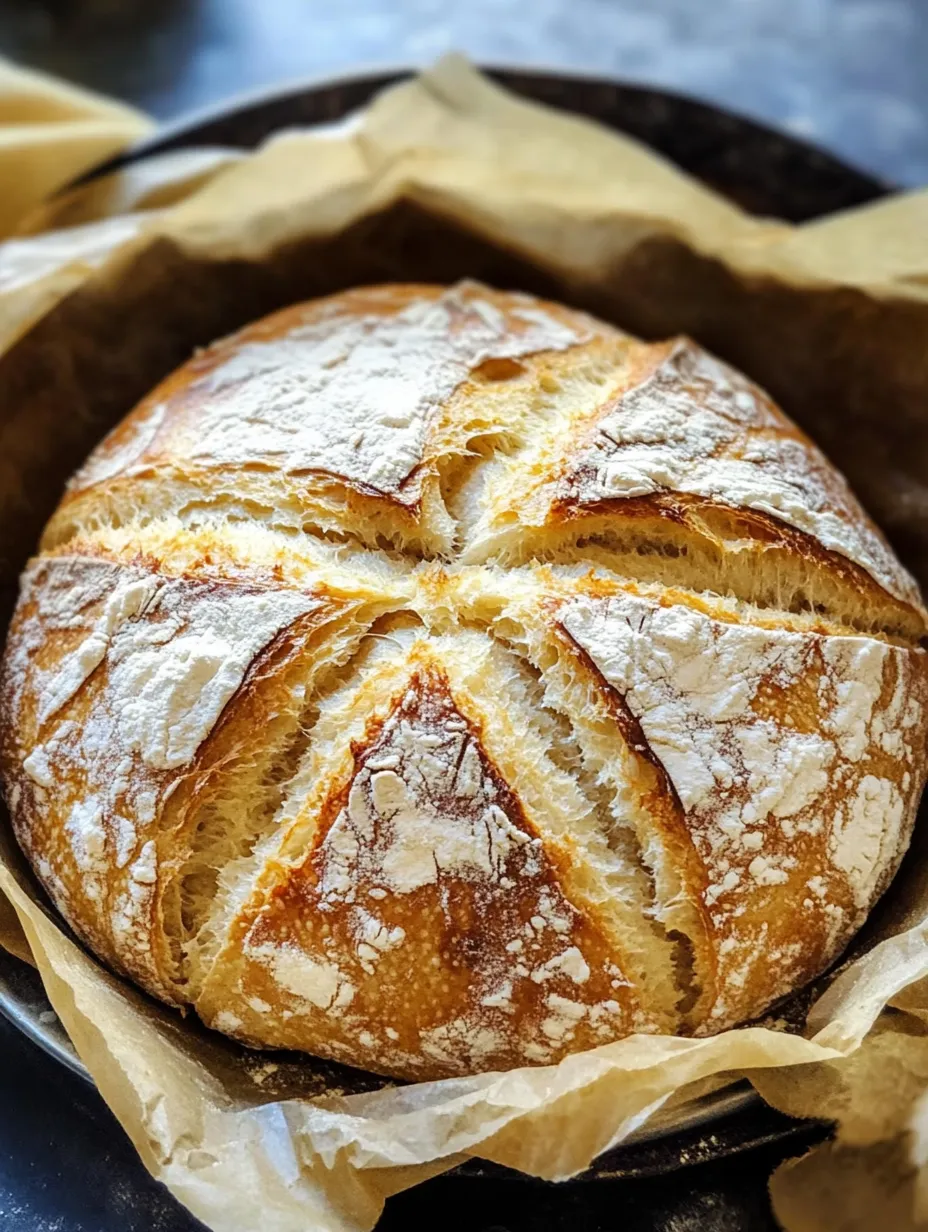
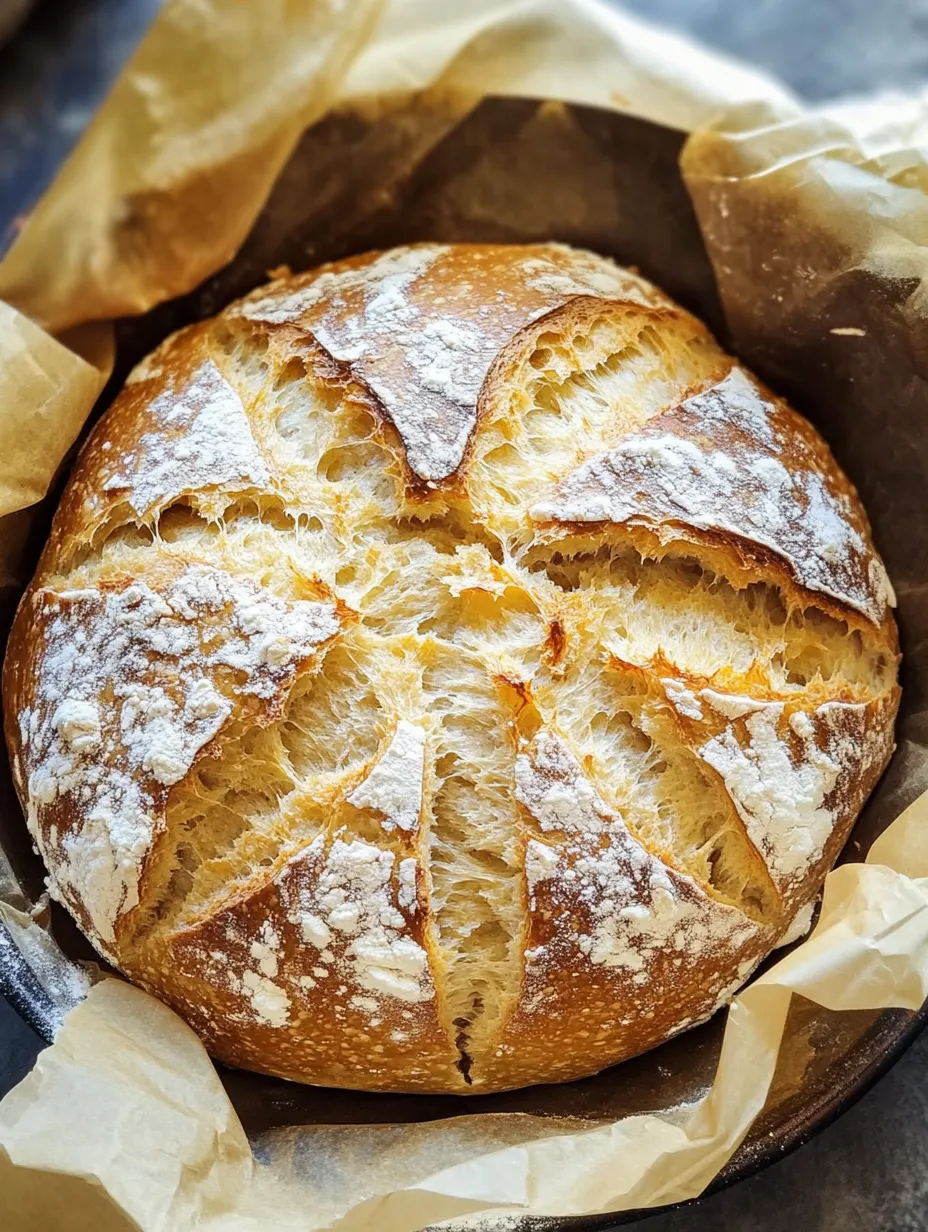
Baking this French-style loaf at home feels like a warm hug. You'll love its chewy center and crisp golden shell. That Dutch oven works magic, giving your bread an old-school bakery vibe. When you want something hearty, tear off a piece for dinner or slather it with butter while it's still steaming.
The first time I baked this was for a snowy weekend in, but now I whip it up any time company stops by. Everyone grabs slice after slice—it vanishes quickly.
Irresistible Ingredients
- Water: Needs to be warm, somewhere between 105 to 115 Fahrenheit, to get the yeast going. If you're a newbie, use a food thermometer so you don't go too hot or cold
- Active dry yeast: Helps the dough puff up and gives that light bubbly texture. Double check it's fresh or you'll end up with a flop
- Salt: Makes all the flavors pop. Go for fine sea salt if you have it so it blends in better
- Sugar: Just a bit to help the yeast get active and lightly sweeten the dough. Stick to plain white sugar and measure it out
- All-purpose flour: Holds everything together but still keeps things tender. Unbleached gives you a little more flavor, if you want
Simple Step-by-Step
- Cool and Store:
- Slip the baked bread onto a rack. Make sure it’s completely cool before you slice in, otherwise the inside turns gummy. Stash in a bag or container at room temp and it’ll keep for about five days
- Score and Bake:
- Cut some lines into the top of your loaf with a sharp knife. Lift with your parchment and carefully plop it into that hot Dutch oven. It goes in covered for half an hour, then uncovered for another 10 minutes. You’re looking for a golden loaf that sounds hollow and hits 210 degrees inside
- Preheat the Dutch Oven:
- Pop your Dutch oven with the lid into the oven at 425 Fahrenheit. Let it heat up for 20 minutes. This gets it smoking hot for an epic crust
- Shape and Second Rise:
- Dump your dough onto parchment or a floured board and gently make it into a round loaf. Dust a bit more flour on top, cover with a big bowl, and let it rest for 30 minutes. This gives the loaf that lovely airy inside
- First Rise:
- Move your dough into a bowl dusted with flour, cover with a towel, and leave out for two hours. It'll puff up and double in size
- Make the Dough:
- Toss half your flour and all the salt into the yeast mixture. Use your mixer with a dough hook on medium-low and slowly add the rest of the flour. Don’t overdo it—stop once it’s sticky and messy but holding together
- Bloom the Yeast:
- Add yeast, a bit of warm water, and the sugar into your mixer bowl. Leave it alone for five minutes, looking for that foamy top—it means your yeast is raring to go
The best part is listening to that crust snap as it cools. My family can't help sneaking warm slices right off the rack—with butter melting into every nook.
Keeping It Fresh
After it’s cooled down, tuck your bread into a paper bag or a bread box—this helps keep the crust just right. For long-term, slip slices into the freezer in plastic wrap. Heat them up right from the freezer with the toaster or oven—they come out great. Keep the loaf away from the fridge, though, or it’ll dry out in no time
Swap Outs & Extras
Want it even chewier? Use bread flour for half the flour. Crave a little scent? Knead in some chopped herbs like rosemary or thyme at the end. A splash of olive oil gives the crumb a softer bite too
Serving Ideas
This bread’s made for tearing and passing around. Break off a hunk to dip in good olive oil, or top with creamy butter or cheese. Any leftovers make killer sandwiches—try with roasted veggies, or go classic with ham and cheese
A Quick History Bite
French cooks have baked these loaves in Dutch ovens for ages. Keeping the lid on means moisture gets trapped, making that signature crunchy crust and nicely open crumb you see in real European bread
Frequently Asked Cooking Questions
- → How does the bread get that crispy outer layer?
Making the bread in a hot Dutch oven holds in all the steam and that’s what gives you a thick, crackly, golden top just like bakery loaves.
- → Is it cool to swap in bread flour instead of all-purpose?
Absolutely, you can use bread flour if you want a bit more chew and some extra gluten going on.
- → What temp water should I use for yeast?
Go for water that’s somewhere between 105 and 115°F (40 to 46°C). That’s the sweet spot for getting yeast awake and bubbling.
- → Why bother if the dough sticks to my hands?
If the dough’s a little sticky, you’ll get better rise in the oven and a lighter, airier inside. That gooeyness is part of the magic.
- → How should I keep the bread fresh?
After it cools off, toss it into a plastic bag or airtight box. Leave it out on the counter and it’ll stay tasty up to five days.
- → What’s with those cuts on top of the dough?
Slashing lets the bread puff up without bursting weirdly, and it makes loaves look super old-school, too.