
 Save
Save
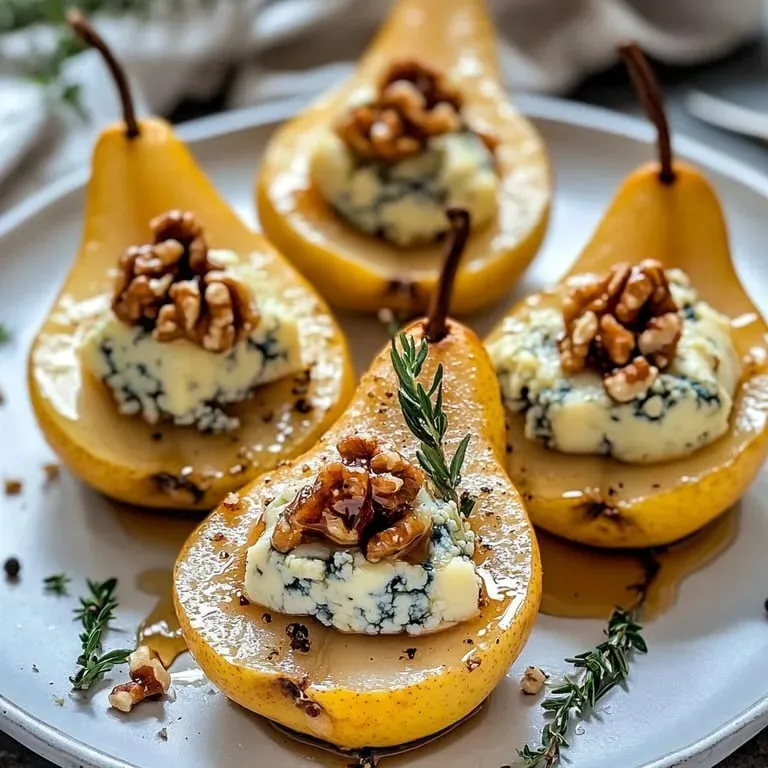
Sweet pears team up with smooth blue cheese and crispy toasted walnuts in this easy, eye-catching starter. The mix of honey’s aroma and balsamic’s tangy kick keeps things lively on your plate. Every bite pops with fun flavors—looks good, tastes even better.
When I brought this to our holiday table, it was gone before the main dish even landed. Now, it's the dish I throw together anytime I want fuss-free wow factor for friends or just myself.
Luscious Ingredients
- Fresh thyme: Snip off sprigs from a live bunch if you can; makes everything smell amazing.
- Ground black pepper: Tops off the flavors with a gentle spicy kick.
- Balsamic vinegar: Splash on for bright, sharp balance. If you’ve got a fancy aged one, use it!
- Honey: Drizzle for floral sweetness. Thicker and amber works cheery here.
- Walnuts: Toast for deep nutty crunch. New nuts always taste cleaner so skip any that seem old.
- Blue cheese: Tangy and creamy, make sure there are those classic blue streaks running through it.
- Ripe pears: Your foundation. Pick ones with just a little give, not mushy or hard.
Simple How-to
- Add finishing touches
- Pop the tray straight into your oven—keep it at 375 Fahrenheit. Bake until the pears are super soft but still hold their shape. Cheese will puff and bubble on top.
- Get pears oven-ready
- Line a tray with baking paper. Cut each pear down the middle then scoop out the middle with a spoon. Plop the cut sides up on your tray.
- Mix up the filling
- Chop and toast your walnuts, then toss them with blue cheese and a generous squeeze of honey in a bowl. You want even bits of cheese and nut in every scoop.
- Pack pears and season
- Scoop your cheesy nutty mix into each pear half, pressing it down lightly so it stays put.
- Dress and serve
- Spoon a little extra honey over each pear then top with thyme. Move to a plate and serve warm for best flavor.
There's no contest for me. Blue cheese makes this dish rich and silky. Best part—my crew likes pitching in, stuffing pears and drizzling their own honey messes on top.
Leftover storage
Stuffed pears stay happy in the fridge for up to 48 hours if you stash them in a sealed container. Warm them in the oven—skip the microwave to keep the cheese nice. Let them lose their chill on the counter a few minutes before eating for top flavor.
Swaps and Switches
Goat cheese and cream cheese work well together if blue cheese is a bit much for you. Pecans? Use them instead of walnuts for more sweetness (or if that’s all you’ve got). If honey’s out, maple syrup fits right in and brings its own cozy vibe.
Fun ways to serve
Sit pears on a bed of peppery greens and hit them with more balsamic for a showy starter. Brunchy mood? Team with chunky bread and roast some grapes. Sometimes I even sneak them in as a cheese treat between salad and mains—no one ever complains.
Food traditions
Fruit and strong cheese have made a great pair since long ago. Pears and bold blue cheese come from Europe, and this combo pulls from old-school French and Italian ideas. It’s a simple way to dress up your table with time-tested flavor magic.
Frequently Asked Cooking Questions
- → Which pears should I use?
Pick pears that are soft and sweet, but not mushy. That way, they hold up while they bake.
- → Is there a swap for blue cheese?
For something milder, try goat cheese or even gorgonzola. Each gives a different vibe.
- → Serve these hot or cold?
They're best warm out of the oven, but honestly, they rock chilled or at room temp too.
- → Can I toss in pecans instead of walnuts?
Yep! Pecans will bring a little extra sweetness and a richer crunch.
- → What’s the best way to dress them up before serving?
Just pour over a little honey and tuck in some fresh thyme. Looks good and tastes even better.