
 Save
Save
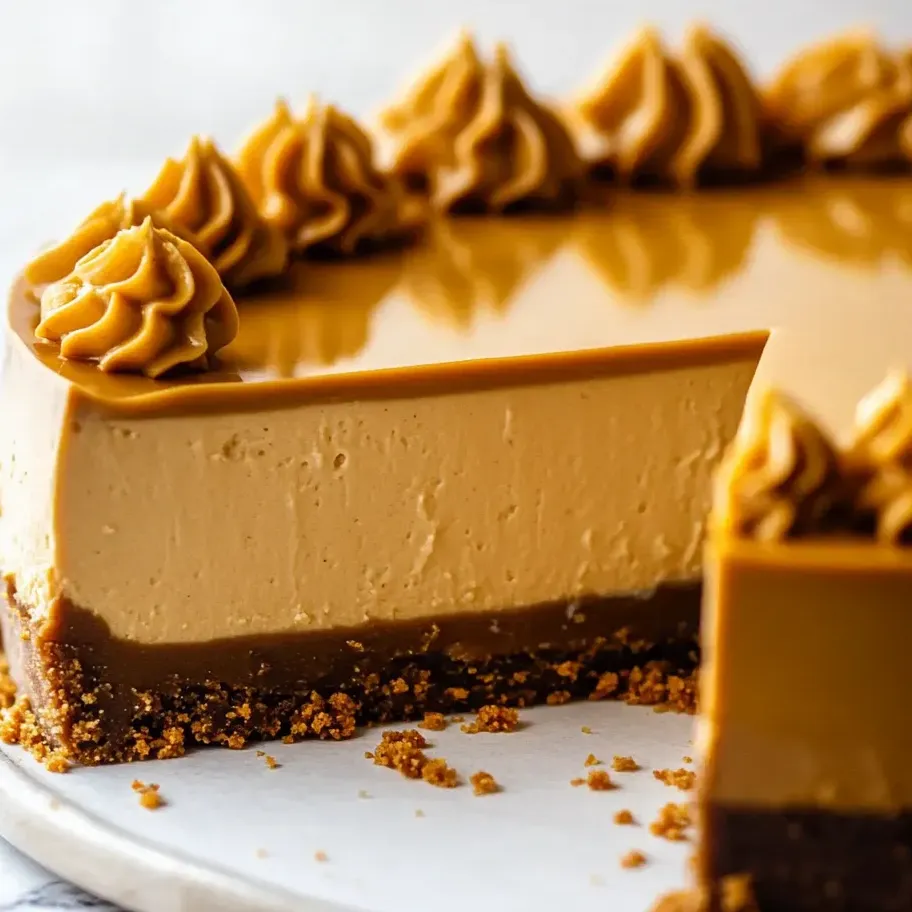
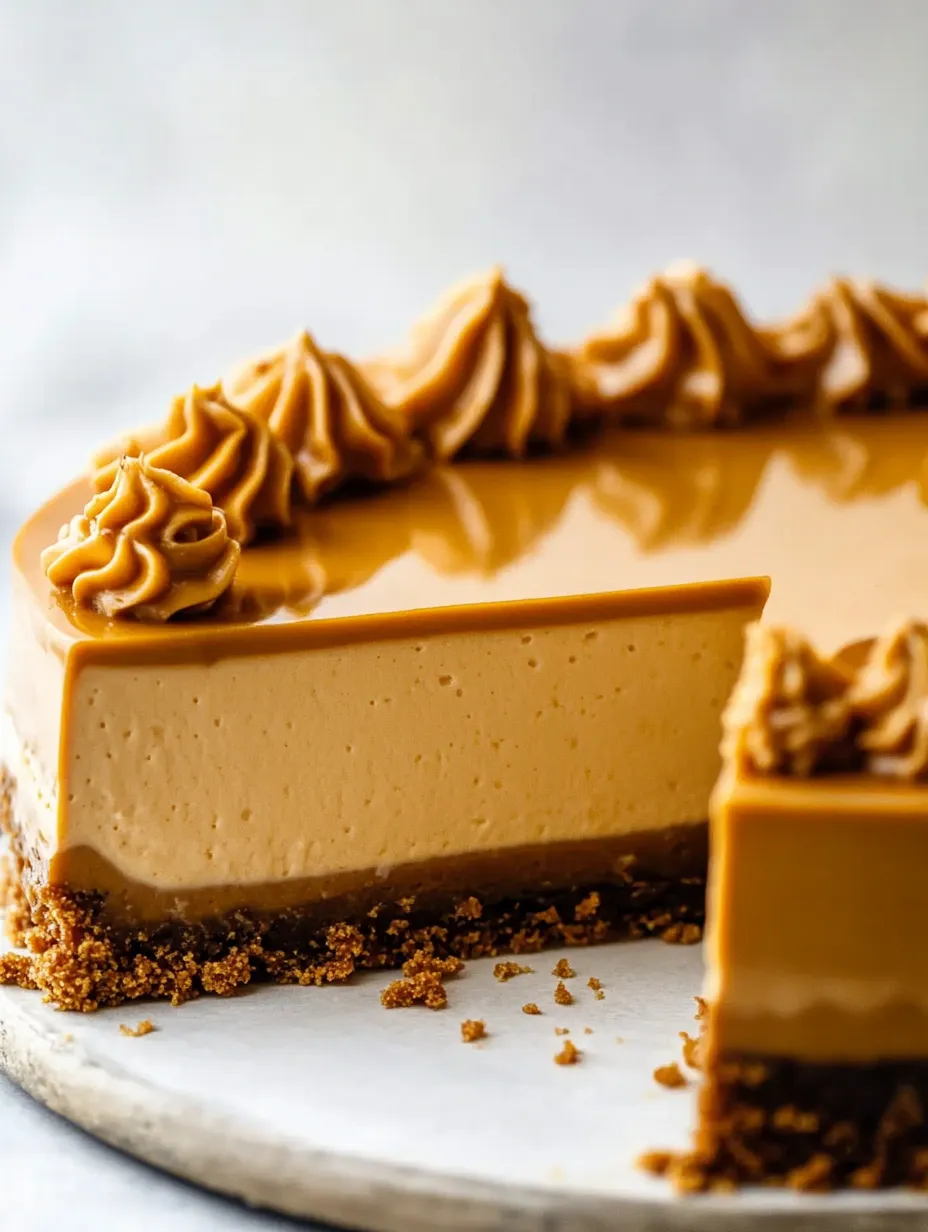
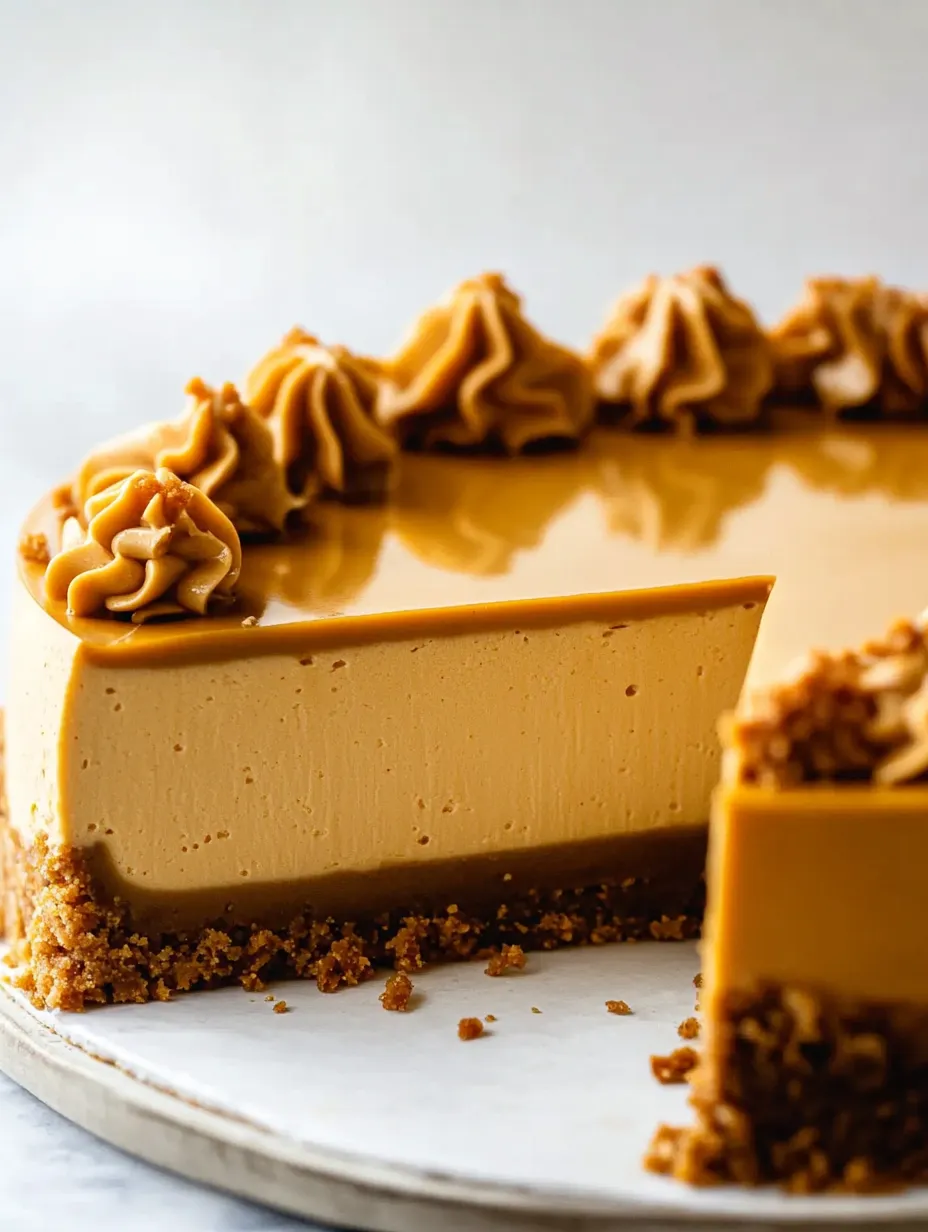
If cozy desserts make you feel at home, this Butterscotch Cheesecake Cream will hit the spot. You get smooth creamy filling with sharp tang, thick ribbons of butterscotch everywhere, and layers you can't resist. If you like cheesecakes that are deep, sweet, and have a little salt, get ready—this one's a keeper.
Growing up, nobody could agree on one dessert for birthdays, so we always had several treats. But after I baked this cheesecake for a chill family night, that pan was empty in hours. Now I whip it up for every meaningful occasion—and there's never a crumb left.
Irresistible Ingredients
- Cream cheese blocks at room temp: Makes the filling super smooth. Steer clear of the whippy tub kind for best results
- Graham crumbs for the bottom layer: Give that classic crunch. Pulverize them for the finest texture
- Butterscotch chips: Bring that unique rich flavor. Look for the kind with real butter in the ingredients
- Heavy cream: You’ll need it cold, for both silky filling and the shiny topping
- Light brown sugar: Sweetens everything. Watch for freshness and avoid rock-hard sugar lumps
- Eggs: Let them warm up on the counter for easier blending and a silkier cheesecake
- Vanilla extract: Just a splash makes everything taste better
- Sour cream: Adds tang and a soft, rich feel to each bite. Only use full fat
- All purpose flour: This little bit helps the inside set perfectly
- Dry butterscotch pudding powder: Adds flavor and thickens the mix. Use instant for instant results
- Unsalted butter: Keeps the crust crisp and rich. Grab a fresh pound for best flavor
- More butterscotch chips and cream: You'll use these only for that glossy ganache on top
Easy Step Guide
- Chill and Set
- Once your pan comes out, set it on the rack until it’s room temp. Stick it in the fridge for at least five hours but overnight is magic
- Get the Pan Ready
- Drop parchment on the bottom and rub the sides with a bit of butter or nonstick spray to make lifting the cheesecake easy later
- Mix and Bake Crust
- Stir brown sugar graham crumbs and melted butter with a fork. Push the mix into the pan—including a little up the sides. Smash it flat with a glass, then bake so it gets a little golden. Let it cool before anything touches it
- Suits up the Pan
- Double wrap the outside in foil. Press the foil snug. No water sneaks in—nobody wants a soggy bottom
- Melt Butterscotch
- Zap chips and cream in the microwave for 20 seconds, then stir. If it’s not smooth, heat again a few seconds so it’s silky and lump-free
- Filling Kickoff
- Beat cream cheese with brown sugar and flour on low. Scrape down the bowl now and then—you want a totally smooth mix
- Pudding and Mix
- Pour in the melted butterscotch, but do it in two rounds and keep scraping the sides. Add dry pudding powder and blend until there are zero dry spots
- Flavor Last Touches
- Pour in vanilla and sour cream. Don’t overbeat—just until combined
- Eggs Go In
- Add eggs one at a time. Mix gently after each. Don’t rush or beat on high—too much air means cracks later
- Water Bath & Bake Time
- Pour the batter in the crust. Sit the pan in a bigger roasting pan, then carefully fill the outer pan up halfway with just-boiled water. Bake—edges should set and the center will wobble like jello
- Cool Down With Care
- Turn off the oven, leave the cheesecake inside with the door closed for 30 minutes, then crack the door and give it ten more before you pull it out
- Finish With Ganache
- Warm cream and dump it over butterscotch chips. Whisk until it’s melt-your-heart smooth. Let it chill a bit, pour over the cold cheesecake, and let it run down the sides. Scatter some extra chips if you want
- Ready to Eat or Store
- Cover and chill. Slice with a big sharp knife—run it under hot water between cuts for perfect pieces
I always tuck away a few butterscotch chips to sprinkle over the kids’ ice cream—honestly, we end up sneaking bites in the kitchen together. The best part? Scraping and licking the spatula after swirling that ganache on top every time.
Keep It Fresh
Toss leftovers in the fridge and you’ll have creamy perfection for three or four days. Only cut what you’re eating—leave the rest cold and covered. Freeze single slices on a tray until firm, then wrap up and keep in a box for up to two months. For that just-baked feel, thaw them in the fridge overnight.
Swap Options
No graham crackers? Use vanilla wafer crumbs instead. Can’t find butterscotch pudding? Swap in another flavor. Gluten free friends: trade flour for half as much cornstarch. Want a different twist? Sprinkle a little salt in the crust or ganache for a fun kick.
Best Ways to Serve
This cheesecake’s great on its own, but add whipped cream or toasted nuts and it’s next-level. Cut it cold for neat slices and the smoothest texture. Coffee or a little dessert wine on the side? Yes, please. I like thin slices so everyone can grab seconds if they want.
Where It Comes From
Cheesecakes go back ages, but the thick, chip-packed ones with layers and toppings started catching on everywhere in the last hundred years. Butterscotch has a warm, throwback vibe from old lunchrooms and holidays, and here, it pairs perfectly with tangy cream cheese.
Frequently Asked Cooking Questions
- → How can I make sure the cheesecake filling stays super smooth?
Leave the cream cheese and eggs out until they’re room temp, then mix everything slowly so you don’t whip in extra air. That’s the trick for that silky texture.
- → What’s with baking in a water bath?
The water around the pan cooks it gently, so the cake won’t crack and stays creamy the whole way through.
- → Could I swap the graham crumbs for something else?
You bet, go for vanilla wafer crumbs or gluten-free cookies if you need an allergy switch-up.
- → How do I get the cake out without sticking?
Put a piece of parchment under the crust and grease just the pan sides. This’ll help you pop it out after it’s cold.
- → Any tips for getting neat slices?
Dip a sharp knife in hot water, slice, then wipe it off every time—looks super tidy and pro.
- → How do I keep leftovers fresh?
Cover and stash it in the fridge. If you want to keep it longer, freeze it before you add the toppings and thaw in the fridge first.