
 Save
Save
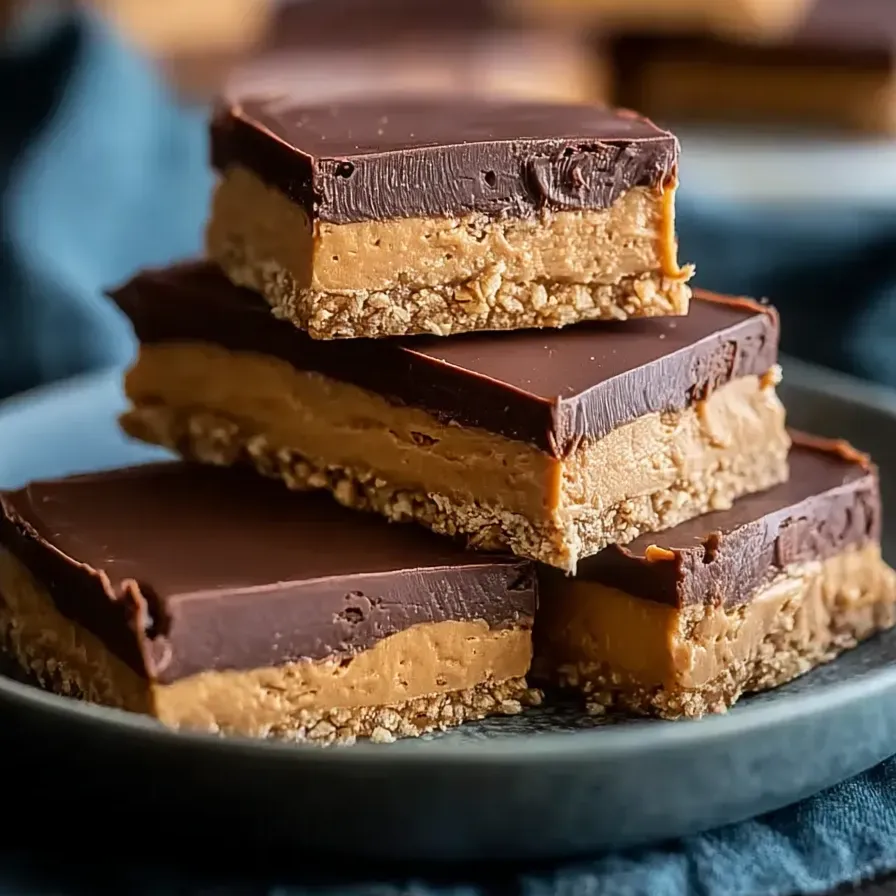
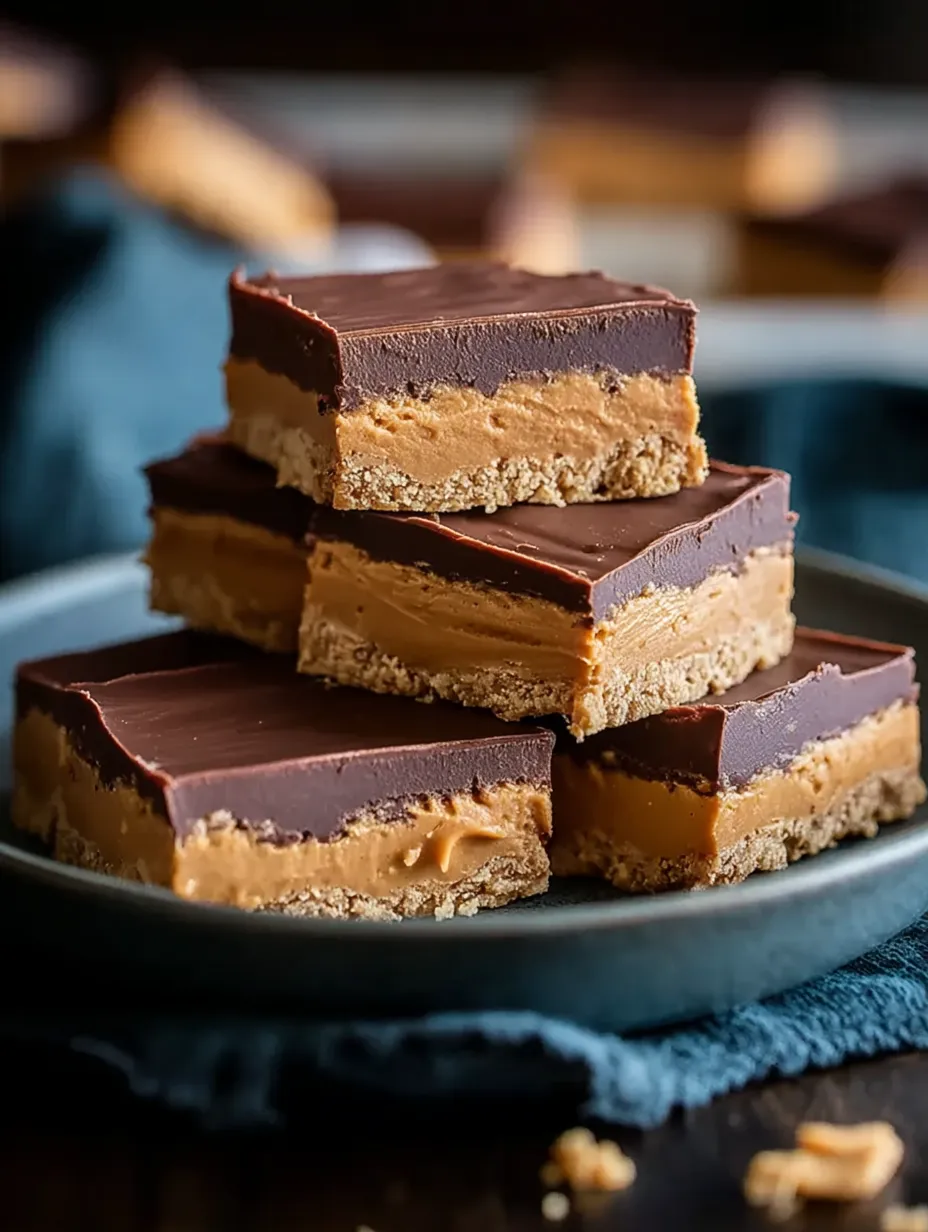
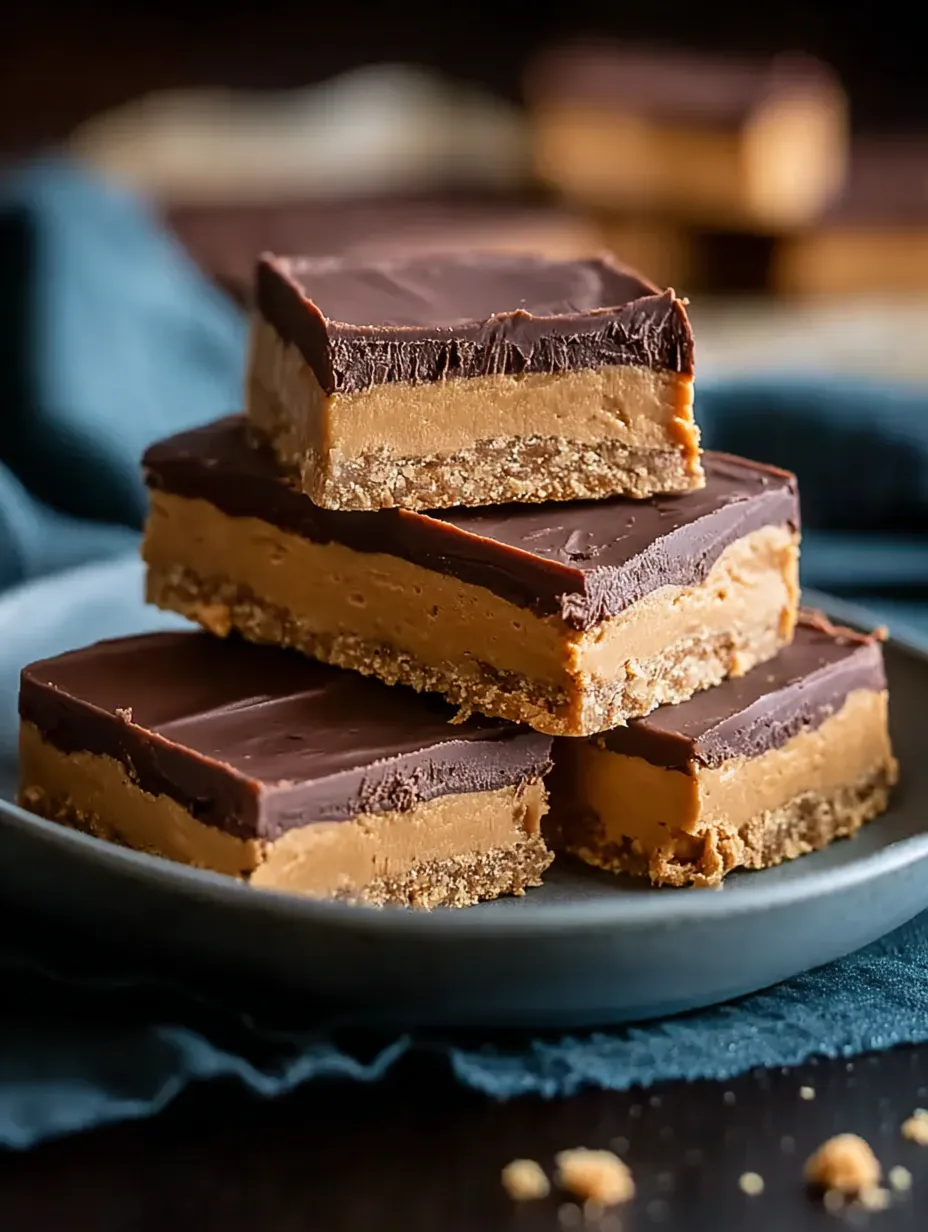
Sweet and salty come together in these easy no-bake peanut butter bars. The soft, peanut base and thick chocolate layer taste like a bigger, better version of your favorite candy. They’re a snap to throw together for a craving or anytime you want something sweet—you don’t even need the oven. You'll find yourself reaching for these at parties, bake sales, or just with friends around the table.
The first batch I put together was for a family party, and my little cousins kept going back for more. Chocolate on top of creamy peanut butter always gets the crowd smiling.
Addictive Ingredients
- Semi-sweet chocolate chips: melt for the shiny, dreamy chocolate finish—pick your favorite brand for bonus flavor and crackle
- Butter in the chocolate top: makes the topping super smooth, shiny, and soft—set your butter out first so it melts right
- Salt: brings balance and keeps everything from being too sweet—a fine grind mixes in the best
- Graham cracker crumbs: keep things from getting mushy and give tiny crispy bites—fresh is best for crunch
- Creamy peanut butter for the topping: keeps the chocolate layer softish instead of rock hard
- Unsalted butter: holds the bars together and makes the base extra tender—melt before mixing
- Powdered sugar: makes the bar sweet and sturdy—if you sift, you’ll get the smoothest bars
- Vanilla extract: brings more flavor—go for real stuff if you can
- Creamy peanut butter: gives that classic peanut flavor and smooth bite—skip natural, stick to classic for this one
Epic Step List
- Chill to Set:
- Pop the tray into the fridge for two hours at least. This lets the chocolate and peanut layers get nice and firm for the perfect bite.
- Slice into Bars:
- Grab the parchment and lift the bars right out of the tray. For super clean edges, run a knife under hot water and dry before every cut. That’s the trick for pro looking treats!
- Spread the Chocolate:
- Spoon the chocolate topping all over the pressed peanut butter layer. A spatula helps get it all the way to the corners for that signature thick chocolate cap.
- Make the Chocolate Top:
- Mix together chocolate chips, peanut butter, and butter in a bowl that can handle the microwave. Melt in short bursts (about thirty seconds) and stir between zaps. Go slow--you don’t want to burn the chocolate.
- Press Base Into Tray:
- Plop the mixture into the lined pan. Press it down using your hands or the back of a cup so it’s smooth and reaches every edge. Check the corners so there aren’t gaps hiding.
- Add the Dry Stuff:
- Toss in your graham crumbs, powdered sugar, vanilla, and salt. Stir until everything looks thick and a little crumbly but stick together if pressed down—it won’t look perfectly smooth.
- Mix the Peanut Butter and Butter:
- Combine your peanut butter and melted butter in a large bowl. Stir them together until the mix looks completely smooth and blended, no lumps hiding in there.
- Prep Your Pan:
- Line a 9x13 tray with parchment paper so the bars lift out easily later. This makes cutting and serving a breeze!
I can’t get enough of that choc layer on top. Sometimes I double the chocolate just for my fellow chocolate fiends. Honestly, we always cut huge squares at first because no one wants to stop at one bite.
Storing Info
Pop the bars in a sealed box and stash them in the fridge. They’ll stay tasty about a week. You can freeze them for up to three months, too—just put parchment between layers so they don’t stick together, then grab one whenever you want a treat.
Easy Ingredient Swaps
Want gluten free bars? Try GF graham crackers. Plant based? Sub in vegan butter and dairy free chocolate. Like a little crunch? Grab the chunky peanut butter instead.
How to Serve
They’re best served chilled—makes slicing super tidy and gives the chocolate that really satisfying snap. I think they go best with a cup of coffee or cold glass of milk, or as part of a dessert platter with berries and other sweets.
Quirky Backstory
No bake bars like these started popping up in American kitchens mid twentieth century when cooks wanted quick sweets with pantry stuff. Every family’s got their own riff, all about skipping the oven for easy treats.
Frequently Asked Cooking Questions
- → These bars are sticking to my dish—what's an easy fix?
Throw down some parchment with extra on the sides so you can pull the bars right out and skip the sticky cleanup.
- → Is it okay to switch to crunchy peanut butter instead of creamy?
You bet! Crunchy peanut butter will give you a little bite, but it'll make each piece less smooth. Totally up to you.
- → How should I melt the chocolate for the topping so it's easy to spread?
Pop your chips, some butter, and peanut butter in a bowl and microwave them in short bursts, mixing every half minute till it's all melted together.
- → How long do I need to chill before I can cut the bars?
Give them at least two hours in the fridge so the top firms up. That way, your slices will look nice and hold together.
- → After serving, do leftover bars have to stay cold?
Yup, seal them up in a container and keep in the fridge. It'll keep them fresh and just the right texture.