
 Save
Save
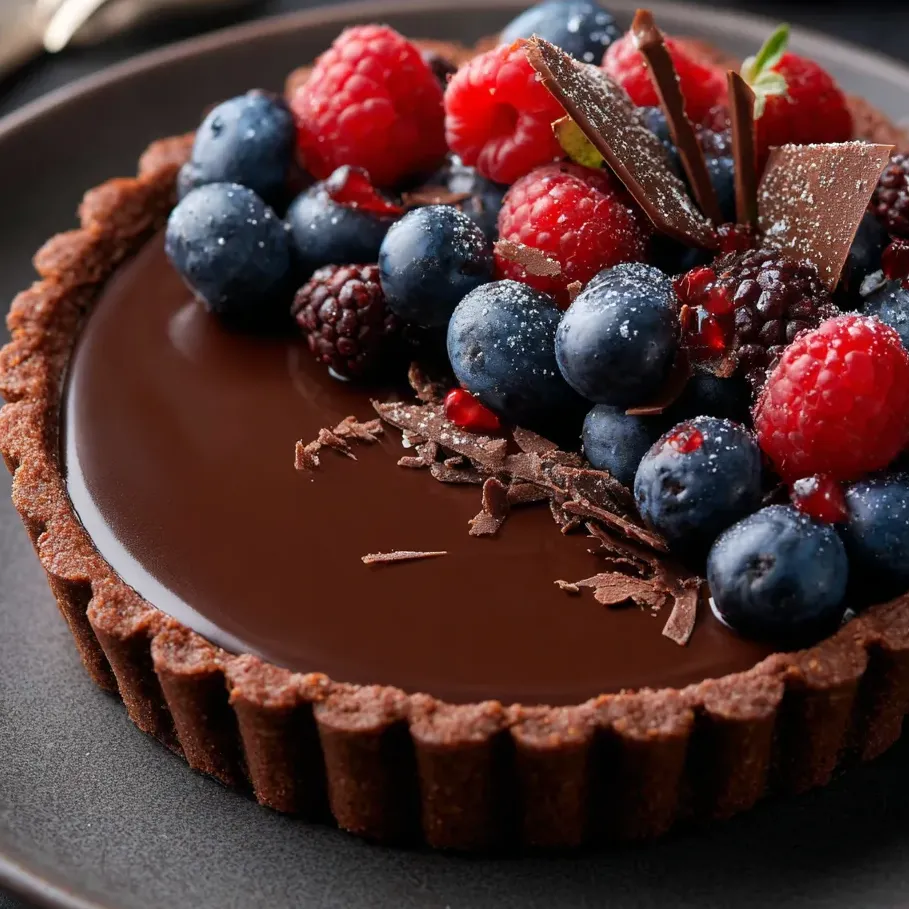
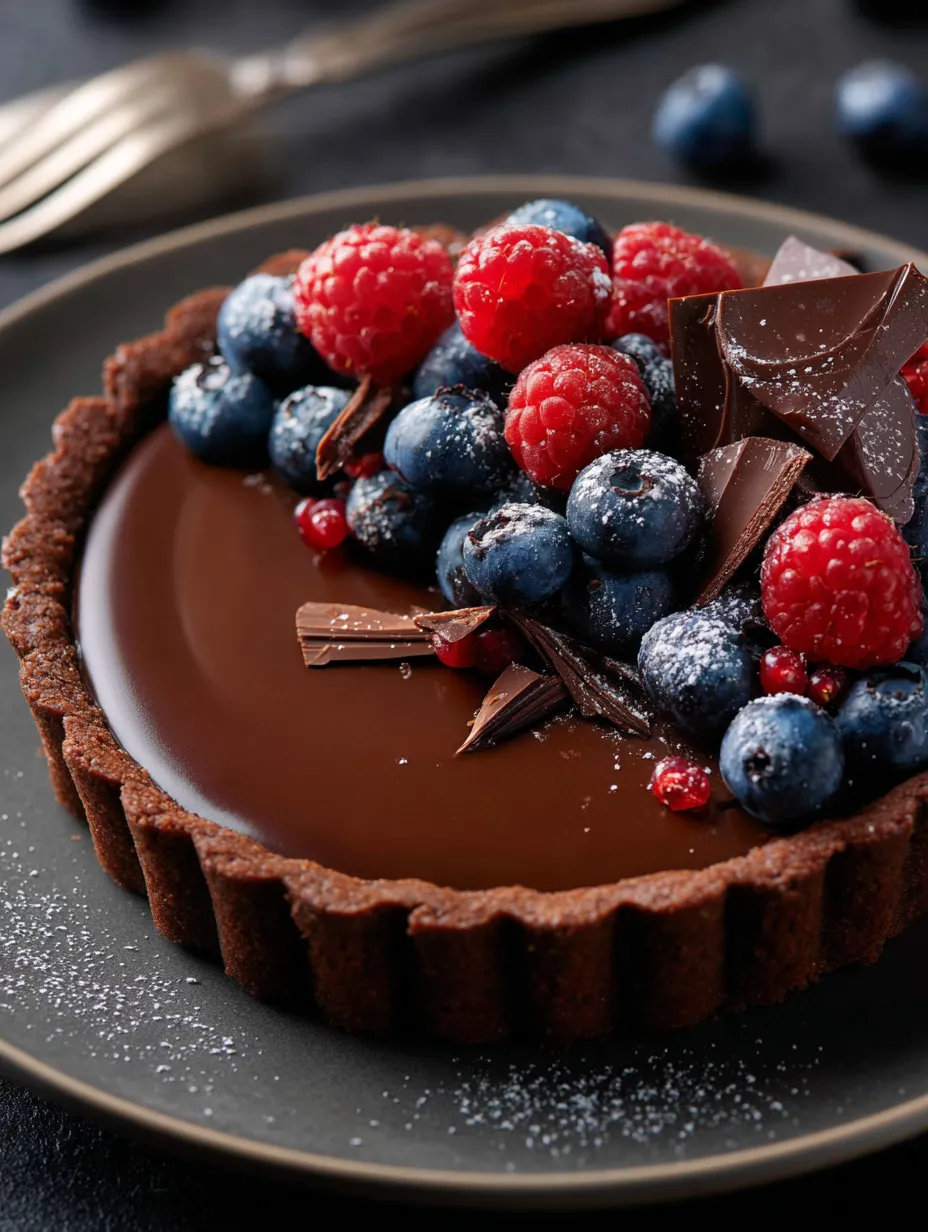
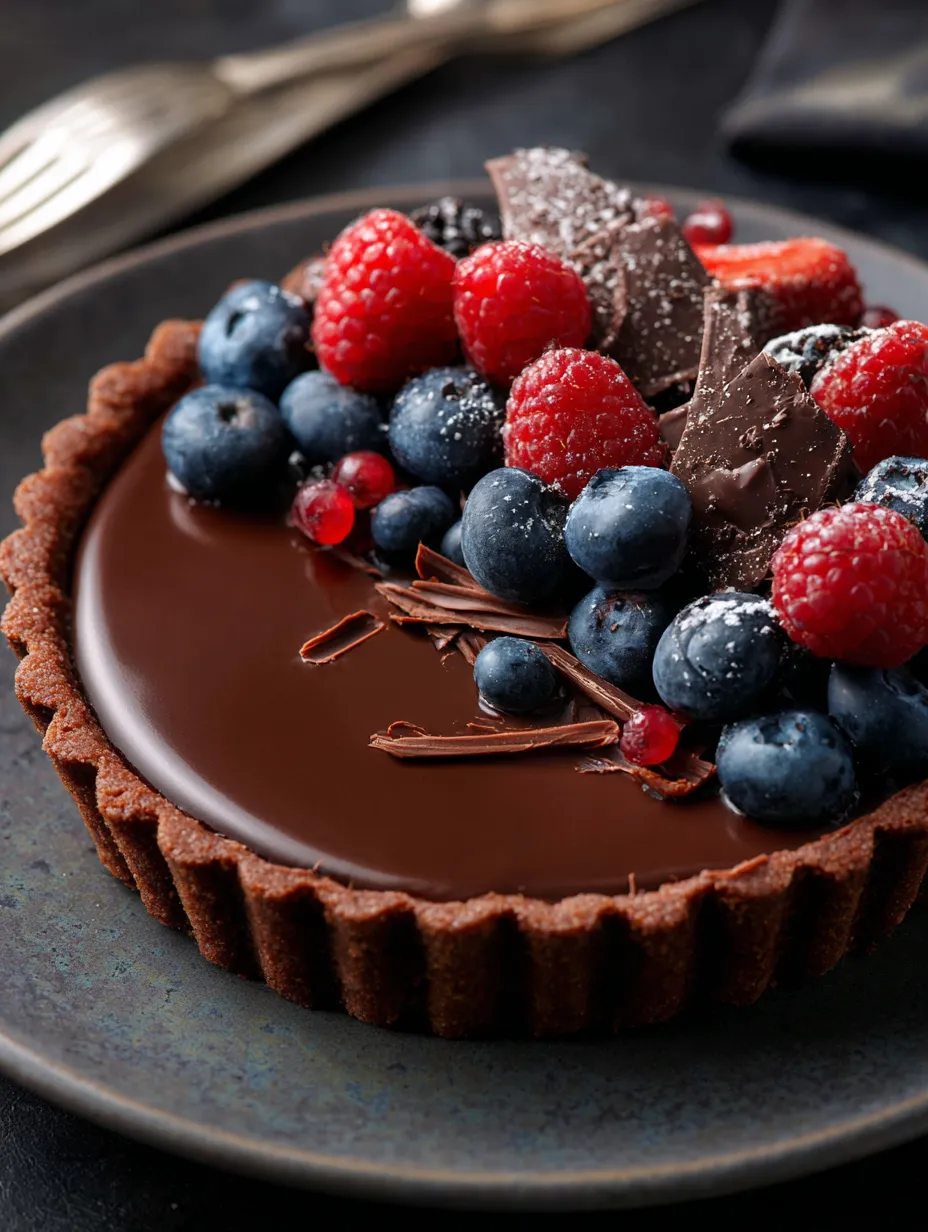
This chocolate tart is my go-to when I want to blow people away at parties or just bring out something extra special. The crust is buttery and chocolatey and gets filled with the smoothest dark chocolate ganache. It's got those classy looks, but honestly, it couldn't be easier. Each bite is super rich with chocolate and so silky you won't believe it.
I first baked this for my bestie's birthday. We all stopped and just stared at each other after the first bites because it was THAT tasty. Now it's what friends always beg me to make for hangouts.
Luscious Ingredients
- Whipped cream and cocoa powder: totally optional but add a nice finishing vibe
- Cold unsalted butter: helps the pastry get that perfect flake, just make sure it's chilled
- Unsweetened cocoa powder: for a serious chocolate kick, Dutch process is where it's at
- Ice water: just enough to make the dough stick together without turning sticky, add a bit at a time
- Powdered sugar: keeps the crust tender so it almost melts in your mouth
- Salt: ramps up all those chocolate notes, fine sea salt is best if you've got it
- Heavy cream: makes your ganache super smooth and creamy, so go for the regular kind with lots of fat
- Vanilla extract: ties all the flavors together, real stuff only
- All purpose flour: keeps the crust together, unbleached will give you the best results
- Fresh raspberries or strawberries for garnish: find the sweetest, ripest fruit you can
- Large egg: makes the dough rich and helps it stick, freshest eggs are always the best
- Dark chocolate: the main event! Use 60–70% cocoa for bold taste, not too sweet, not too bitter
- Unsalted butter: brings shine and softness to your ganache
Clear Steps to Follow
- Top and Serve:
- Just before serving, add your fresh berries and dust with a little cocoa or add whipped cream. Let sit out 15 minutes so each slice turns out creamy and dreamy.
- Spread Out and Chill:
- Pour the chocolate ganache into your cooled crust. Give it a gentle tap on the counter to ditch air bubbles, then pop it in the fridge to set up.
- Melt and Mix Ganache:
- Chop up the chocolate and plop it in a bowl. Heat cream till it’s just about to boil, pour it over the chocolate, and let it hang out. Then gently stir from the center until shiny and smooth, adding softened butter, vanilla, and a tiny bit of salt.
- Cool the Crust:
- Let your tart shell chill out on a rack while it’s still in the pan. This keeps it firm so it can handle all that rich filling.
- Bake Blind:
- Press parchment inside your crust, dump in some weights, bake till it starts holding its own shape, then ditch the weights and keep baking until it’s crispy around the edge.
- Roll and Shape:
- Once the dough’s cold, roll it out between two pieces of parchment so it fits the pan. Press it in and trim any wild edges for a nice look.
- Splash and Chill Dough:
- Drizzle in ice water just until the dough holds together. Press into a flat round, wrap up, and chill for at least an hour so it’s easier to work with.
- Egg and Vanilla Time:
- Whisk your egg with vanilla, pour into the processor, and pulse until most of it’s mixed in. This step gives your dough a little richness and extra flavor.
- Butter Blitz:
- Add cold butter chunks into the mix, then pulse again until it’s crumbly. Doing this quick keeps everything flaky.
- Start That Dough:
- First, throw flour, cocoa, salt, and powdered sugar into a food processor. Give it a couple quick spins until it all looks the same color.
Getting the chocolate just right makes everything. I once tried out three different brands for this and that little bit of extra effort made the end result something nobody stopped talking about.
How to Store
Stash your chocolate tart in the fridge for up to 4 days. Wrap it tight so the ganache stays soft and the crust doesn’t get weird. About twenty minutes out of the fridge is perfect before you slice—this really brings out the silky texture. Once I made it a day early and it was honestly even better after a night in the fridge.
Swap-Out Ideas
Need it dairy-free? Try coconut cream and a plant butter. Going gluten-free? Grab a blend that matches flour one-to-one. If you don’t have dark chocolate, a good semisweet bar will work too—just cut down on any added sugar a smidge.
Fun Ways to Serve
Sprinkle sea salt flakes on top or add a swirl of whipped cream for a snazzy touch. Toss on some pomegranate seeds for the holidays, or add strips of candied orange. My favorite move is tiny slices with a hot espresso after dinner—absolute bliss.
Backstory and Traditions
Chocolate tarts have been the crown jewel of European bakeries for ages—people see them as a sign of real baking chops. Even though the steps feel kind of fancy and French, you only need basic kitchen stuff and it's not hard for home cooks to pull off.
Frequently Asked Cooking Questions
- → What garnishes go best with this tart?
Berries, whipped cream, flaked sea salt, or a light dust of cocoa look and taste awesome here.
- → Can I swap milk chocolate for dark?
Sure can! It won’t be as deep and it’ll taste sweeter. You might want to cut back on sugar if you do.
- → What cocoa percent is best in the ganache?
Try dark chocolate between 60 and 70%. You’ll get flavor that’s rich and not too bitter.
- → How can I stop my tart from shrinking?
Be sure to chill that dough long enough. Use weights in the shell when you bake it empty to keep things in place.
- → Is it alright to prep the tart shell in advance?
Totally! Bake the shell ahead of time and just keep it sealed for up to two days before filling.
- → How do I get a shiny ganache?
Add butter to the ganache while it’s still hot and stir until it looks super glossy. Tapping the tart helps pop any bubbles, too.