 Save
Save
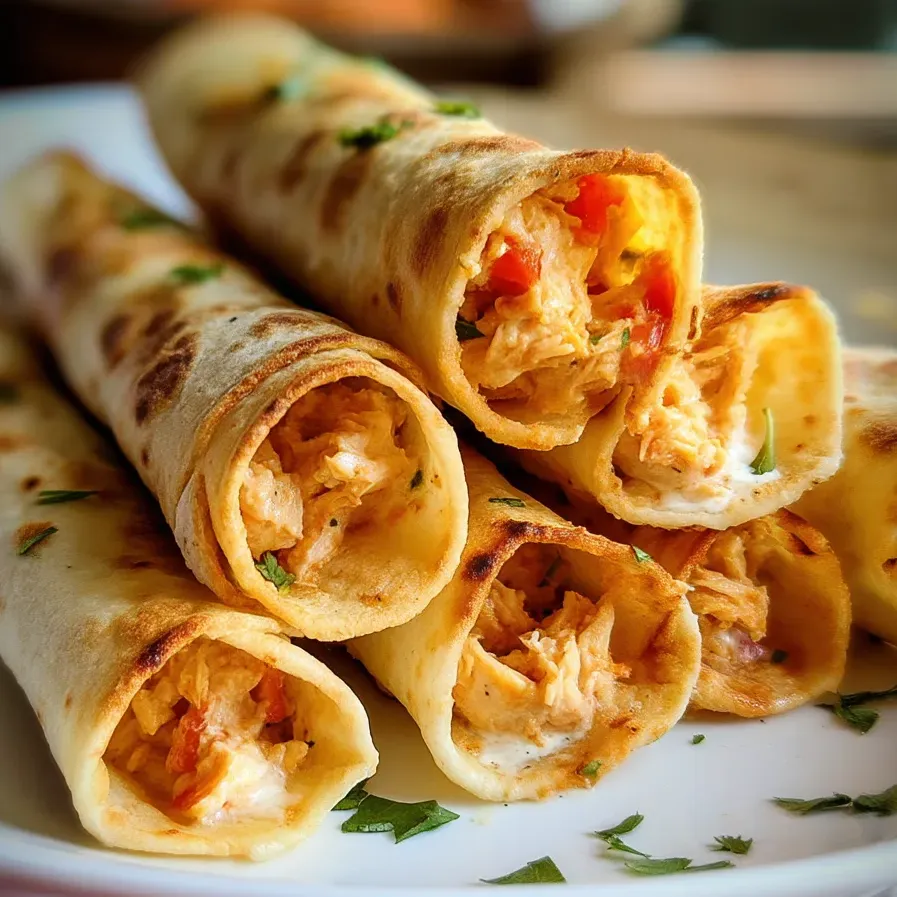
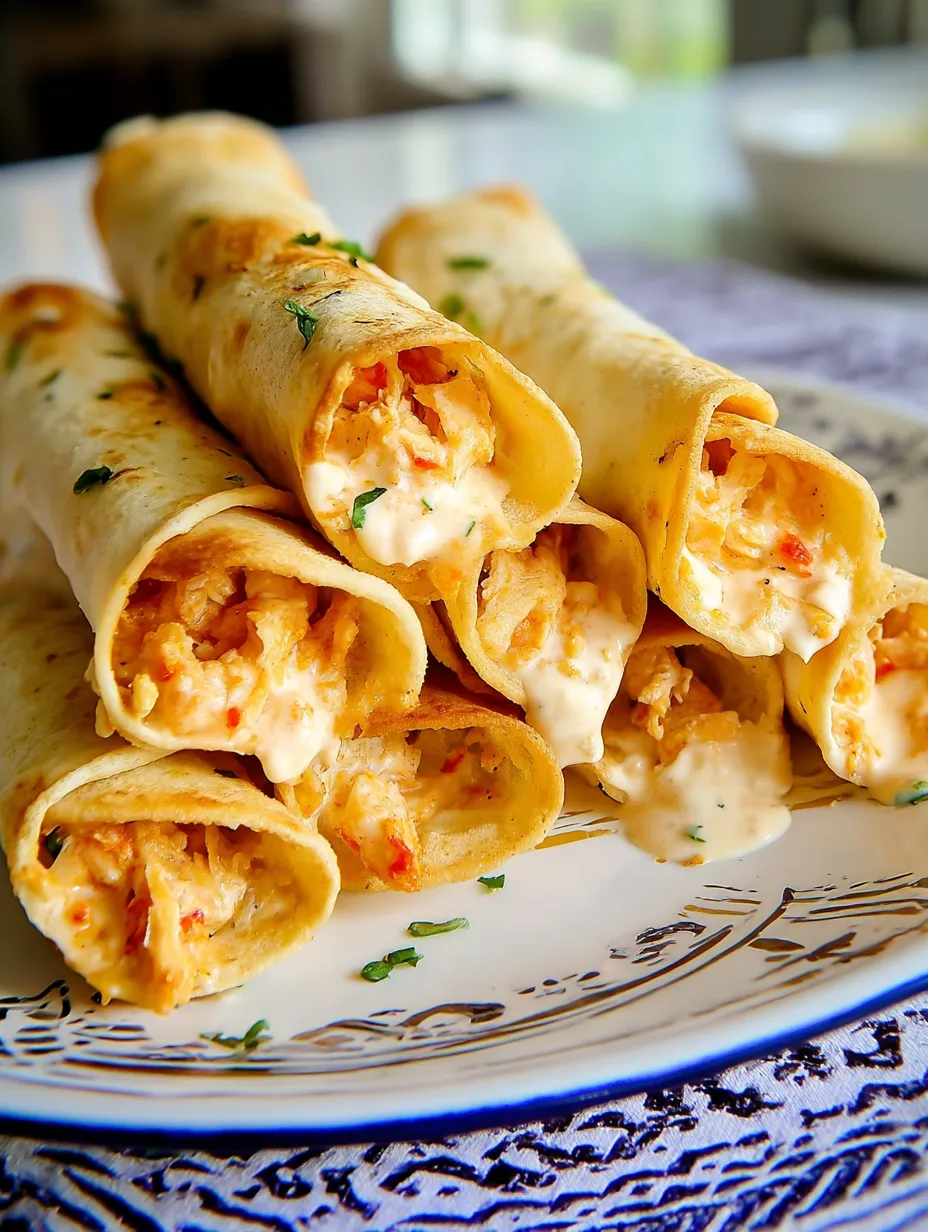
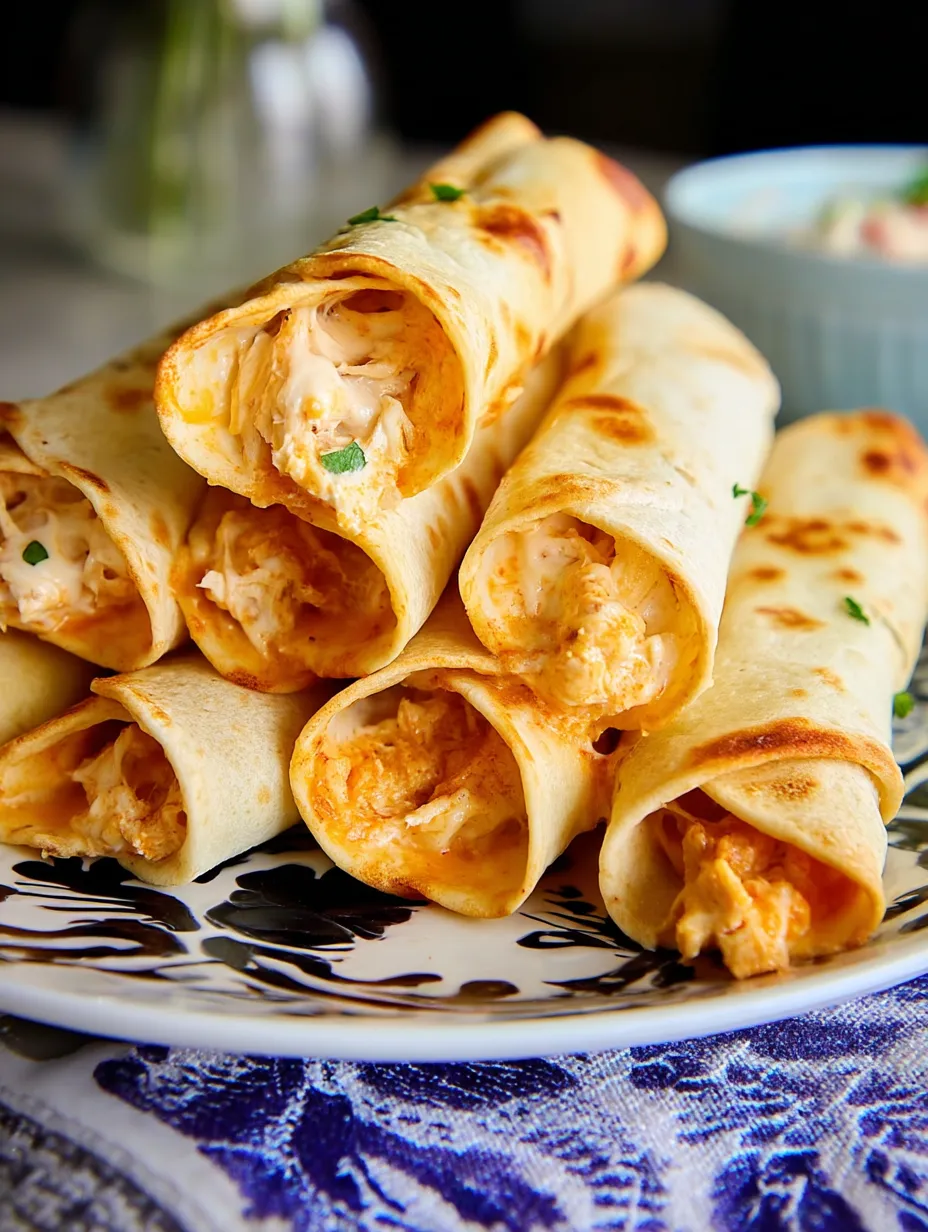
These baked chicken taquitos hit all the right notes—the creamy, cheese-loaded filling turns your leftover chicken into something truly special. They come out of the oven super crunchy, giving you that satisfying bite without the hassle of frying. The cream cheese really makes these stand out, creating that rich, smooth texture that'll have everyone grabbing seconds.
The first batch of these taquitos happened when I needed a quick snack for friends watching sports and spotted some leftover chicken in my fridge. They vanished within minutes! Now I purposely cook extra chicken whenever I can just to make these. The thing my family can't get enough of is how the crunchy outside wraps around that warm, gooey filling.
What You'll Need
- Shredded chicken: forms your main protein base—grab some from last night's roast or pick up a rotisserie chicken from the store for rich flavor
- Cream cheese: gives that wonderful velvety texture that makes these taquitos stand out—stick with regular instead of light for better results
- Cheddar cheese: adds that tangy zip and gorgeous melty pull—shred it yourself rather than buying pre-packaged for way better melting
- Salsa: brings moisture and instant flavor—pick mild or hot depending on how spicy you want them
- Garlic powder: adds that savory punch without needing to chop fresh cloves
- Onion powder: gives great flavor without the crunch of actual onions
- Cumin: brings that warm, earthy Mexican flavor—give it a quick heat in a dry pan first to wake up its aroma
- Flour or corn tortillas: create the crispy outer shell—the 6-inch size works best for handling
- Cooking spray: helps everything brown evenly without getting soggy
Cooking Process
- Get your oven ready:
- Turn your oven up to 425°F so it gets nice and hot for making those tortillas crispy without burning them. Put some parchment on your baking sheet so nothing sticks. This little step saves you from scraping stubborn cheese off your pan later.
- Put together your filling:
- Grab a bowl and mix your chicken with cream cheese that's been sitting out a bit to soften, your shredded cheddar, and salsa. The soft cream cheese is key—if it's too cold, you'll get lumps. Toss in your spices and stir it all up until everything looks evenly mixed and the chicken is coated in creamy goodness.
- Get your tortillas ready to roll:
- Your tortillas need to be warm or they'll crack when you try to roll them. Wrap them in a damp paper towel and pop them in the microwave for about half a minute. This makes them bendable and soft so they won't split open during rolling.
- Roll up your taquitos:
- Scoop about 2-3 spoonfuls of your mixture onto the bottom part of each tortilla in a straight line. Don't go overboard with filling or they'll burst while cooking. Roll them up tightly from the filled end, keeping them snug as you go. Put them on your baking sheet with the seam facing down so they stay closed.
- Get them ready for the oven:
- Lightly coat each taquito with a bit of oil using a brush or spray. Make sure to get the edges and ends which tend to dry out first. This thin layer is what transforms them from bland to golden and crispy.
- Bake until golden:
- Stick them in the middle of your preheated oven for about 15-18 minutes until they turn a nice golden brown with crispy edges. You might see some filling bubbling at the ends—that's a good sign they're hot all the way through.
- Let them cool a bit:
- Take them out and wait just a couple minutes before serving. This short cooling period lets the super-hot filling firm up a little so you don't burn your mouth on the first bite. Arrange them with some dips around for a nice presentation.

I stumbled on using cream cheese completely by accident when I was trying to stretch a small amount of leftover chicken. It turned out to be the best kitchen mistake ever! The cream cheese does something magical here—it creates this smooth, rich texture that holds everything together while providing the perfect creamy contrast to that crunchy outside layer.
Prepping Ahead
These taquitos are perfect for getting ready ahead of time. You can roll them all up, place them on a baking sheet, wrap with plastic, and keep them in your fridge for a day before cooking. When you're ready, just pull them out while your oven heats up, brush them with a little oil, and bake them a few minutes longer than normal since they'll be cold. If you want to save them longer, freeze the rolled taquitos on a tray until solid, then pop them in a freezer bag. When it's time to cook, no need to thaw—just bake them straight from frozen by adding about 5-7 extra minutes.
Switch Things Up
Once you've got the basic recipe down, you can play around with different flavors. Want some heat? Throw in some diced jalapeños or a splash of hot sauce. For something more interesting, mix in some chopped cilantro, lime zest, or a spoonful of chipotle sauce. Try switching to green salsa and Monterey Jack cheese for a different twist. You can even make morning taquitos by swapping the chicken for scrambled eggs and sausage.
Perfect Pairings
While these taquitos are fantastic just with dipping sauces, you can easily turn them into a complete meal. Serve them with a side of Mexican rice and refried beans for a dinner that feels like your favorite restaurant. A simple lime and cilantro slaw offers a cool, fresh contrast to the warm, rich taquitos. For a fun party spread, arrange them on a big platter surrounded by little bowls of toppings like quick-pickled onions, chopped avocado, and crumbled cotija cheese, letting everyone dress up their own plate.

Frequently Asked Cooking Questions
- → Can I make these rolls in advance?
Definitely! You can mix the filling and wrap the rolls up to a day before. Keep them wrapped in the fridge, then add oil and bake when you're ready to eat. You can even freeze the uncooked wrapped rolls for up to 3 months - just bake them a bit longer when cooking from frozen.
- → How should I warm up leftovers?
For the crunchiest results, warm leftover rolls in your oven or toaster oven at 350°F for around 10 minutes. An air fryer works great too - 350°F for 3-4 minutes. You can microwave them in a hurry (1-2 minutes), but they won't stay as crunchy.
- → Can I swap out flour tortillas for corn ones?
Sure thing! Corn tortillas make a more traditional roll and they're gluten-free too. Just warm them up first so they don't break when rolling. Put the stack between damp paper towels and microwave for 20-30 seconds, or quickly heat each one in a dry pan until they're flexible.
- → How do I make these rolls hotter?
You can turn up the heat by using spicy salsa in the mix, tossing in chopped jalapeños or a few splashes of hot sauce with the chicken, or adding 1/4-1/2 teaspoon of cayenne with your other seasonings. Serving hot salsa on the side lets everyone pick their own spice level.
- → What foods go nicely with these rolls?
These rolls taste amazing with classic Tex-Mex sides like Spanish rice, black or refried beans, a fresh green salad with cilantro-lime dressing, or corn on the cob with spices. For a full party spread, add guacamole, fresh chunky salsa, and some lime wedges on the table.
- → Can I use something besides chicken?
Absolutely! This yummy filling works great with pulled beef, pork, or even cooked ground meat. Want a veggie version? Just switch the chicken for black beans, pinto beans, or a mix of cooked veggies like peppers, corn, and zucchini while keeping the cream cheese for that smooth texture.
