
 Save
Save
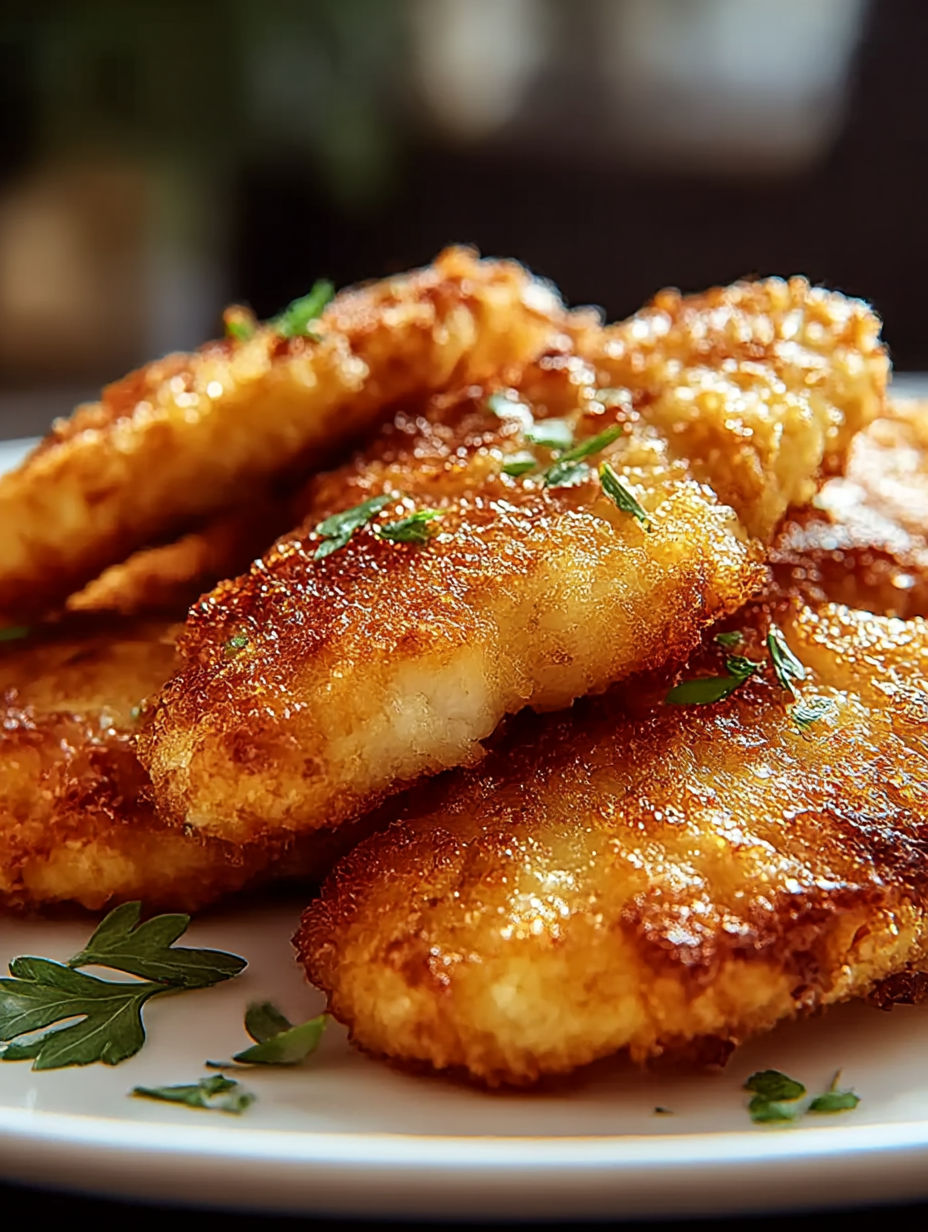
Crunchy chicken strips with a juicy inside that hit the spot every time. They're great for laid-back dinners or munching during the game when you want something tasty and filling.
I whipped up these chicken strips for a family get-together one weekend and they vanished super fast. Now, I make them whenever I want a homemade dish that's quick and impressive.
Needed Ingredients
- Buttermilk: helps keep the chicken tender and makes the coating stick better
- Vegetable or canola oil: perfect for frying since they handle heat well
- Chicken breasts: cut into strips so they cook evenly and serve easily
- Salt and black pepper: to flavor the flour mix just right
- Garlic and onion powder: bring gentle flavor without overpowering the chicken
- All-purpose flour: the base for the crunchy exterior—fresh flour works best
- Paprika: adds a mild smoky taste and a nice color
- Cornstarch: mixed in with flour to keep the crust light and crisp
How To Cook
- Get The Chicken Ready:
- Submerge the chicken strips in buttermilk and leave them for at least two hours, or better yet, overnight. This makes the meat juicy and tender.
- Mix The Coating:
- Stir together flour, cornstarch, salt, pepper, garlic powder, onion powder, and paprika in one bowl. In another, beat eggs with a splash of water to create a dip.
- Heat The Frying Oil:
- Heat oil to 350°F (175°C) in a deep pan or skillet. Keeping the oil at this exact temperature helps the tenders get crispy, not greasy.
- Coat The Chicken:
- First dunk the chicken in the egg mix, letting the excess drip off. Then press each piece into the flour mix, pressing well. Do a second dip if you want them extra crispy.
- Fry Until Golden:
- Fry the chicken strips a few at a time so the oil stays hot. Cook for about 5 to 7 minutes on each side until they’re golden and cooked through to 165°F (74°C).
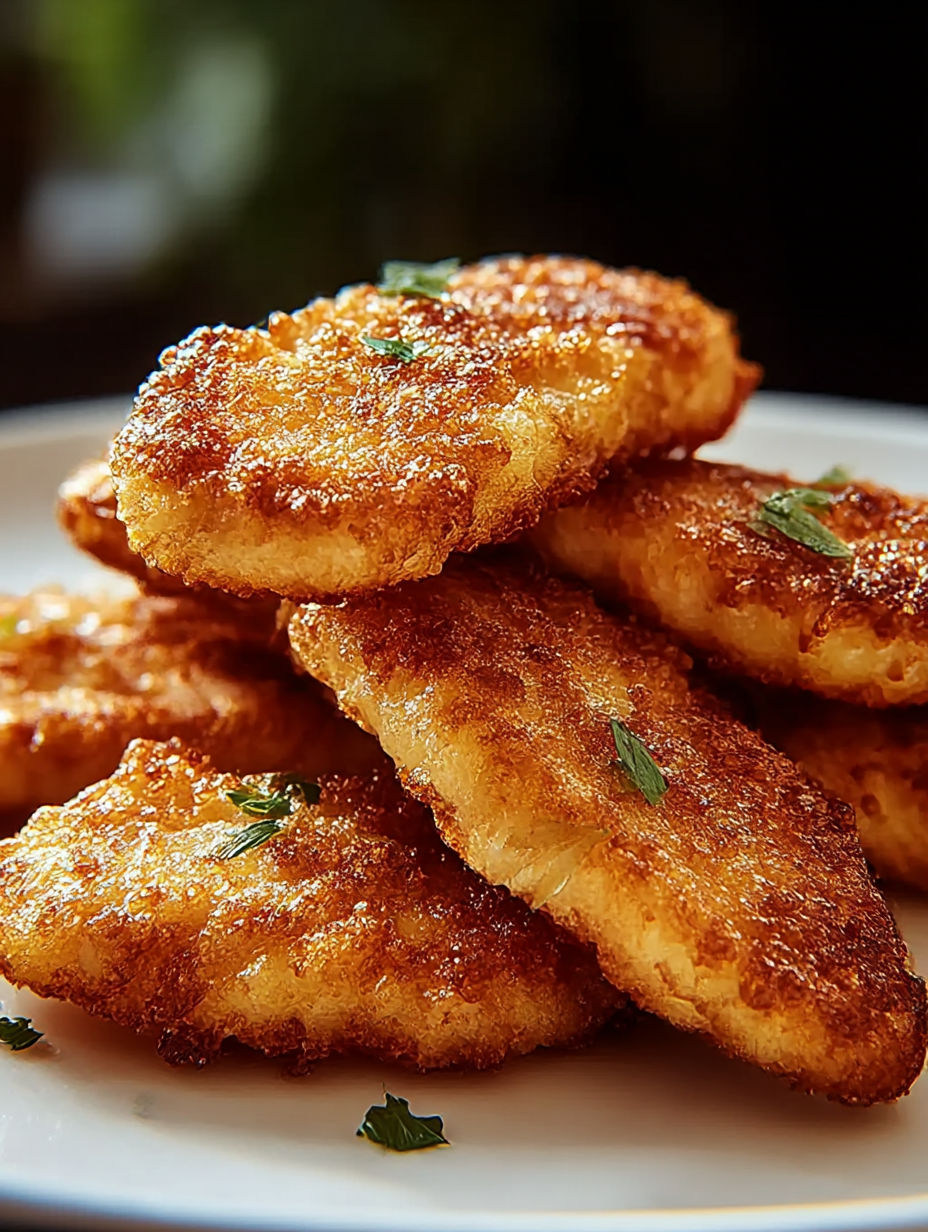
I like sprinkling some extra paprika on the tenders after frying. It makes them look amazing and taste even better. One time, these went crazy at a big backyard party where everyone wanted seconds.
Storing Leftovers
Keep any extra tenders in a sealed container in the fridge, and they'll stay good for up to three days. Warm them in a hot oven on a wire rack to keep them crispy—microwaves can make them soggy. You can also freeze cooked tenders one by one on a tray, then put them in freezer bags. Heat them from frozen for a fast meal.
Swap Ingredients
Try smoked paprika or chili powder instead of regular paprika for a bolder flavor. Use whole wheat flour for a nuttier touch, though it browns faster when fried. Mix some hot sauce into the buttermilk if you want a little heat while marinating.
Tasty Pairings
Dip these in classic honey mustard or cool ranch to balance the crunch. Add fresh coleslaw or a crisp salad for a bright side. You can also go with fries, roasted veggies, or creamy mac and cheese for a hearty meal.
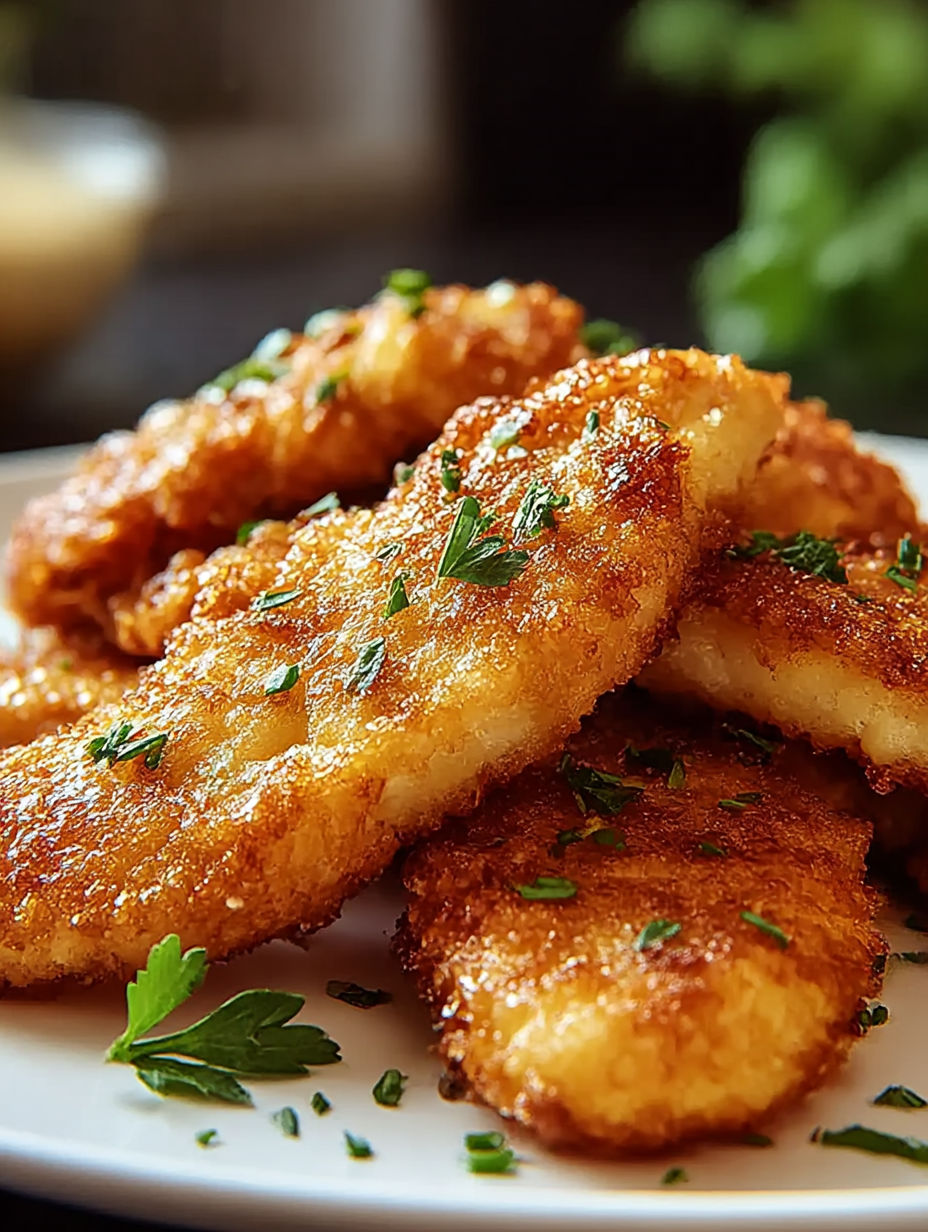
These crispy chicken strips are a classic favorite for any meal. The steps are simple, the ingredients easy, and the result is a perfect combo of crunch and juicy meat every time. It’s the kind of comfort food you can’t help but enjoy with a little skill and practice.
Frequently Asked Cooking Questions
- → Why soak chicken in buttermilk?
Buttermilk breaks down the proteins in chicken, making it juicier and packed with flavor.
- → What does cornstarch do for the coating?
It adds extra crunch, giving the outside a light, crispy touch.
- → Why do you coat the chicken twice?
Double coating thickens the crust so it gets crunchier and holds up well when frying.
- → What’s the best oil temperature for frying these?
Keep the oil around 350°F (175°C) to cook chicken evenly and get a perfect golden crust.
- → Can I switch up the spices in the coating?
For sure! Try smoked paprika, cayenne, or dried herbs to match your taste.
- → Do I have to use boneless skinless chicken breasts?
They work great for even cooking and easy handling, but thighs can give you more flavor if you want.