
 Save
Save
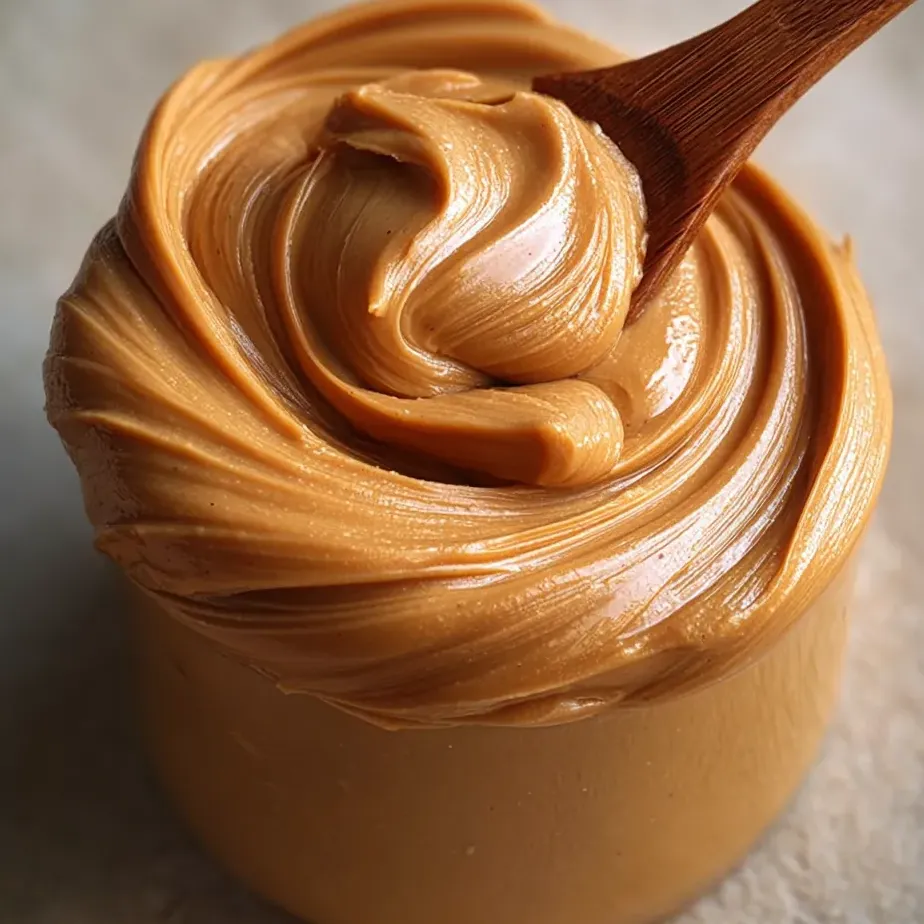
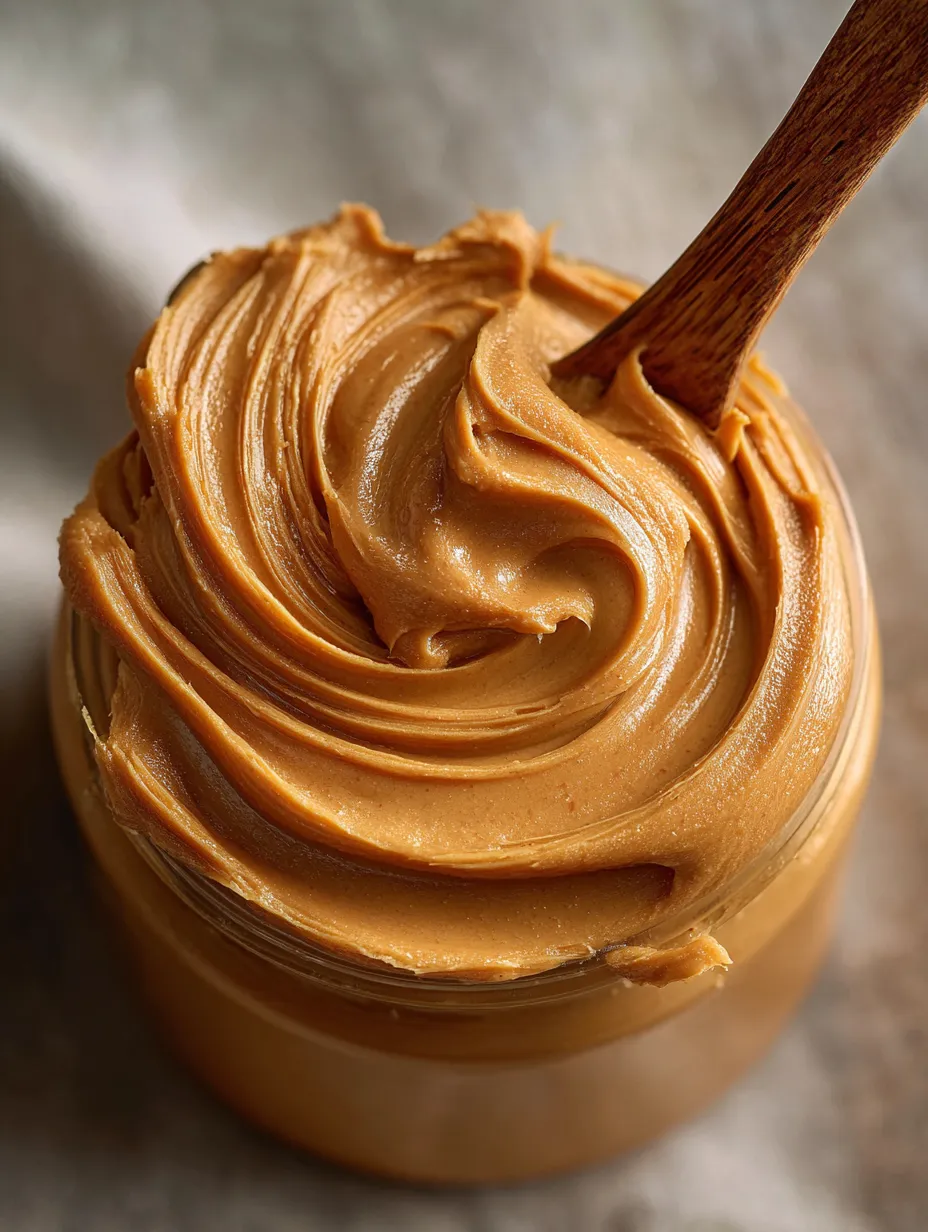
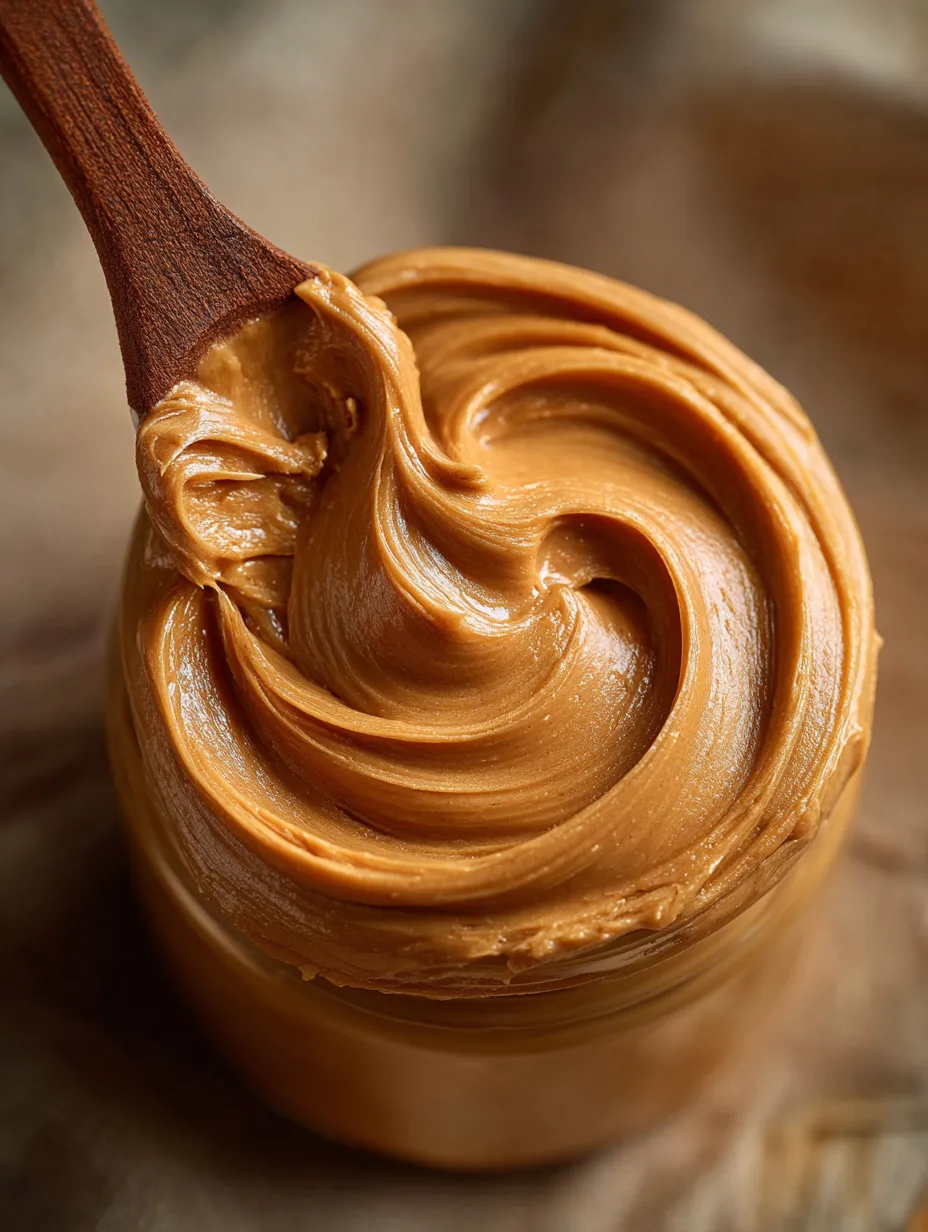
Nothing beats whipping up your own super-smooth peanut butter in your kitchen. You get to pick exactly how sweet, salty, and smooth it turns out. Whenever I make a batch, it's gone in no time—homemade just tastes so much richer than anything you can buy.
I can’t even count how many times my family waits around to scoop some straight out of the blender. Everyone fights for a taste when it's still warm. My kids always ask when I’ll make it again. It's our go-to for sandwiches.
Dreamy Ingredients
- Honey or maple syrup: If you like it sweet, add a little of one. Local honey or real maple syrup is best. Skip it entirely if you want just pure peanut taste.
- Peanuts: The main thing you need! Pick roasted for a rich flavor or raw if you want something lighter. Always grab the freshest peanuts you find and unsalted lets you call the shots on saltiness.
- Salt: Makes the peanut flavor pop. Even a pinch helps. Try flaky sea salt if you’re after a little more texture.
Super Simple Steps
- Time to Store:
- Scoop your homemade goodness into a glass jar (or anything that seals tight). Keep it in the fridge so it stays fresh. A thin layer of oil might show up later—just give it a quick stir and you're good.
- Add Sweetener and Blend Again:
- If you're after a sweeter mix, toss in honey or maple syrup now. Blend for another half a minute so it all comes together however you like it.
- Blend Peanuts:
- Put the cooled nuts and your salt in a food processor or strong blender. Let it run, scraping down the sides every so often. You’ll see it clump up first, then suddenly get glossy and smooth. Don’t stop blending until it looks just right.
- Let Them Cool:
- Once roasted, set the tray aside and let the peanuts chill out a bit. It’s important—they’ll be too hot for your blender otherwise.
- Roast Peanuts:
- Chuck your peanuts on a baking tray and slide them into a 350°F oven. Give them around ten minutes. This brings out that toasty flavor. Keep an eye on them at the end so they don’t burn.
Here's my secret: use peanuts while they're still warm from the oven for a super-silky finish. I’ll never forget my daughter sneaking a spoonful right out of the food processor. That’s real kitchen joy right there.
How to Store Yours
Your homemade peanut butter keeps best if you store it in a tight jar in the fridge. It usually stays fresh for about a month. If oil floats to the top, just stir it back in. For the smoothest spread, let it warm up a bit on the counter first.
Swap-Out Suggestions
Try cashews, almonds, or mix up your nut choices if you like a change. The way you make it stays the same. Want to shake up the flavor? A little cinnamon or vanilla kicks it up a notch!
Ways to Enjoy It
This stuff is magic on slices of apple or banana toast. Stir it into your oatmeal at breakfast or drizzle on pancakes. It's also a winner in cookies or tossed in a protein shake.
Fun Background Info
Peanut butter was first made by ancient South American cultures but became huge in early 1900s America as a cheap way to get protein. Now it's classic comfort food—nearly every kitchen has a jar somewhere.
Frequently Asked Cooking Questions
- → Can I use salted or unsalted peanuts?
Both work. Go unsalted if you want to pick how salty your spread gets. Just taste and add more salt if you need.
- → How long does homemade peanut butter last?
It keeps for a couple weeks in a tight jar in your fridge. The oil might rise up, so just give it a quick stir now and then.
- → Can I use a blender instead of a food processor?
Yep, a tough blender gets the job done. You'll probably need to pause often and scrape down the sides for smooth mixing.
- → Is it possible to make chunky peanut butter?
Oh, for sure! Save a handful of toasted peanuts, chop them up, and stir into your creamy mix at the end for some crunch.
- → What sweeteners can I add?
Maple syrup, honey, or even agave go great. Or leave out the sweet stuff if you want straight-up peanut flavor.
- → Why does oil separate on top?
That’s totally normal. Just give everything a stir before you scoop some out and it'll be good as new.