
 Save
Save
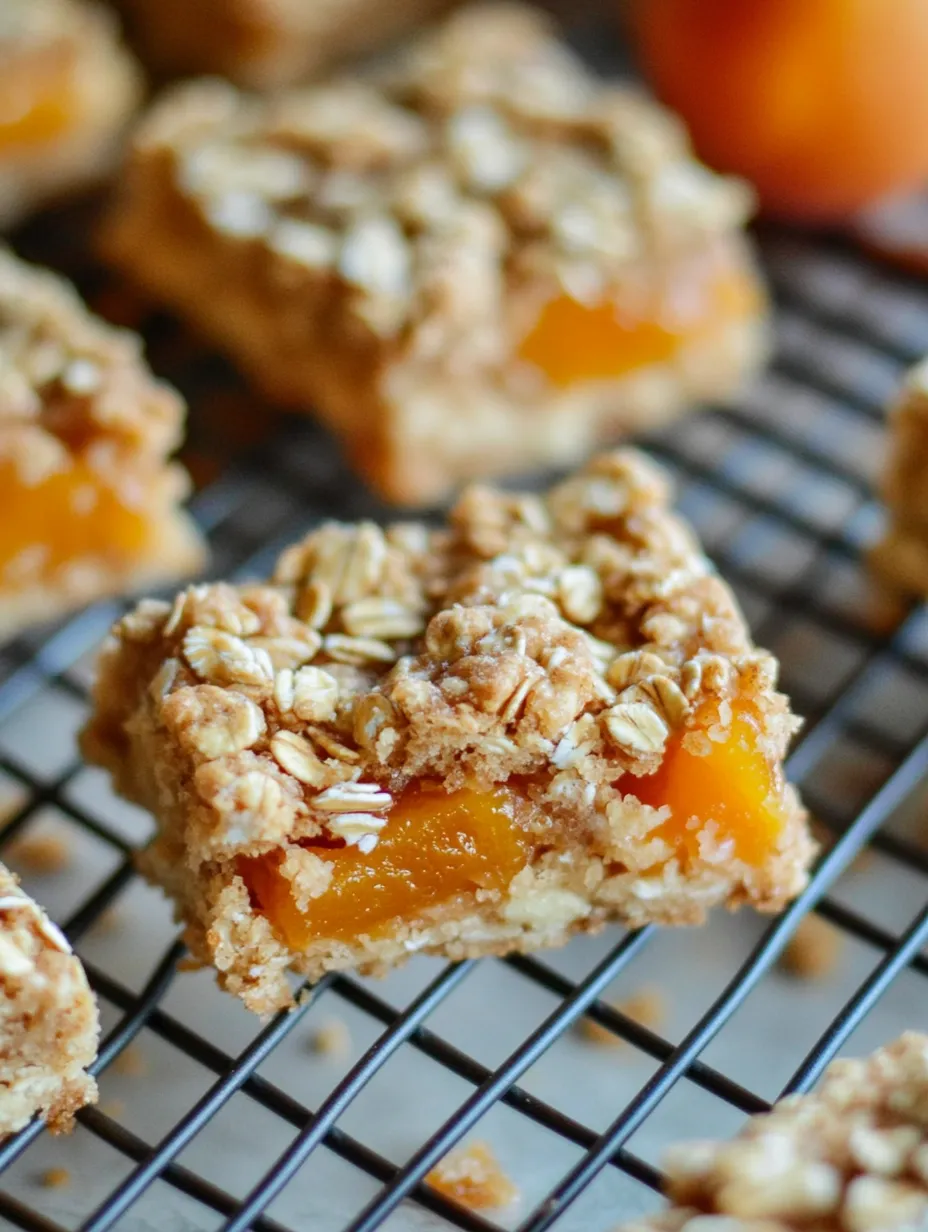
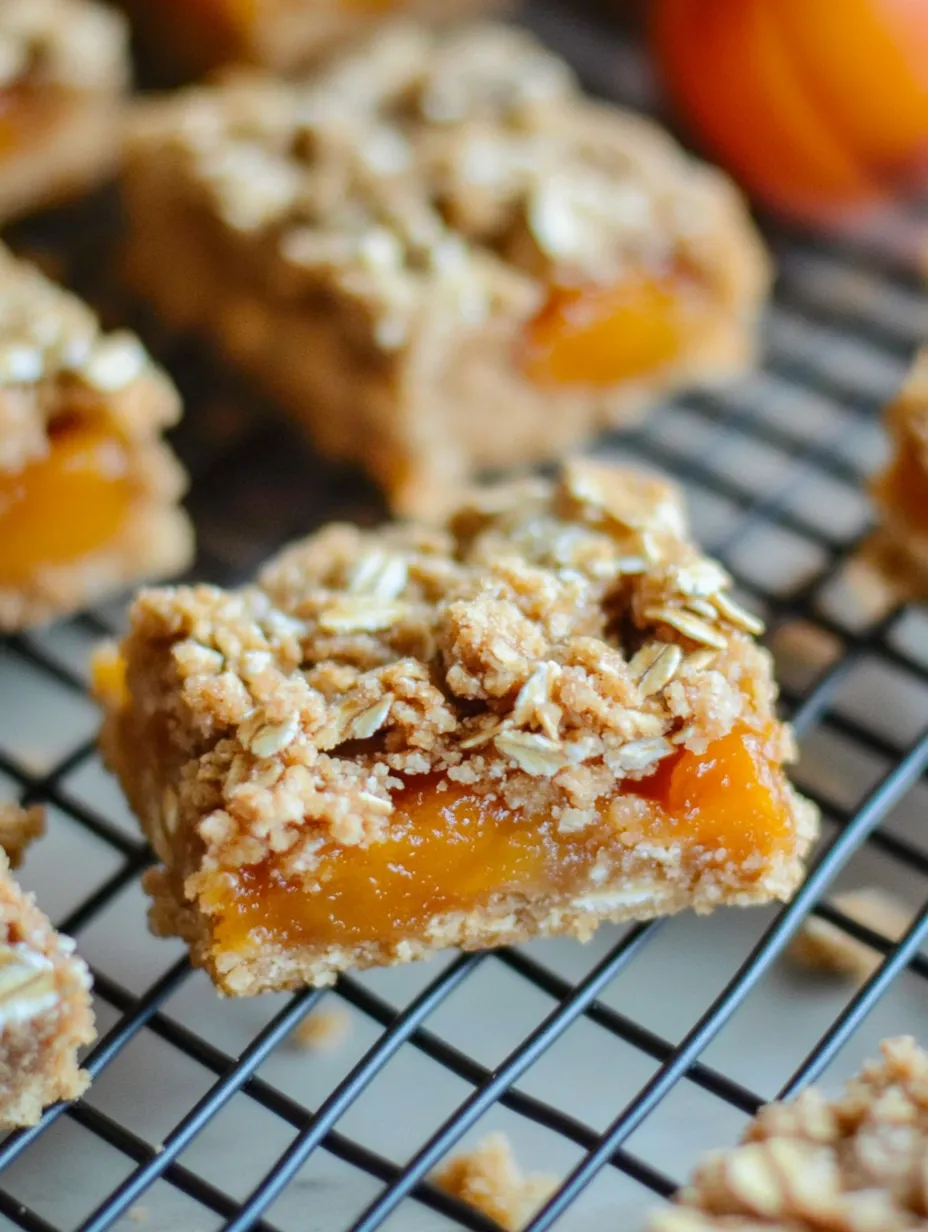
When I want something sweet that feels cozy but is also bright, these bars with apricot and oats are my go-to. You just toss everything together with what’s in your cupboard, one bowl, and you’re done before you know it. No headaches, just seriously good flavor. I bring these out for weekend brunch or pack them for the kids, and there’s never a crumb left.
I always swap out whatever preserves are in the fridge and the family still polishes them off. The little ones love pressing down the base and sneaking extra crumble on top.
Irresistible Ingredients
- Apricot preserves: This is your sweet-tart jam for the middle. A thick simple preserve with few extras works best here.
- All-purpose flour: It holds the bars together so they don’t crumble everywhere. If lumpy, just sift it first.
- Rolled oats: Grab old-fashioned oats for the hearty, chewy texture that makes the top so good.
- Baking soda: The secret for a lighter bar. It keeps things fluffy so you don’t get a brick. Make sure yours is still fresh.
- Packed brown sugar: Gives caramel flavor and holds those crumbly bits together. Soft, new brown sugar works best.
- Unsalted butter: Let it sit out till soft so it mixes in smoothly. A good butter means tastier bars.
Simple Step-by-Step
- Let Them Cool Before Cutting
- Don’t rush it—wait till the bars are completely cool so they stay in one piece when you slice them up.
- Pop Them in the Oven
- Bake for about thirty to thirty five minutes until the top has a honey color and the sides start bubbling.
- Add the Topping
- Scatter the last of your oat mixture over the preserves. Press lightly, keep it chunky up top for the best crunch.
- Spoon on the Jam
- Spread your apricot preserves evenly over the bottom crust but leave the edges clear so they don’t bubble out and stick.
- Make the Crust
- Scoop out two cups from the crumble mix and press it firmly into the pan with your hands or the back of a cup.
- Get the Crumble Started
- Mix up butter, brown sugar, flour, baking soda, and oats in a bowl. Squish everything together with your hands, a pastry cutter, or even two forks until it’s crumbly.
- Heat Up the Oven and Prep the Pan
- Turn the oven to 350°F. Lightly spray your eight or nine-inch square pan with some nonstick spray so nothing sticks.
The best bit for me is how the edges get extra crispy. No matter the season, my siblings always want me to double up so everyone can take home a stash.
Best Storage Ideas
Keep these bars on the counter for up to three days. Just wrap them tight so they don’t dry out. For longer stashing, put them in a sealed container in the fridge—they’ll last about a week. You can even freeze single bars between parchment and grab one whenever you want a treat.
Swap-Out Options
Use any preserve you’ve got—strawberry, raspberry, or even fig works great if you want to mix it up. Out of butter? Margarine or plant-based spreads are fine, though the taste changes a little. Add a shake of cinnamon to the oat mixture for a cozy flavor boost.
How to Serve
Serve warm, topped with a scoop of vanilla ice cream or a good plop of whipped cream for an easy dessert. Sometimes I slice them smaller for grab-and-go snacks in lunchboxes. They’re also awesome with coffee or tea or even after a light lunch for a sweet touch.
Background and Traditions
Bars like these came from home cooks making do with leftover fruit and pantry oats. Oats were cheap and filling, so they ended up in lots of bakes. They’re kind of like a mix between English flapjacks and an old-school crisp, but easier to carry and share.
Frequently Asked Cooking Questions
- → Could I swap in a different kind of jam?
Definitely! Try it with peach, raspberry, or strawberry jam for a fun twist on the flavor.
- → What's the trick for bars that hold together?
Let them cool down all the way while still in the pan so they'll firm up before you cut them.
- → Which oats are best here?
Go with rolled oats—they stay chewy and hold up nicely when baked, making the bars just right.
- → Can I get these ready the day before?
For sure! Bake them a day ahead and keep them sealed up so they stay fresh.
- → Is unsalted butter a must?
Unsalted gives you more say over the taste, but salted works too—just cut back a bit on extra salt.