
 Save
Save
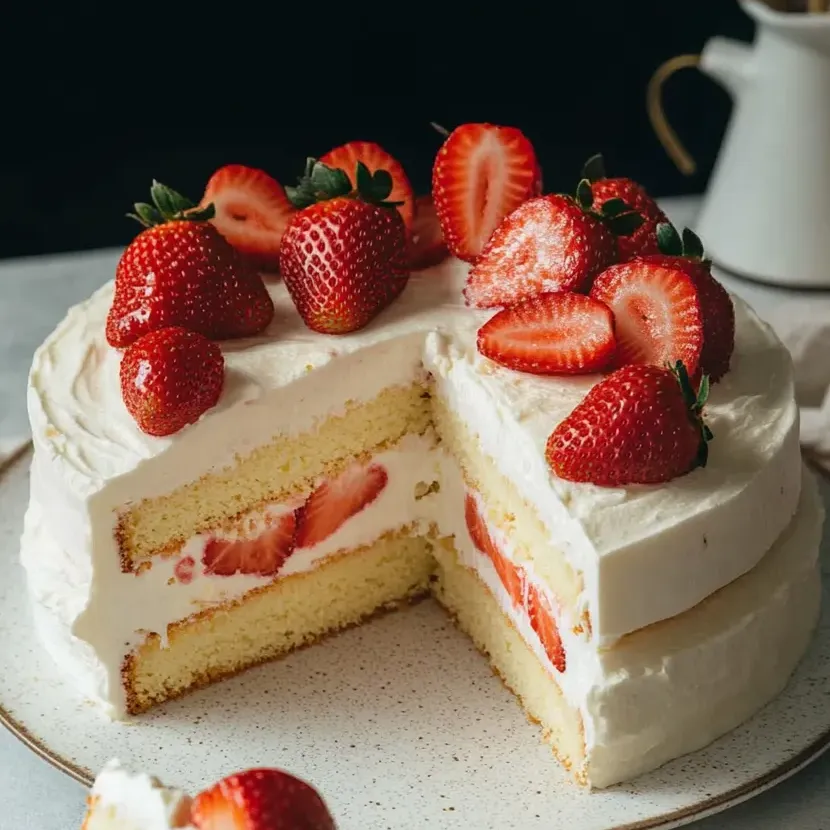
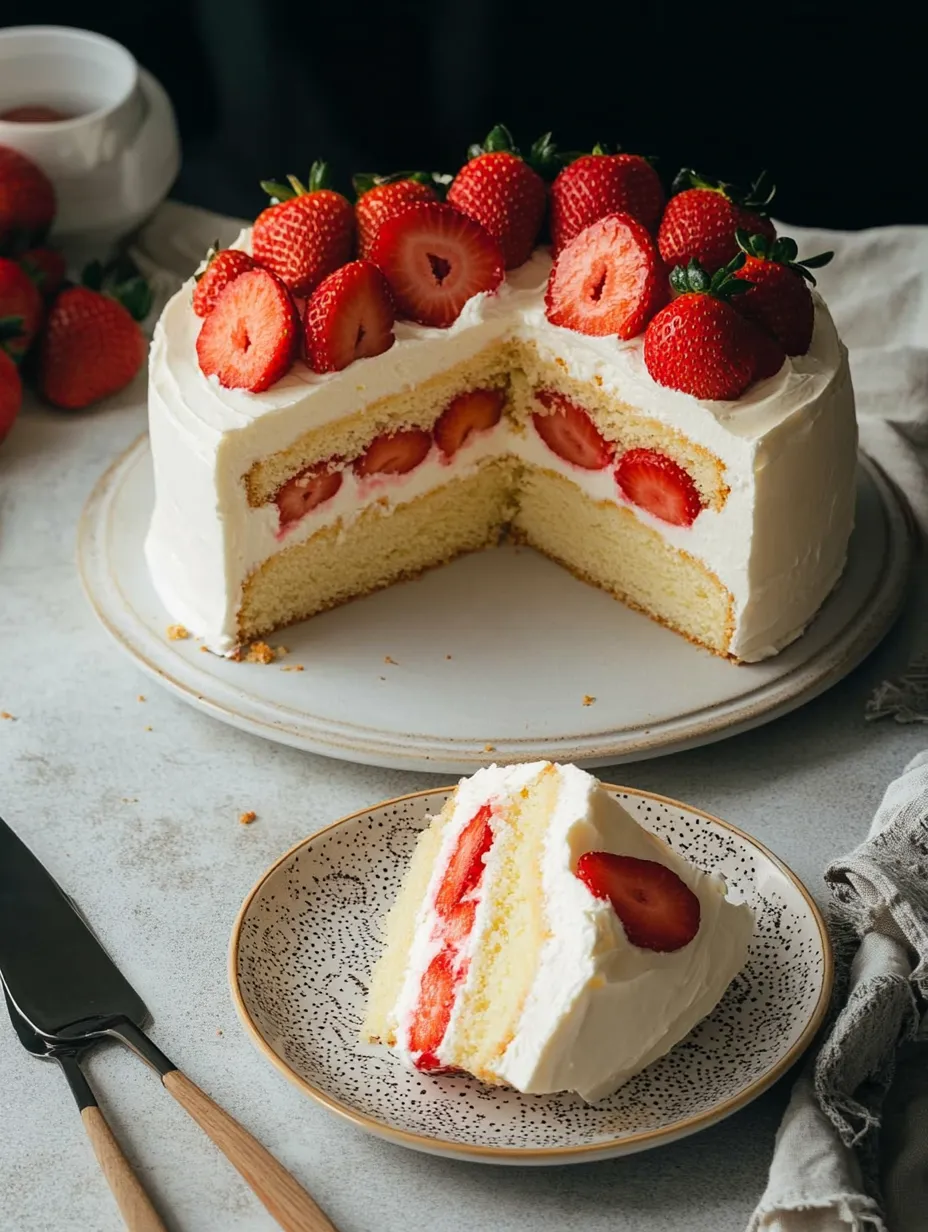
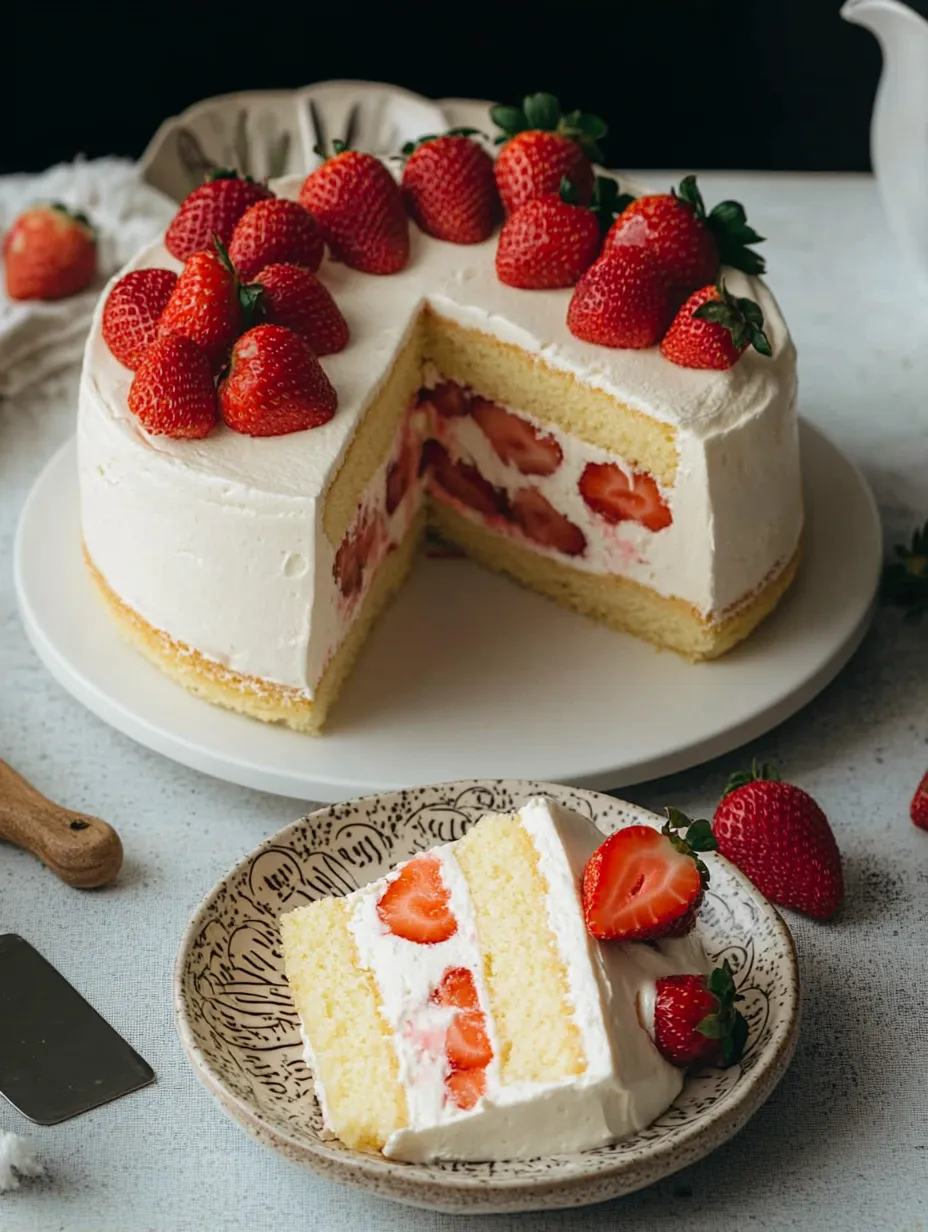
You just can't resist a Japanese strawberry shortcake with those super soft layers and dreamy clouds of whipped cream wrapped around sweet juicy berries. When this stunner hits our table, it feels like a celebration and everyone runs to grab some. Ever since I started baking the cake with steam, it's the go-to for birthdays and late spring gatherings at our place—that feathery texture is irresistible.
Dreamy Ingredients
- Sugar and hot water: simple syrup that keeps cake soft and works in extra flavor
- Powdered gelatin: keeps your whipped cream tall and steady if you want more hold, make sure it's plain and flavorless
- Heavy cream: this is what makes the frosting rich and fluffy; use super cold cream with lots of fat—look for thirty-six percent or higher
- Fresh strawberries: go for firm, sweet berries that smell amazing
- Confectioners sugar: sweetens up the whipped cream without lumps, so sift it first
- Cold water: needed to activate that powdered gelatin if you're after a sturdier cream
- Whole milk: adds gentle flavor and gives moisture, choose whole for best result
- Granulated sugar: tosses with berries for that syrupy, glossy finish
- Cake flour: makes the layers crazy tender; soft wheat is best but you can sift regular flour in a pinch
- Large eggs: you'll need both yolks and whites for structure—fresh eggs fluff best
- Unsalted butter: makes the cake taste buttery without salt in the way, let it warm up to room temp
- Caster sugar: super fine so it mixes easily and leaves no grit in the cake, you can blitz regular sugar if that's what you've got
Easy How-To Steps
- Slice and Serve:
- Grab a serrated knife to cut neat slices. If your cream's stabilized, let it stand out on the counter for an hour for an even softer bite.
- Chill and Set:
- If your frosting has gelatin, put the cake in the fridge for half an hour before slicing. If not, serve your cake within a couple hours for the tastiest results.
- Frost and Decorate:
- Smooth whipped cream over the whole cake—top and sides. Add borders or swirls with a spatula or piping bag if you're feeling fancy. Pile on the rest of your strawberries, whole or halved, for that picture-perfect finish.
- Fill and Stack:
- Once cool, slice your cake in half. Brush syrup on both cut sides to keep them moist. Put the bottom layer on a platter, heap on a thick cloud of whipped cream, toss over your sugared berries, then add a bit more cream to anchor them. Set the top layer on, making sure it lines up nicely.
- Make Whipped Cream or Stabilize if Needed:
- If you want sturdy cream, sprinkle powdered gelatin over cold water and let it puff up for five minutes, then melt it until it's clear. Whip cold heavy cream with sifted powdered sugar until floppy peaks form. Spoon some cream into the gelatin to match the temp, then mix it all back in and whip just till soft peaks. For regular whipped cream, beat until firm but not stiff.
- Mix Syrup:
- Dissolve sugar in hot water. Stir in a splash of the juices from your macerated strawberries if you want extra fruity flavor.
- Macerate Strawberries:
- Cut tops off eight ounces of strawberries and slice them up. Sprinkle sugar over, stir, and let sit for up to two hours, stirring now and then till syrupy. Save the juices.
- Unmold and Cool:
- After baking, loosen the sides with a small knife, flip onto a rack, and let it cool all the way before slicing or decorating. That's how you get the best texture.
- Bake the Cake:
- Pour your batter into the cake pan, bang it on the counter a couple times to break big bubbles, then sit it in the water bath. Add enough hot water to go an inch up the pan’s side. Bake for ninety minutes until a toothpick comes out clean and the cake pulls back from the edge.
- Combine Batters:
- Stir a quarter of the whipped egg whites into the yolk mix to lighten it up. Fold this fluffy mix back into the bowl with the rest of the whipped whites. Go slow and gentle—just until combined so you don't lose the airiness.
- Whip Egg Whites:
- Pour whites into a really clean bowl. Whip on medium-high till foamy, add caster sugar little by little, keep beating until stiff but shiny and the peaks just curl at the top when you lift the mixer.
- Mix Wet Base:
- Gently melt milk and butter just until they blend. Sift in cake flour and mix softly with a bendy spatula until it's smooth. Only mix until the flour's gone, then add yolks and stir until the color and texture are even.
- Prepare Water Bath:
- Get a tall baking dish ready as a water bath—boil water to pour so it reaches an inch up the sides. If using a springform pan, wrap it snug in foil to keep water out.
- Line and Preheat:
- Line an eight-inch round pan with parchment and start heating your oven to three-two-five Fahrenheit.
This is a fluffier, less rich sponge than your usual genoise. If your whipped cream has gelatin, any leftovers will hold up for two days chilled. Slices are totally freezer friendly—just leave them uncovered in the fridge to thaw. My favorite part's the whipped cream. My little girl and I can't help but eat spoonfuls as we build, it turns the kitchen into a giggle fest every time.
How to Store
Cover the cake loosely in plastic and keep it chilled. The whipped cream will stay fresh for up to two days. Got sliced pieces? Lay a bit of parchment right against the open side so they don't dry out.
Swaps You Can Make
No cake flour on hand? Use regular flour, but scoop out two tablespoons per cup so it's lighter. For dairy-free, use coconut cream for topping and swap in non-dairy milk for the cake layers. Out of strawberries? Slices of ripe peaches or kiwi bring a cool twist and pretty color.
Serving Ideas
Serve this beauty all by itself with some extra syrupy berries, or pour a glass of iced matcha to play up the Japanese vibe. Hitting the summer heat? A scatter of mixed berries and a snowfall of powdered sugar is perfect for parties.
Fun Backstory
Japanese strawberry shortcake became the ultimate Western-style party treat in Japan early last century. Using whipped cream instead of heavy buttercream makes every bite light and inviting. When we have this cake for Christmas or birthdays, we love chatting about how this treat changes across Asia.
Frequently Asked Cooking Questions
- → Can I use regular flour instead of cake flour?
Cake flour gives your cake a super fine, soft bite, but if you're out, swap in all-purpose flour—just pull out two tablespoons and stir in the same amount of cornstarch for every cup.
- → How do I slice the cake cleanly?
Pop the frosted cake in the fridge for half an hour or so, then grab a sharp serrated knife. That way, you’ll get perfect slices that don’t squish the layers.
- → What's the best way to macerate strawberries?
Mix up sliced strawberries with some sugar, let them chill for a couple hours, and they’ll get soft and super juicy all on their own.
- → How can I keep the whipped cream stable for longer?
If you want your whipped cream to hold up and not go runny, bloom and mix in a tiny bit of gelatin. It’ll stay nice for hours—great if you’re prepping ahead.
- → Why is the cake baked in a water bath?
Baking in a water bath keeps temperatures gentle and steady, stopping the cake from browning fast and helping you end up with super tender, soft cake inside.
- → Do I need to use all the syrup?
Just brush on enough syrup to get the cake a little moist, but stop before it feels soggy. Taste it and go by what you like best.