 Save
Save
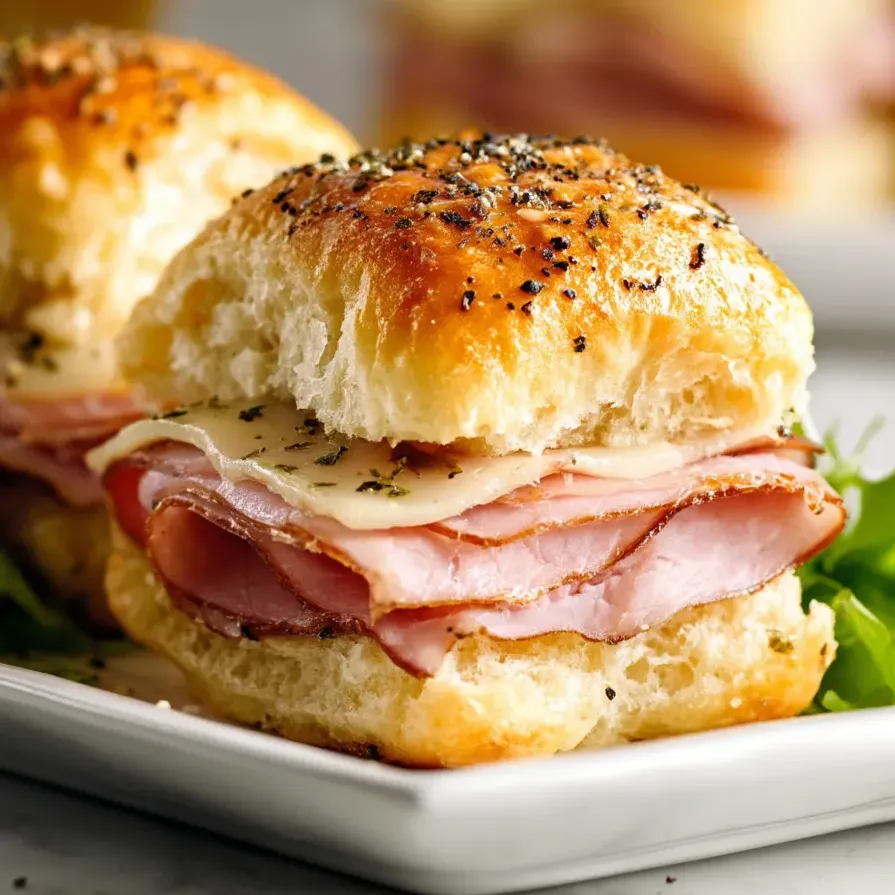
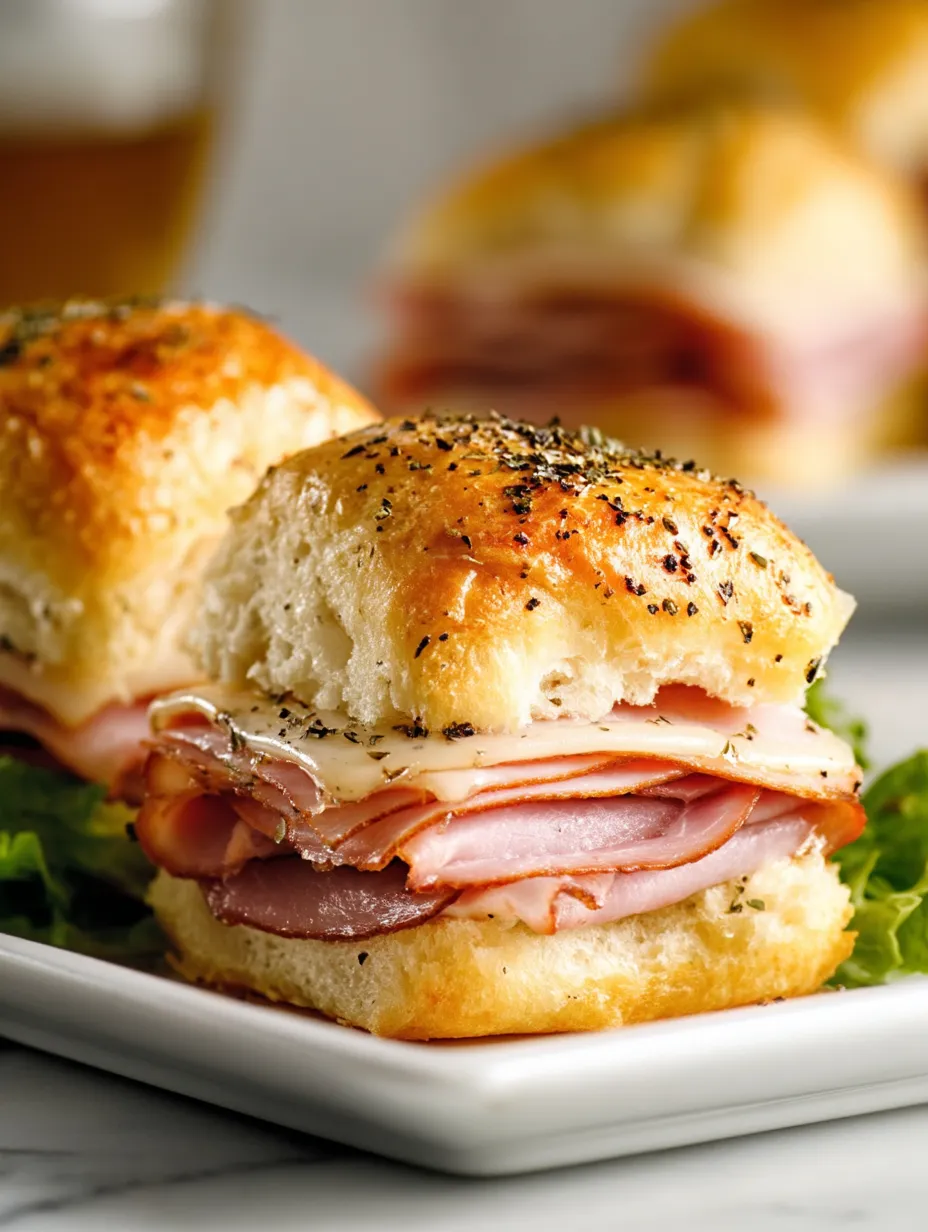
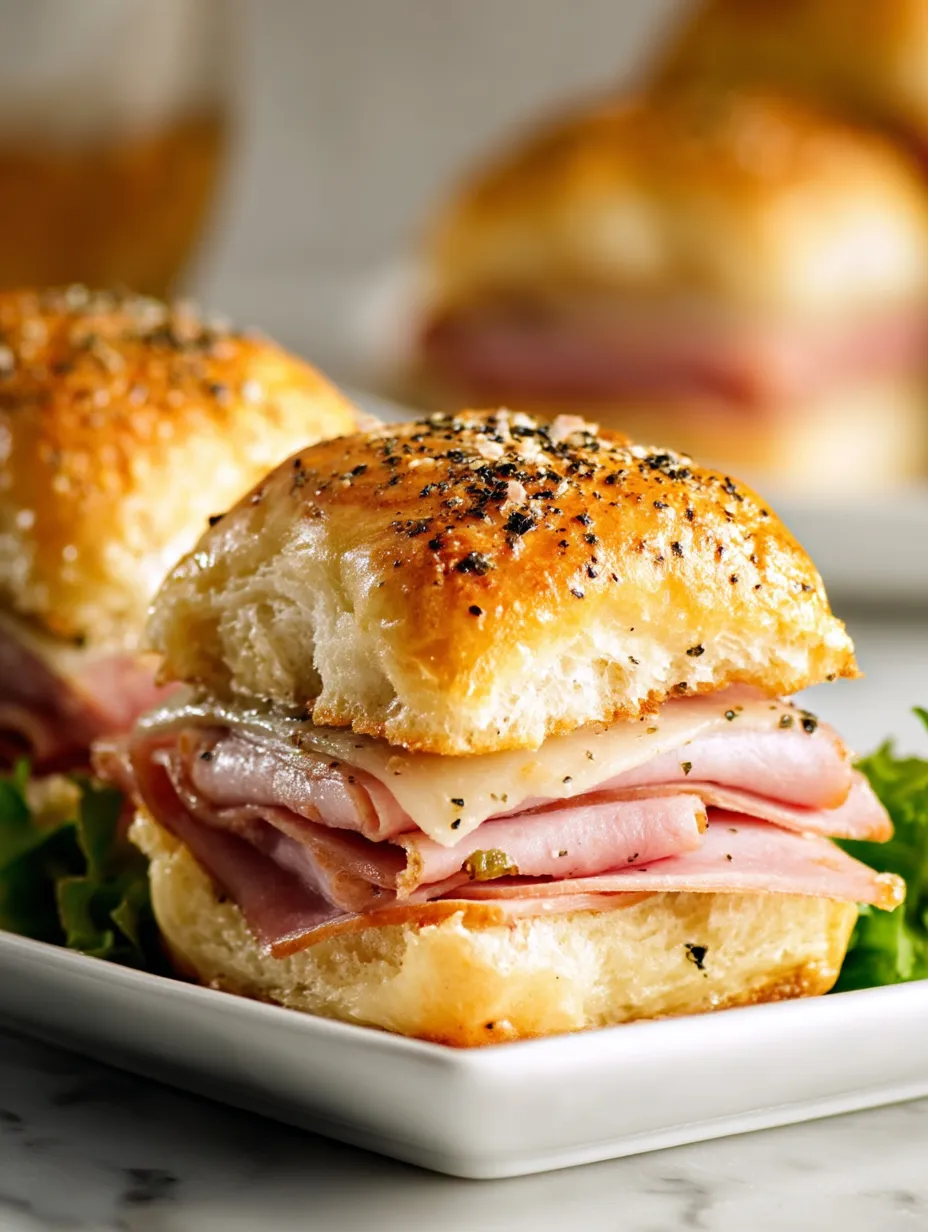
Grab some ham and Swiss, and watch how fast you can put together these insane party sliders. Sweet rolls and savory cheese melt together with juicy ham, making little sandwiches you can't stop eating. Blink and they'll vanish from the table.
The first time I took these to our Super Bowl block party, people joked I was banned from bringing anything else. Even my buddy's teenage kid once ate eight and still bugs me about them every chance he gets.
Irresistible Ingredients
- Dried Parsley: Toss on some parsley for color and a whisper of herb flavor. Rub it between your fingers before topping to wake up the aromatics
- Parmesan Cheese: Not required, but freshly grated parmesan makes a killer salty crust if you want
- Dried Minced Onion: Gives oniony flavor without getting soggy. Double check yours isn’t expired—old dried stuff loses punch
- Worcestershire Sauce: Packs extra umami and makes the sauce next-level. You only need a bit
- Yellow Mustard: Cuts through the richness with some zippy tang. Stick to classic yellow here
- Butter: This is where the sauce magic happens. Go for real butter, not a fake spread, for that deep flavor
- Swiss Cheese: Melts perfectly and brings a subtle nuttiness. Grab some at the deli counter for good quality slices
- Deli Ham: Thinly sliced so you can layer it easily. Black Forest or honey ham have the best flavor
- Hawaiian Sweet Rolls: Soft, barely sweet, and just right for these. Get a pack that’s still attached for easy assembly
Effortless Step-by-Step Directions
- Finish and Serve:
- Sprinkle on parmesan and parsley while everything's steamy if you want. Grab a knife and slice along the seam lines, then dig in while they're piping hot—the combo of crispy tops and gooey insides is bonkers when fresh.
- Final Browning:
- Take off the foil and give it about 5 more minutes. You want the tops browning up and getting a little crunchy, while the inside stays tender and soft.
- Initial Bake:
- Wrap the dish in foil and set it in the oven for about 20 minutes. The foil keeps it steamy so the cheese melts and soaks in all the flavor without burning the tops.
- Apply the Sauce:
- Drizzle your butter mix evenly over the slider tops. It’ll soak in and pump up the flavor, so don’t rush this step. Let them hang out for 5–10 minutes before popping in the oven.
- Create the Butter Sauce Magic:
- Zap butter in the microwave ‘til totally melted, then whisk in mustard, some Worcestershire, dried onion, salt, and pepper until totally smooth. It’ll smell amazing—this sauce pulls everything together.
- Complete the Filling:
- Top the cheese with the last ham slices, stacking them up. It keeps every slider together and loads them with flavor. Gently squash the pile down a bit to help everything hold.
- Add the Cheese Layer:
- Lay Swiss cheese slices all over the ham. Go ahead and overlap them. This keeps the rolls from getting soggy and holds everything as one neat stack.
- Build the Base Layer:
- Lay the bottom halves of your sweet rolls straight into the baking pan. Start layering on half the ham, making sure to cover to the edges for meaty bites in every sandwich.
- Prepare the Rolls:
- Don’t pull the rolls apart yet. Slice through the whole batch sideways with a good bread knife. It’ll make things easier—no smooshed bread and faster assembly.
- Preheat and Prepare:
- Fire up your oven to 350°F. Line a large baking dish with foil and spray it so nothing sticks—the rolls are delicate and you don’t want trouble lifting later.

This sauce is where the real magic happens—a big glug of Worcestershire sauce turns it above and beyond. My sister once doubled it by mistake and now I do the same—it just tastes way better. Everyone always wonders why they can't stop eating them.
Prep-Ahead Gamechanger
These sandwiches are a lifesaver if you want stuff made ahead. Just put them together through the sauce step, wrap tight in plastic, and stash in the fridge overnight. When you’re ready, take them out half an hour early, finish the sauce, pour it on, then bake. Waiting actually boosts the flavor, since everything mingles and soaks together.
Fun Twists You Can Try
Don’t feel like you’re stuck with ham and Swiss. Stuff them with turkey and provolone if you like things lighter, or toss in pepperoni and mozzarella for a pizza vibe. The butter sauce works on all of these, but you can tweak the seasonings a bit—try Italian herbs with pepperoni for extra zing.
How To Serve Them Up
Honestly, these go with pretty much anything. Pair them with greens for dinner, grab some chips for a low-effort lunch, or drop them next to veggies for a party tray. They’re perfect with coleslaw, pickles, or even a bowl of potato salad at a picnic. For brunch, serve with fresh fruit so you get that sweet and savory balance going.
How These Got So Popular
Sliders made on Hawaiian rolls really blew up at parties back in the 2010s. Taking the regular ham and cheese sandwich and leveling it up with this butter sauce on sweet bread changed everything. The sweet-salty-umami combo just hits every craving and that’s probably why nobody can stop at one.

Frequently Asked Cooking Questions
- → Can I make these Ham and Swiss Sliders ahead of time?
You sure can! Put these sliders together up to a day ahead. Just hold off on pouring the butter mix until you're ready to bake. Wrap them tight in the fridge, then add the butter sauce and bake when it's go time.
- → How do I store and reheat leftover sliders?
Pop any extra sliders in a sealed container in the fridge for two or three days. Warm them up in a 325°F oven for about 10 minutes to keep them nice and toasty. This way, they won't get soggy like they might in the microwave.
- → Can I use different cheeses or meats in these sliders?
Of course! Swiss and ham are classic, but feel free to swap in cheddar, provolone, or any favorite cheese. Try turkey, beef, or even pepperoni if you're feeling adventurous. Just keep the amounts about the same so they heat up evenly.
- → Is there a way to make these sliders less buttery?
Yep! Simply dial back the butter to about 1/4 cup if you want something lighter. Your sliders will turn out crispier and not as rich, but they'll still taste awesome from the other flavors in that butter mix.
- → Why do you keep the rolls connected during preparation?
Leaving the Hawaiian rolls stuck together makes it way easier to work with. Everything stays in place, fillings get spread out nicely, and the sliders keep their shape in the oven. Plus, the butter sauce soaks in just right, without making things soggy.
- → What can I serve with these ham and Swiss sliders?
They're super flexible! Fix them up with a green salad, some chips, coleslaw, or a bowl of soup for a meal. For snack time, pair with veggie sticks, deviled eggs, or fruit skewers. They go with anything, honestly.
