
 Save
Save
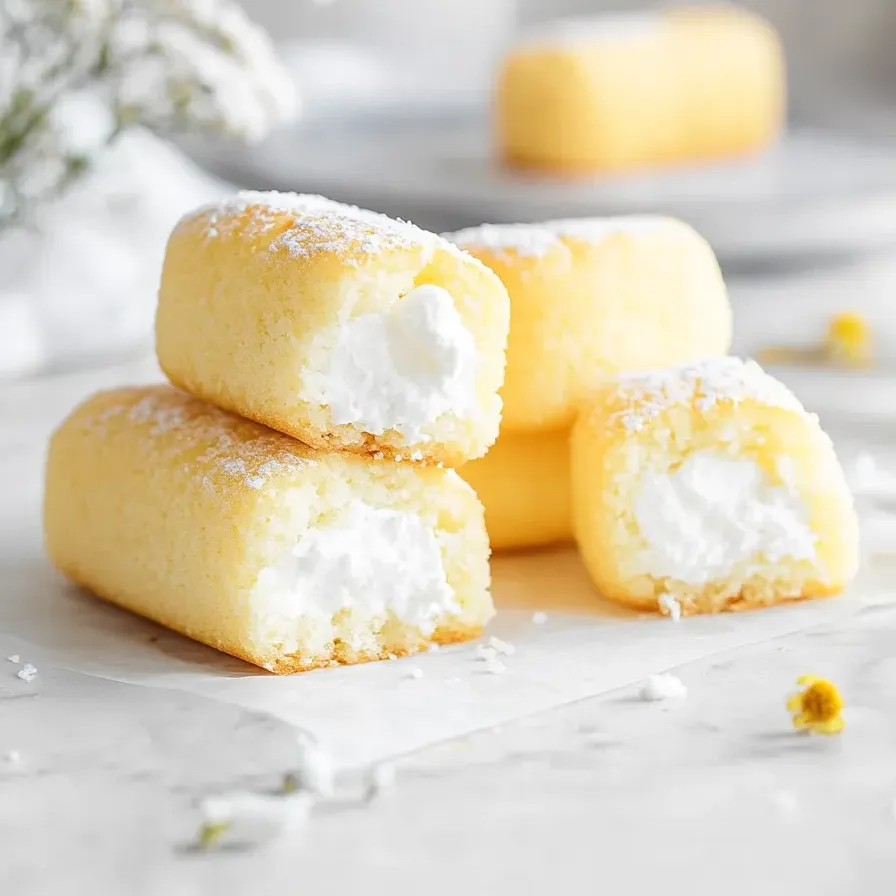
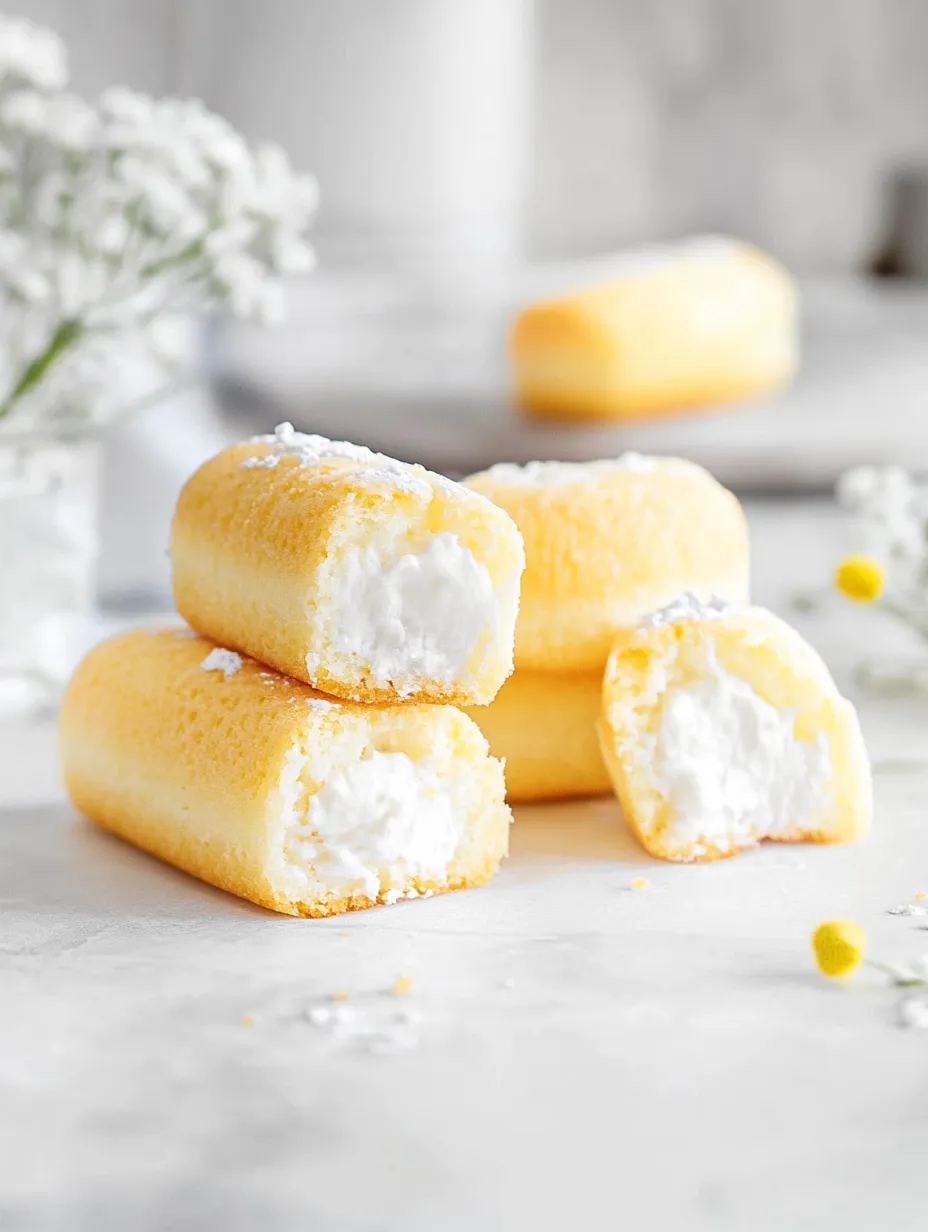
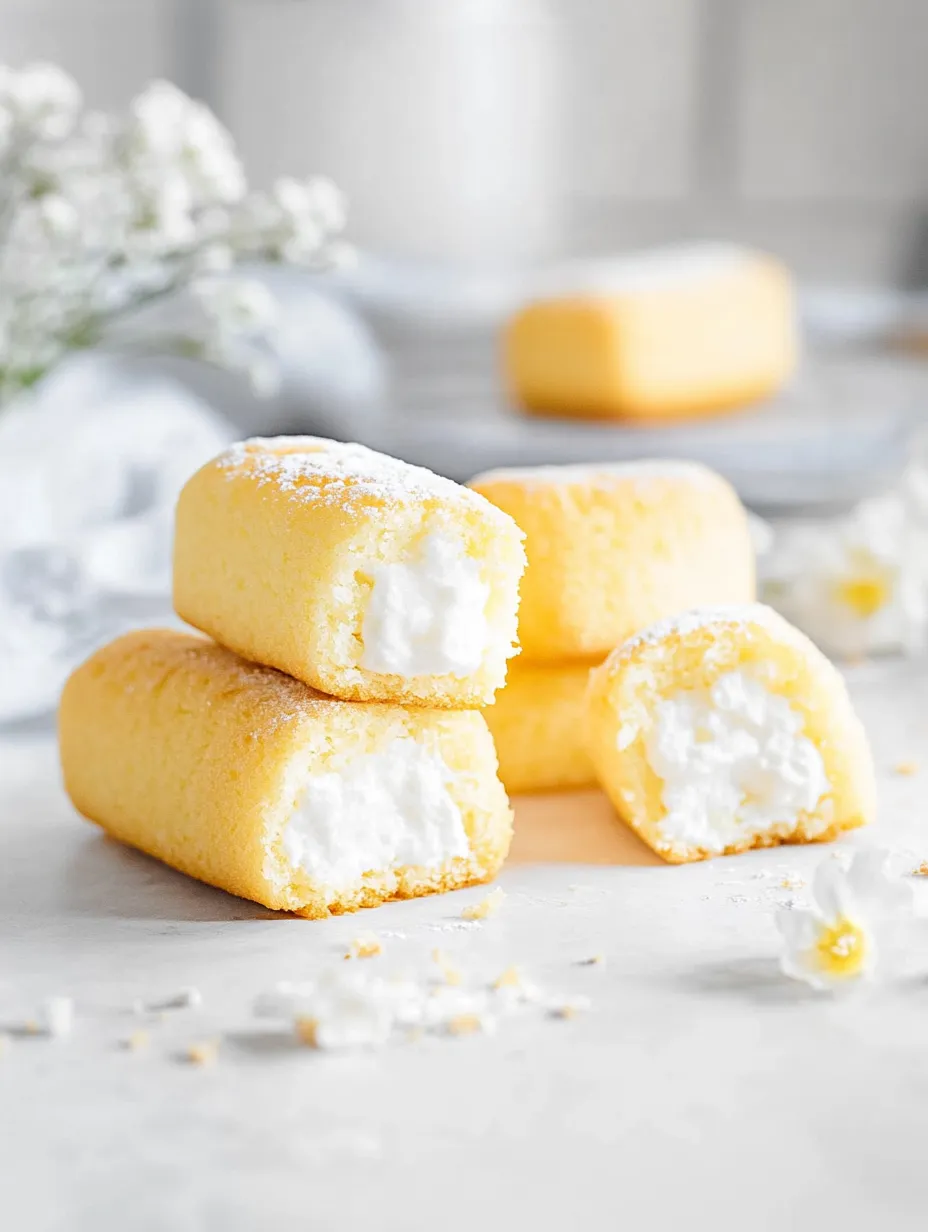
Pillowy vanilla cakes stuffed with a light, fluffy center take you right back to lunchrooms of the past. When you bake these from scratch, you know exactly what goes in — you’ll get way fresher flavor and ultra-soft texture than anything you’d find at the grocery store.
After my kitchen first filled up with a wave of sweet vanilla, my kids couldn’t wait and nibbled on the just-baked cakes before I’d even added the filling. Now they ask for these every birthday. I can’t blame them!
Irresistible Ingredients
- Egg whites: Only needed for the filling — don’t let any yolk sneak in. Letting them warm up to room temp means your meringue really fluffs up.
- Whole milk: Keeps the cakes super moist and soft. Using whole milk works best for a rich feel.
- Eggs (large): You’ll want them at room temp for best results — the cakes will rise more and mix smoothly. Fresh eggs give the best texture.
- Baking powder: Makes these cakes get nice and airy.
- Vegetable oil: Locks in moisture and gives these treats a longer shelf life. Canola or similar light oils do great here.
- Water: Helps make the syrup for the filling. Filtered water avoids any odd flavors.
- Cake flour: Always sift it first — this is key for making the cakes extra light and delicate. Go for a good brand if you can.
- Salt: Balances out all the sweetness and deepens the taste. Fine sea salt spreads evenly.
- Granulated sugar: You’ll use this for both the cake mix and the marshmallowy filling — fine-grain sugar gives smoother batters and shiny meringue.
- Vanilla extract: For that classic taste. Well worth using the real deal instead of imitation — it’s way tastier.
- Granulated sugar (again): Shows up again for the meringue mixture — see above for sugar notes!
Simple Steps
- Fill the Cakes:
- Flip each cake over, poke three holes in the base with your piping tip, and gently squeeze in the filling. Don’t overdo it or they’ll burst.
- Prep to Fill:
- Pop your marshmallow cream into a piping bag with a round tip, or use a cut zip bag if that’s what you have.
- Mix Syrup and Whites Together:
- With the mixer still running, slowly drizzle hot syrup into the whipped whites. Keep beating until everything is super glossy, thick, and cool. This is your marshmallow filling.
- Cook up the Sugar Syrup:
- Stir together water and sugar in a little saucepan over gentle heat until dissolved, then bring to a simmer without stirring. When your thermometer says 119–121°C, take it off the heat.
- Whip the Egg Whites for the Filling:
- Using a super clean bowl and beaters, whip egg whites on high until stiff peaks form.
- Let the Cakes Cool:
- Move baked cakes to a rack and let cool all the way so they don’t fall apart or melt your filling.
- Bake the Cakes:
- Spoon batter into your greased pans, filling each just past halfway. Bake on a middle rack for 15–20 minutes — pull out when a toothpick comes out clean.
- Bring Wet and Dry Together:
- Pour wet mixture into the dry ingredients. Stir until just mixed and smooth (don’t overmix or you’ll lose that tenderness).
- Mix the Wet Stuff:
- In another bowl, whisk together eggs, milk, oil, and vanilla until smooth and creamy.
- Stir Up the Dry:
- Combine sifted cake flour, sugar, baking powder, and salt in a good-sized bowl and whisk until it’s evenly combined.
- Prep Your Pans:
- Thoroughly coat the baking pans with spray so the cakes don’t stick. Set aside until you’re ready to fill them.
Whenever I use actual vanilla in that marshmallow center, it brings me right back to our first picnic — my little brother gobbled two down before we even got the sandwiches out. To this day, he asks for these when he’s in town.
Smart Storage
Pop them in an airtight container and keep cool — they’ll be good on the counter for up to three days. If you need to hang onto them longer, refrigerate but bring back to room temp before eating. The filling is at its best (super fluffy!) when not chilled.
Swaps & Alternatives
No cake flour in your pantry? Measure a cup of all-purpose, take out two tablespoons, and add cornstarch instead. For a shortcut filling, marshmallow fluff works just fine. Want something even lighter? Whipped cream as filling is lovely too.
Fun Ways to Serve
Great in lunch bags, after school, or on a party table. Try them with some berries or sprinkle on some powdered sugar. Sometimes I slice the cakes open and add more fruit and cream inside for a bright brunch snack.
Sweet History
This soft golden treat became a classic in America ages ago, known for its yellow sponge and creamy vanilla filling. When you bake them at home, every bite is full of memories but with a fresher, real taste. It’s an awesome hands-on project for families, especially the filling part!
Frequently Asked Cooking Questions
- → Why do these cakes turn out so fluffy and soft?
Mixing up the eggs until they’re light and using cake flour makes the cakes come out nice and airy.
- → Can I pick a different filling if I don’t want to use meringue?
Definitely—marshmallow fluff is a great swap for the homemade meringue if you want the creamy inside without making it from scratch.
- → How can I tell if the cakes are finished baking?
You’ll know the cakes are done when the outside is golden and a toothpick poked in the middle comes out clean.
- → If I don’t own a piping bag, what can I use to fill the cakes?
Just grab a zip-top bag, cut a corner off, and squeeze the filling in that way. Easy and works just fine.
- → Why do the egg whites have to be yolk-free when whipping up meringue?
If there’s any yolk at all, the egg whites won’t whip up fluffy and glossy like you want for the filling.
- → Is it fine to swap in all-purpose flour if there’s no cake flour?
Yep, just mix some all-purpose flour with a bit of cornstarch and you’ll get a good stand-in for cake flour. Keeps the cake soft!