
 Save
Save
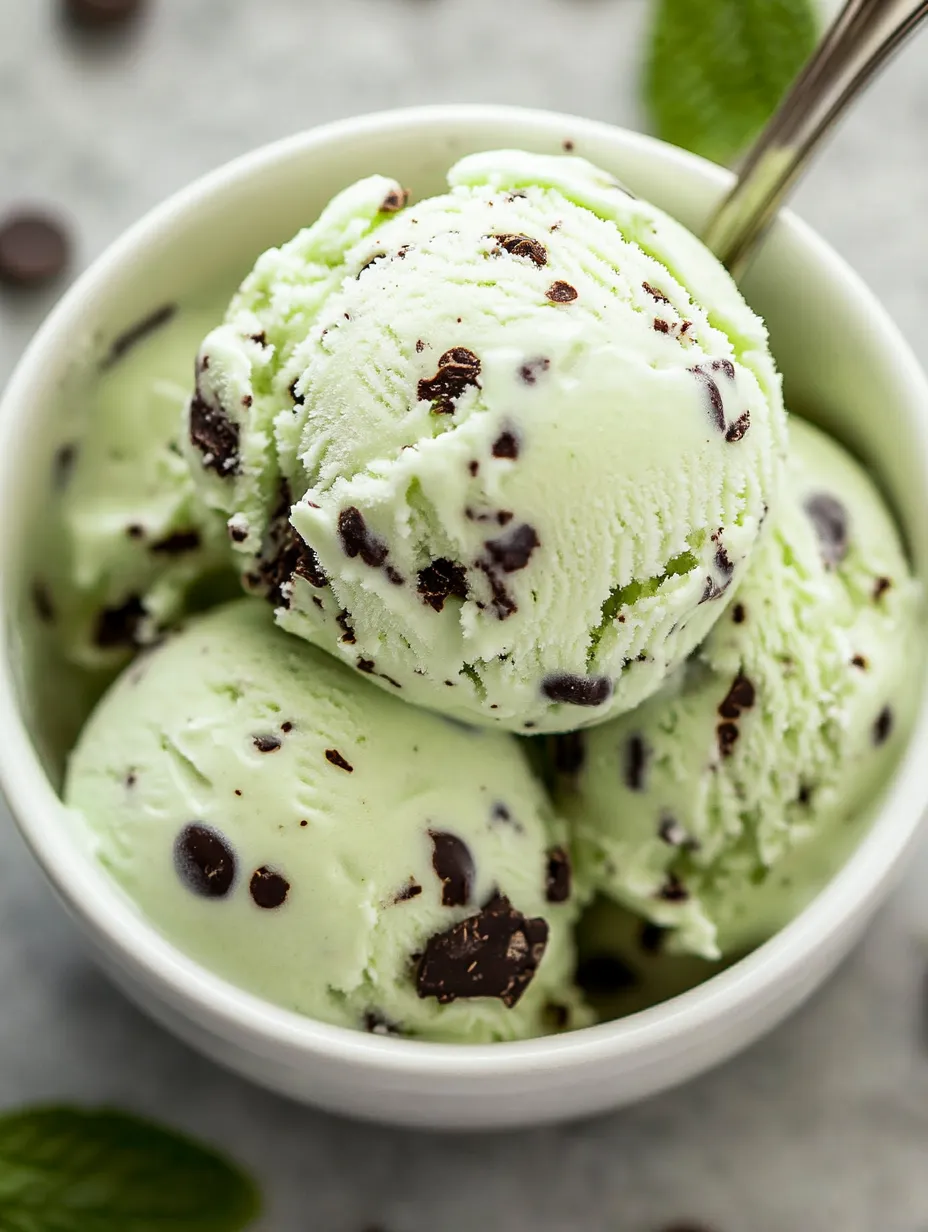
Making your own mint chocolate chip at home has that throwback feel. Creamy and cool with hits of dark chocolate, it always brings up memories of summer afternoons churning with my family. You get to pick how much minty punch you want and what chocolate goes in. It’s way better than anything from the store.
The first time I made this was for my kid’s birthday and those little green spots filled with chocolate still make us grin. It’s hard to wait for it to chill but trust me, you’ll get the dreamiest ice cream.
Wonderful Ingredients
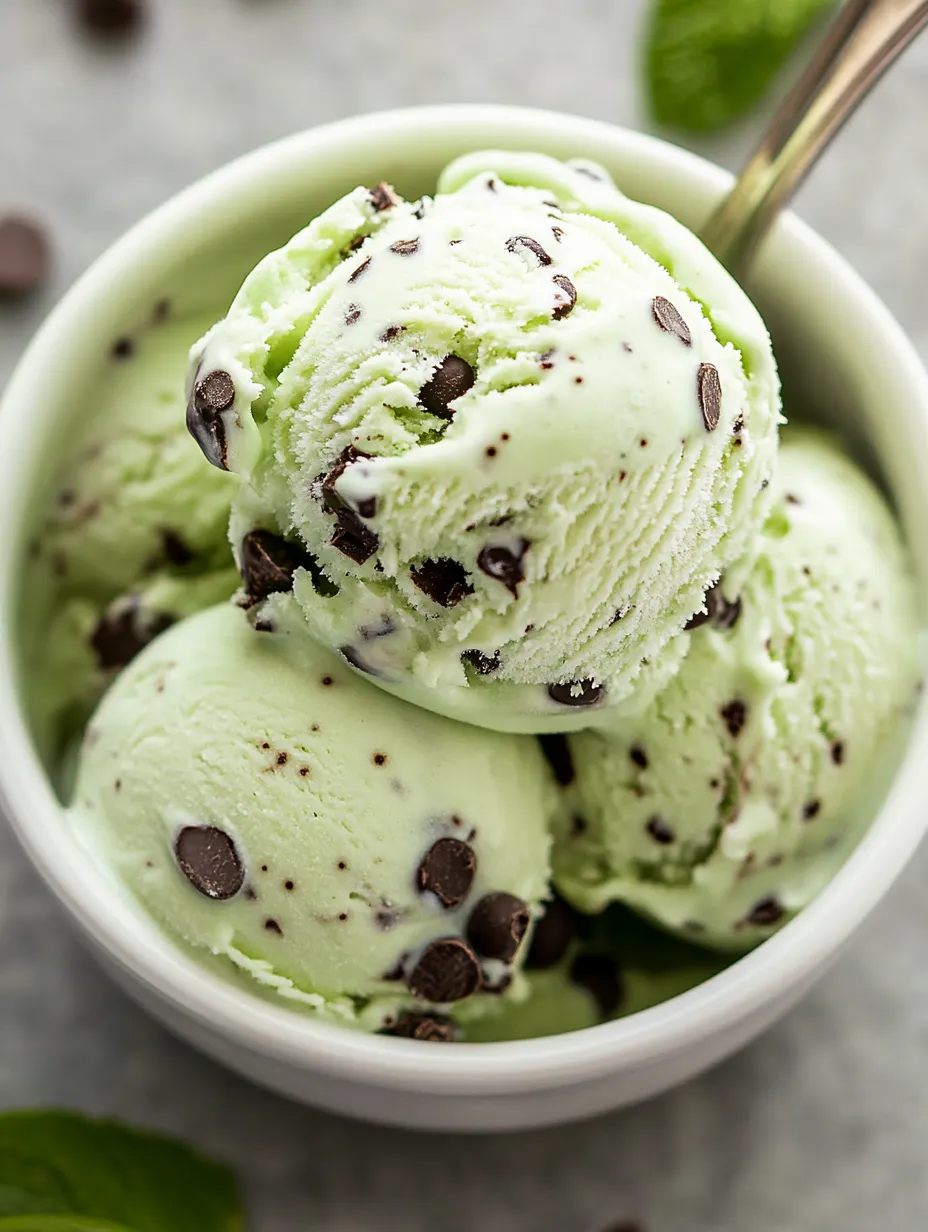
- Finely chopped dark chocolate or mini chocolate chips: Pick a good chocolate bar and chop how you like Mini chips work too The hint of bitter in the chocolate cuts the sweetness and matches the mint
- Green food coloring (optional): Adds a pop of classic color Just use a dab If you want to steer clear of fake dyes, try a natural gel
- Pure mint extract: Gives you that unbeatable fresh sharp flavor Go for the real stuff, not the fake kind
- Vanilla extract: Smooths out the mint and adds lots of cozy flavor Natural vanilla brings out so much depth
- Egg yolks: The magic for making rich custard and giving that perfect creamy scoop If you can, pick up pasture eggs with deep yellow yolks
- Granulated sugar: Makes everything sweet and gives better texture Use fine sugar so it melts into the mix
- Whole milk: Lightens up the creaminess just enough without watering things down Choose full fat for best taste
- Heavy whipping cream: The basic building block for that dreamy ice cream smoothness Freshest cream (not ultra pasteurized) is best
Simple Instructions
- Scoop and Serve
- Leave your ice cream on the counter briefly before dishing it up That softens it so scooping is easy and makes it taste like the shop
- Freeze Until Firm
- After churning, spoon everything into a loaf pan or container Smooth out the top, seal well and freeze a few hours You want it solid for nice scoops
- Add Chocolate
- Almost finished churning? Stir or sprinkle in those chocolate chunks or chips Fold gently so the pieces don’t all end up at the bottom
- Churn the Ice Cream
- Once your custard is cold, pour it in that frozen machine bowl Churn away until it changes from liquid to a thick soft serve consistency
- Cool the Custard
- Transfer to a big glass bowl or measuring cup Lay plastic wrap right on top of the custard’s surface Chill in the fridge ‘til super cold Overnight is awesome if you can swing it
- Flavor the Custard
- Once you’ve turned off the heat, add in vanilla, mint extract, plus a drop or two of green if you feel like it This locks in the flavors and color
- Cook the Custard
- Put the pot over medium and whisk away Gently keep it moving Don’t let it boil It’s done when it thickens and coats a spoon Just swipe your finger, if it leaves a line, you’re set
- Make the Custard Base
- In a big pan, mix up your yolks, sugar, milk, and cream Make sure it’s all super smooth so your ice cream stays silky
- Prepare the Ice Cream Maker
- Pop your ice cream maker bowl in the freezer before you even start Check the directions since it has to be ice cold for churning later
Honestly the best part is picking which chocolate to chop up Each melty piece swirled through the mint reminds me of inhaling cones with my brother — trying to eat fast before it turned into a puddle
How to Store
Keep your frozen treat covered nice and tight in the freezer so you don’t get those pesky ice crystals. Press plastic wrap right down on the surface, then pop on that lid. Always scoop with a dry spoon and get it back in the freezer quick after grabbing a serving.
Switch-Ups
Want more richness? Swap in more cream and cut some of the milk. Can’t find pure mint? Use peppermint extract. Going dairy free? Try thick coconut milk and a plant-friendly chocolate. Leave out the food dye if you prefer it natural looking.
Serving Ideas
Scoop into cones or bowls and toss on some fresh mint or spare shavings of chocolate. It’s great stuffed between two chocolate cookies for your own ice cream sandwich. Or, pour on some warm fudge for an over-the-top sundae.
Chill History
Mint chocolate chip’s been a go-to treat at American ice cream counters for ages. It was dreamed up in the middle of last century and folks loved the cool taste and bright color. Making your own at home gives you all that retro fun plus fresher stuff inside.
Frequently Asked Cooking Questions
- → Which chocolate should I use?
Chop up your favorite dark chocolate or grab mini chocolate chips so you get little pockets of chocolate every time you dig in.
- → Can I tweak the mint taste?
Definitely. Pure mint extract lets you easily dial the mint up or bring it down to what you like best.
- → What’s the trick for getting it bright green?
You can mix in some green food coloring before cooling everything down for that classic look—or just skip it for a pale, natural batch.
- → Is an ice cream maker a must?
Churning it makes things extra smooth and creamy. It’s the easiest way, but no-churn tricks can work if you don’t have a machine.
- → How long will it keep in the freezer?
Pop it in something with a lid and freeze for up to 3 months. Let it warm up for a few minutes before serving so scooping feels easy.
- → How do I make it extra creamy?
Want it ultra rich? Swap in more cream instead of milk and it’ll get even more decadent—see the tweaks below.