
 Save
Save
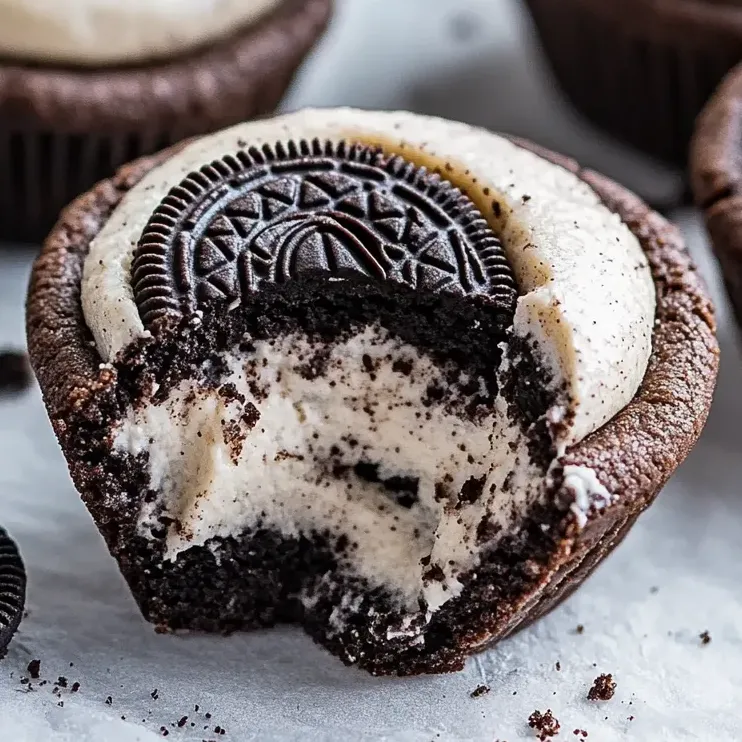
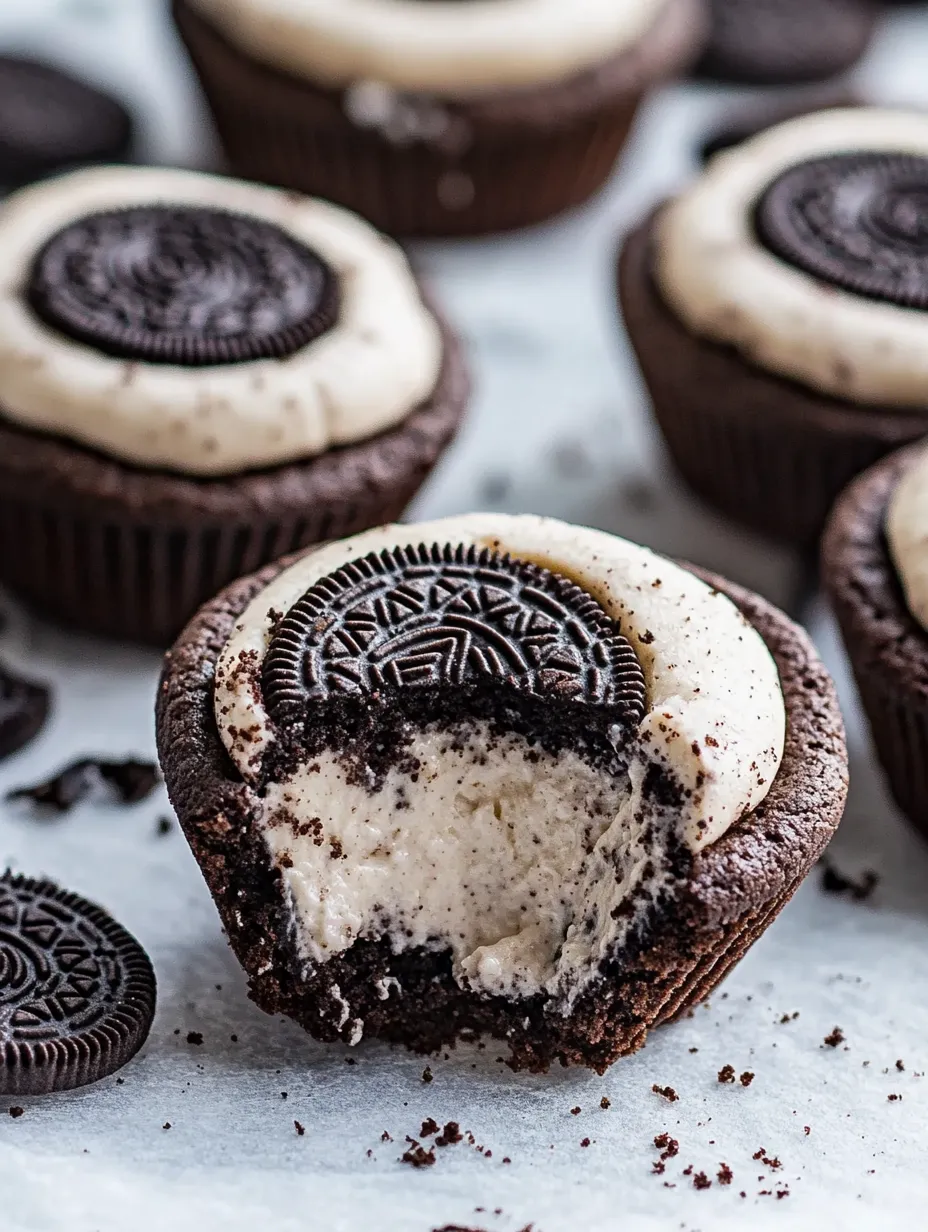
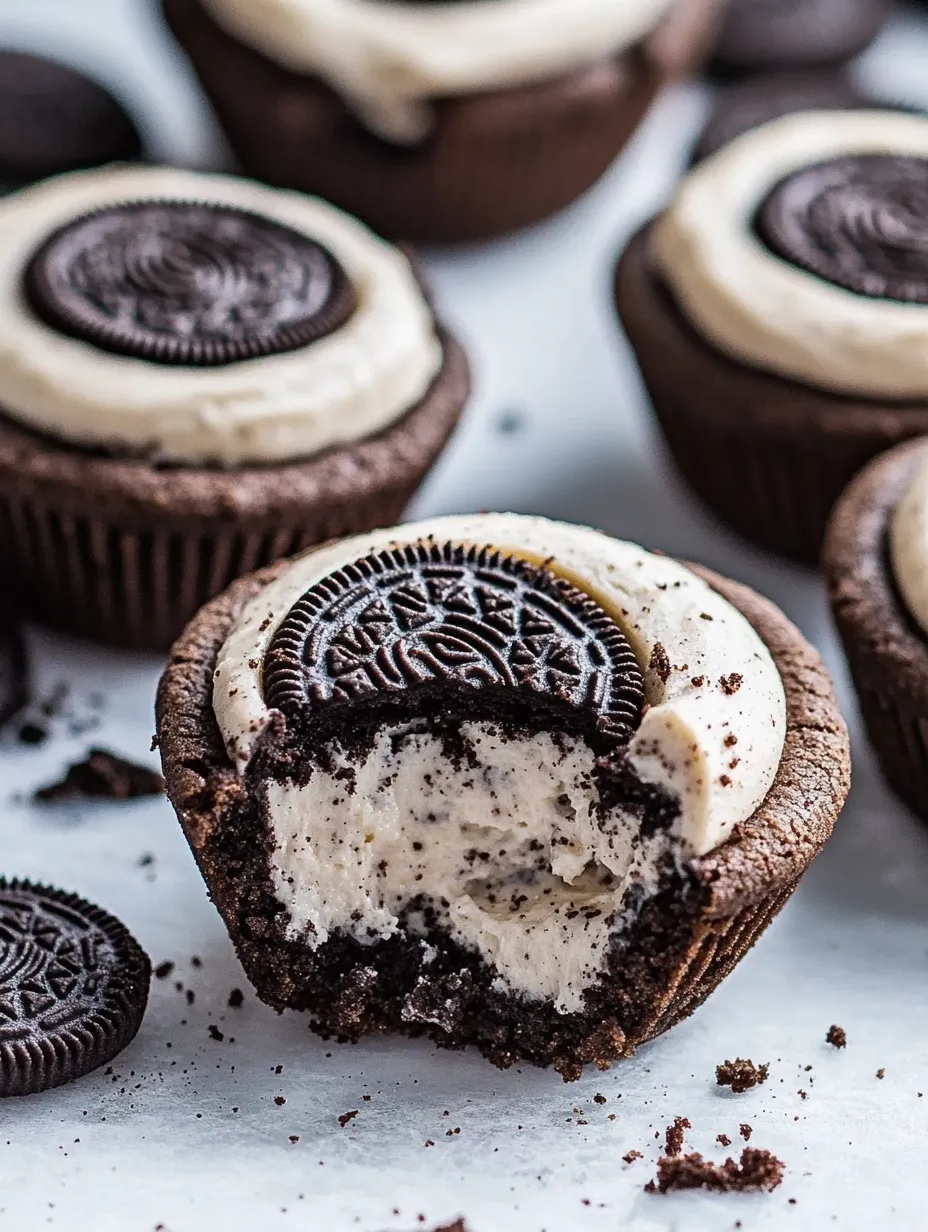
These decadent, melt-in-your-mouth Oreo cheesecake cookie cups bring together two amazing treats - crunchy chocolate cookie shells packed with smooth Oreo cheesecake filling. I whipped these up for my daughter's birthday last year, and now they're what everyone begs for at family get-togethers.
We can't have a movie night without these cookie cups anymore. There's something about that crispy outer shell paired with the velvety cheesecake inside that creates such an amazing texture combo that nobody can stop at just one.
Ingredients
- All purpose flour: gives our cookie cups the right structure to hold all that creamy filling inside
- Dutch processed and black cocoa powders: work together for that dark, rich chocolate flavor just like real Oreos
- Unsalted butter: softened to room temp so it blends perfectly with sugar for the best cookie texture
- Full fat cream cheese: brings that tangy, rich taste that makes true cheesecake so amazing
- Heavy whipping cream: adds fluffiness to the filling for a cloud-like, mousse texture
- Oreo cookie crumbs: pack the filling with that unmistakable flavor we can't get enough of
Step-by-Step Instructions
- Prepare the oven and pans:
- Heat your oven to 350°F and give your muffin tins a good spray with cooking oil, making sure to get the sides. This step is super important if you want the cups to come out easily later.
- Mix dry ingredients:
- Stir together the flour, both kinds of cocoa powder, baking soda, and salt until they're well mixed. Using two types of cocoa gives you that classic Oreo color and deep flavor that makes these treats stand out.
- Cream the butter and sugars:
- Beat your butter with both sugars for a full 2-3 minutes until it looks lighter and feels fluffy. This adds air pockets that'll give your cookies the right bite.
- Add wet ingredients:
- Turn your mixer down before you drop in the eggs one by one, letting each one mix in completely. Add the vanilla last, and don't mix more than needed or your cookies might turn out tough.
- Combine wet and dry:
- Slowly add your dry mix to the butter mixture, stirring just until you can't see any flour anymore. Too much mixing now will make your cookie cups hard instead of tender.
- Shape the cookies:
- Grab a 3 tablespoon scoop for even-sized cookies, drop the dough into each muffin cup and press down slightly. This forms the cup that'll hold your filling.
- Bake and shape:
- Cook them just until the edges set but the middles stay soft, around 10-13 minutes. Right away, push down the centers with a small jar to make wells for the filling. They'll feel soft but will firm up as they cool down.
- Prepare whipped cream:
- Whip your cold cream in a chilled bowl until it stands up in stiff peaks. This adds incredible lightness to your filling.
- Make cheesecake mixture:
- Mix the cream cheese and sugar until it's completely smooth, then stir in all the Oreo crumbs. Any bumps now will show up in your finished dessert.
- Combine filling ingredients:
- Gently fold the whipped cream into your cream cheese mix with slow, careful movements to keep all those air bubbles. This creates that dreamy, light texture.
- Fill the cookie cups:
- Spoon or pipe the filling into completely cooled cookie cups, making each one nice and full. The filling should rise a bit above the edge of each cup.
- Chill and serve:
- Put them in the fridge for at least 1-2 hours until they're fully set. Your patience pays off with that perfect contrast between the cookie and the filling.
Mixing both types of cocoa powder really nails that true Oreo taste that just doesn't happen with only one kind. The first time I brought these to a family dinner, my brother-in-law gobbled up four before we even sat down to eat!
Storage Tips
Keep these cookie cups in an airtight container in your fridge for up to 3 days for the freshest taste. If you want to store them longer, lay them out on a baking sheet and freeze them solid, then move them to a freezer container with parchment paper between layers. They'll stay good for up to 4 weeks this way.
Flavor Variations
Once you've got the basic cookie cup down, you can play with all sorts of flavor combos. Try swapping the Oreo bits for crushed graham crackers and add some lemon zest to the filling for a zesty lemon cheesecake version. You could also mix in tiny chocolate chips or a spoonful of peanut butter while keeping the chocolate cookie base the same.
Serving Suggestions
These treats taste best when they're cool but not straight-from-the-fridge cold, as this lets all the flavors come through. Serve them with some fresh berries on the side, a little drizzle of chocolate sauce, or even a tiny scoop of vanilla ice cream for a next-level dessert. For fancy occasions, dust them lightly with cocoa powder or top each one with a mini Oreo piece.
The History Behind the Recipe
This treat brings together two American dessert favorites in one perfect bite. Oreos came around in 1912 and have grown to be America's top-selling cookie, while cheesecake really took off in America in the early 1900s when cream cheese was created. This mash-up dessert shows off the fun creativity in modern American baking while still honoring these classic flavors we all grew up with.
Frequently Asked Cooking Questions
- → Can I whip up these Oreo Cheesecake Cookie Cups before a party?
Absolutely! You can make these treats 2-3 days before you need them and keep them in the fridge. If you want to make them way ahead, stick them in the freezer for up to 4 weeks in a sealed container. Just move them to the fridge to thaw before serving.
- → What can I use if I can't find black cocoa powder?
If you don't have black cocoa powder, just throw in more Dutch-processed cocoa instead. Keep in mind your cups won't be as dark and won't taste exactly like Oreos, but they'll still be yummy.
- → How do I turn Oreo cookies into crumbs?
To make Oreo crumbs, pull apart the cookies and scrape off the filling (you can toss it or save it for something else), then buzz the chocolate cookies in a food processor until they're all ground up. Or just put them in a plastic bag and smash them with a rolling pin until they turn into fine crumbs.
- → Why are my cookie cups breaking when I push down the centers?
Your cups are probably cracking because they baked too long. Take them out when they're still a bit soft in the middle (around 10-13 minutes). Push the centers down right away while they're warm and bendy.
- → How can I tell if my cheesecake filling is mixed right?
Your cheesecake filling is good to go when the whipped cream is all mixed in with the cream cheese stuff, making everything smooth and fluffy with no streaks. Don't mix too much though, or you'll flatten the whipped cream and end up with heavy filling.
- → Can I swap in regular cocoa powder for the Dutch-processed kind?
You can use regular cocoa in a pinch, but Dutch-processed works better because it tastes smoother and looks darker. Regular cocoa will make your cups taste a bit sharper and they won't be as dark looking.