
 Save
Save
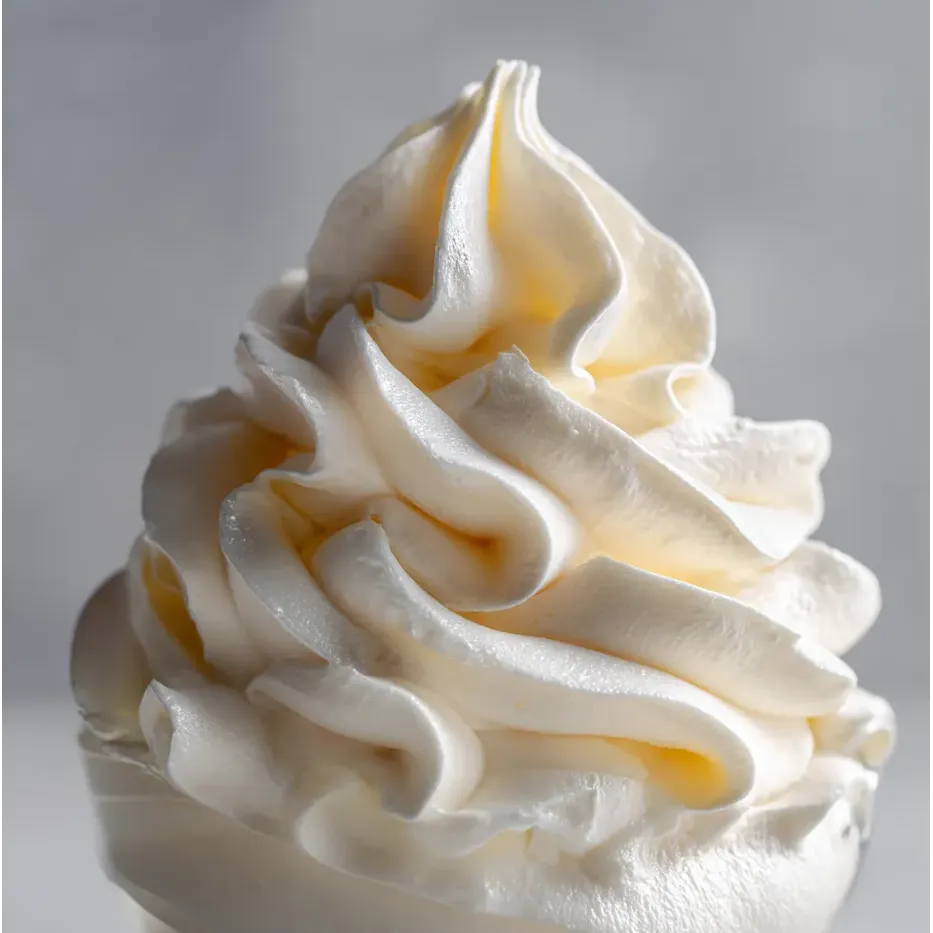
If you want the kind of fluffy topping that won’t droop or melt halfway through your next party, you need this trick. Whenever there’s a birthday cake or a fancy pie at my house, I make sure the whipped cream holds up as long as needed. It’s light as air and just sweet enough—plus it doesn’t fall apart sitting out.
I first tried this method after watching regular whipped cream flop all over my cheesecakes at family barbecues. Now, it’s my not-so-secret move anytime there’s a celebration. My desserts last through the whole afternoon, no problem!
Dreamy Ingredients
- Heavy whipping cream: Look for the cartons that say heavy or heavy whipping cream. That’s where you get the fluff and the staying power.
- Powdered sugar: Switch out regular sugar for powdered so your cream turns silky and a little sweet without any grit. It makes everything whip up smooth.
- Vanilla extract: Goes in for that hint of classic flavor. Grab the real stuff so the taste is super clean.
- Unflavored gelatin: This is the magic that keeps the whipped cream steady; just make sure you get the plain, no-flavor kind so it doesn’t mess up the whole thing.
- Cold water: You’ll use cold water to let the gelatin absorb before microwaving. Keep it cold so everything sets nice and even.
Step-by-Step Directions
- Use or Store
- Scoop or pipe it right onto your dessert, or stash it in the fridge covered for a day.
- Whip to Stiff Peaks
- Crank your mixer to medium-high. Beat until the cream turns thick and sits high on a spatula without sliding off.
- Add the Gelatin
- Let your mixer go on low while you drizzle in the cooled gelatin bit by bit. Let it all blend together.
- Whip the Cream
- Chill your bowl, then pour in the heavy cream. Add powdered sugar and vanilla, then beat on medium until you see gentle peaks that just start to hold their shape.
- Dissolve the Gelatin
- Pop the bowl of gelatin in the microwave for a few seconds. Stir to make sure everything’s melted and let it cool briefly so it doesn’t start to set.
- Bloom the Gelatin
- Sprinkle gelatin over ice-cold water in a small bowl that’s safe for the microwave. Leave it alone for five minutes to soak it all up.
It’s honestly wild how a dash of gelatin changes everything with whipped cream. My kids always sneak a taste from the beaters, then help swirl big clouds over brownies and trifles. It’s our go-to for birthdays and whenever someone wants a fancy dessert at home.
Storage Wisdom
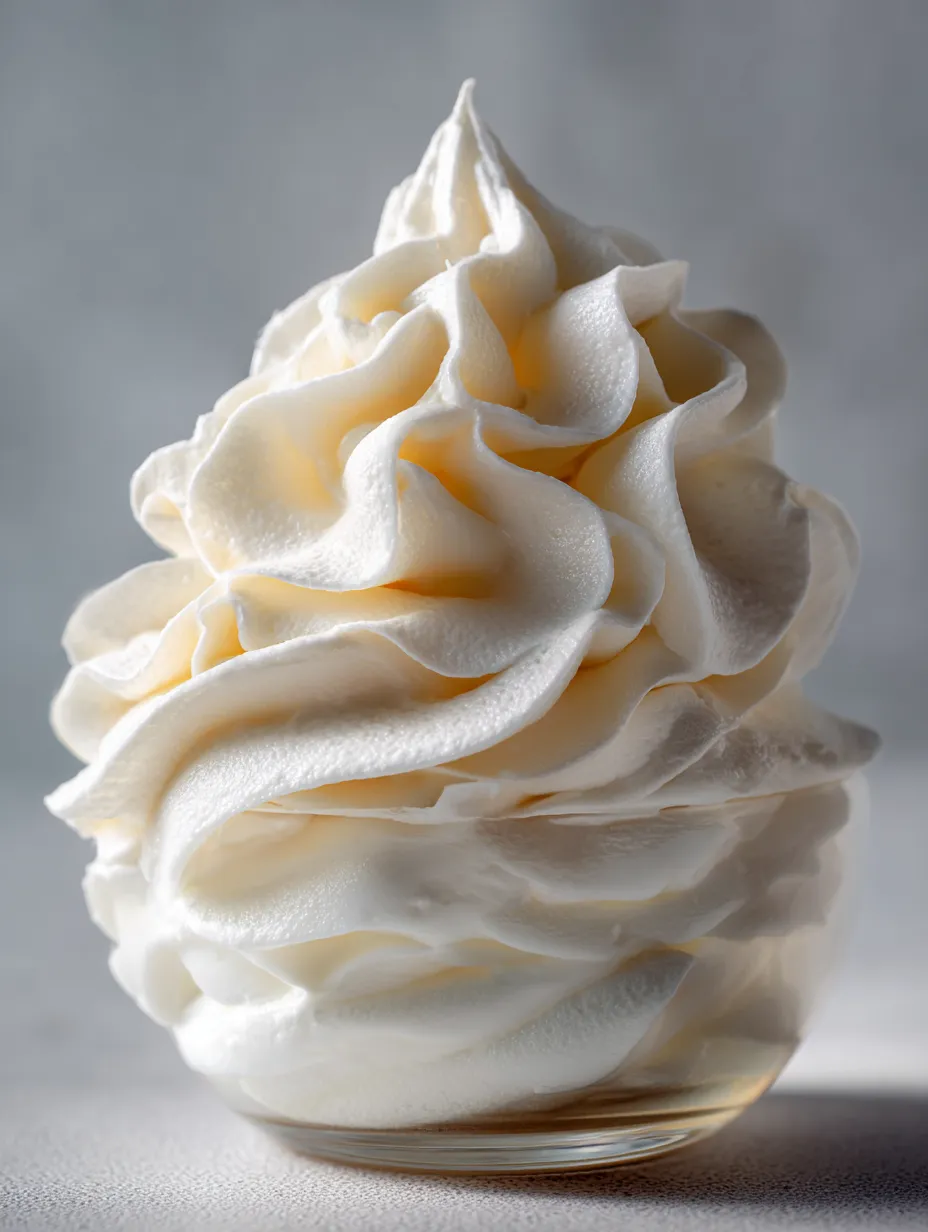
This version of whipped cream sticks around much longer than the regular kind. Pop any leftovers in a covered container in the fridge so it doesn’t dry out. It’ll still be fluffy and perfect for a full day. If you want piped swirls to stay showy, add them right before serving for the best look.
Swaps for Ingredients
No powdered sugar? Toss regular sugar in your blender for a few pulses until it’s fine. You can swap out vanilla for a dash of almond or citrus extract if you want something new. If you need a veggie-friendly fix, agar agar powder works in place of the gelatin.
Fun Serving Ideas
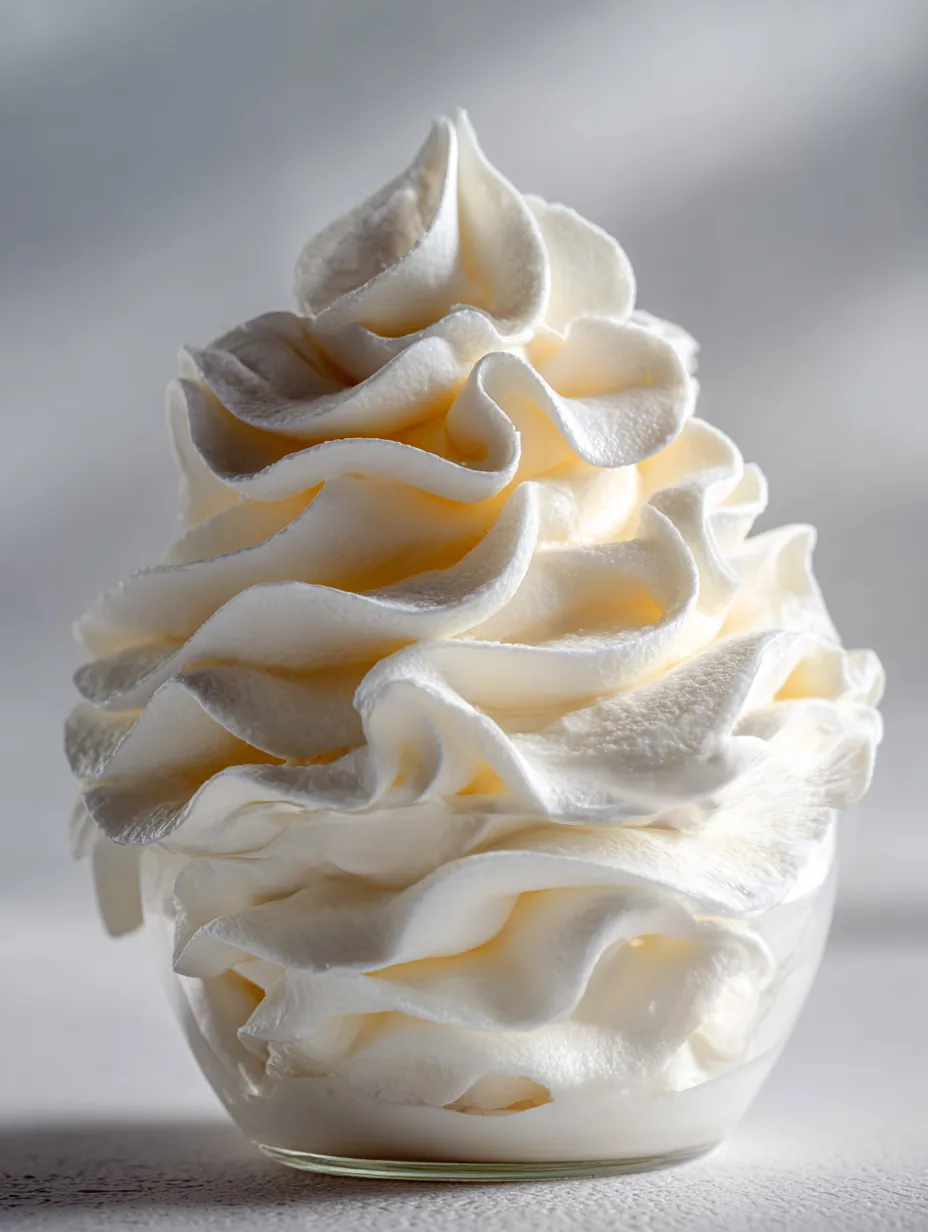
This sturdy whipped cream is awesome for filling cakes, topping a bowl of fruit, or piling onto mugs of hot cocoa. My favorite is swirling it onto cupcakes or making neat little decorations on mousse cups. The gentle vanilla makes everything taste extra special.
Bit of Background
People have been whipping up cream since the Renaissance. But the cool trick of adding gelatin came later, thanks to pastry pros who needed their desserts to survive parties, displays, or a road trip. It’s the sweet spot between old-school whipped cream and the sturdiness of a frosting.
Frequently Asked Cooking Questions
- → Why use gelatin in whipped cream?
Adding gelatin helps whipped cream stand tall for hours, never sinking or turning runny even when you pile it on pies or cakes.
- → Can I substitute gelatin with another stabilizer?
You sure can! Try instant pudding powder, agar-agar, or cornstarch. Each swap changes texture and firmness a bit, so pick what fits your dessert best.
- → How do I prevent gelatin from clumping in cream?
Melt the gelatin fully and let it cool a tad. Pour it in slowly while you whip the cream, and that’ll stop any lumps from surprising you later.
- → How long does stabilized whipped cream last?
This kind hangs in there up to a full day in the fridge, not losing its shape or getting watery.
- → Can stabilized whipped cream be piped for decorations?
Yep, you can! It’s perfect for swirls, peaks, or cute designs on everything from cupcakes to layered cakes.
- → Is this suitable for vegetarians?
If you pick a veggie-friendly gelatin, then it's good for vegetarians. Just give the packaging a quick peek first to be sure.