
 Save
Save
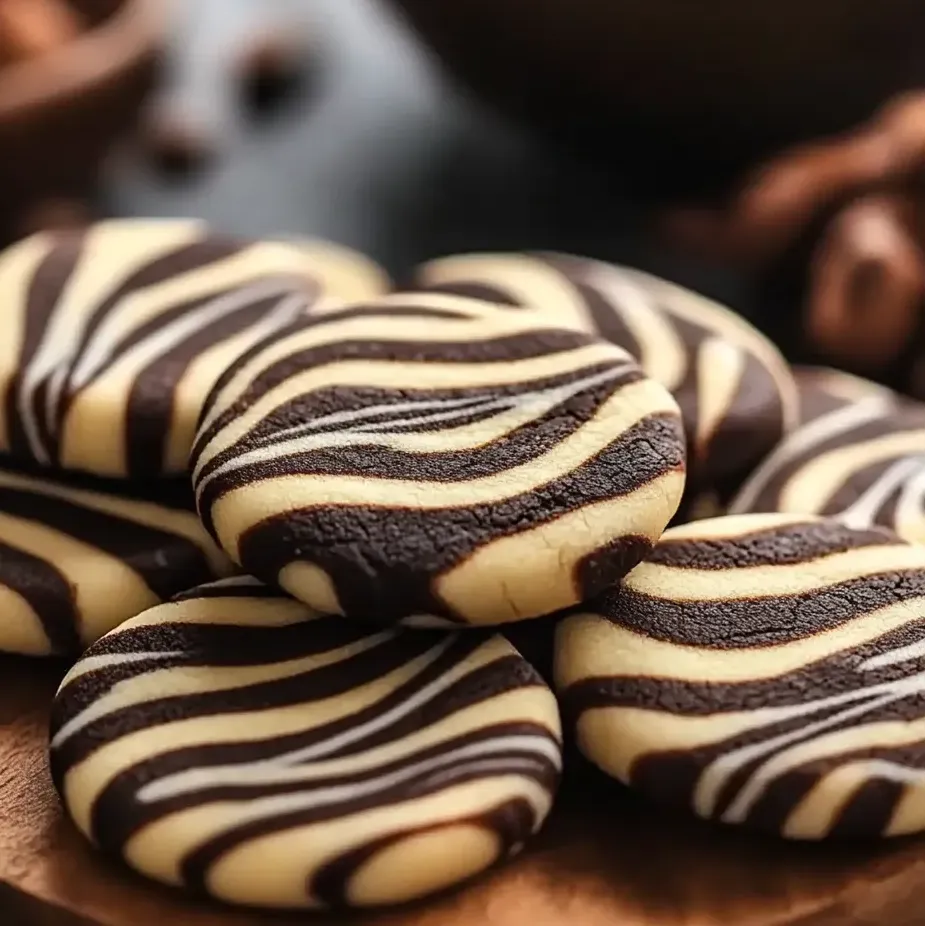
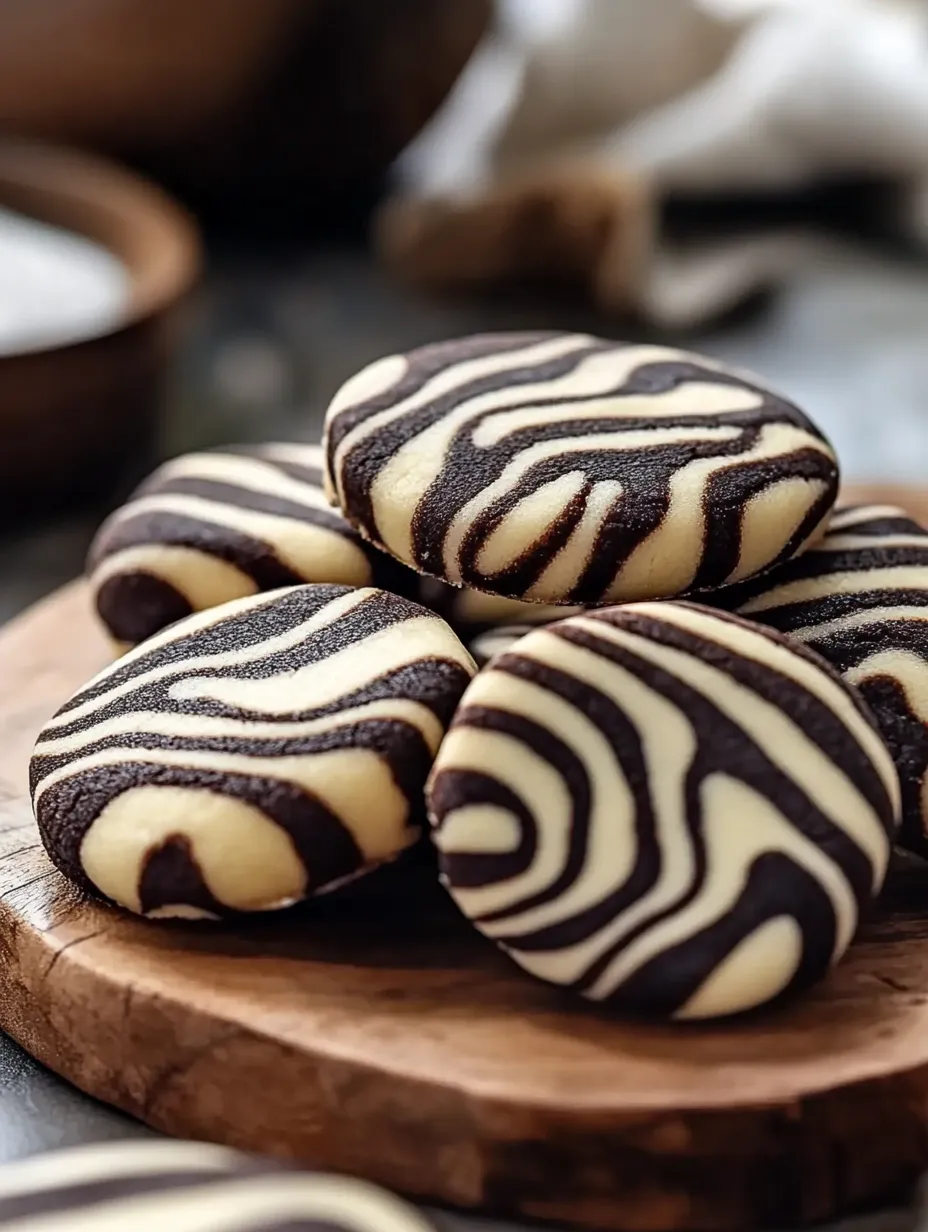
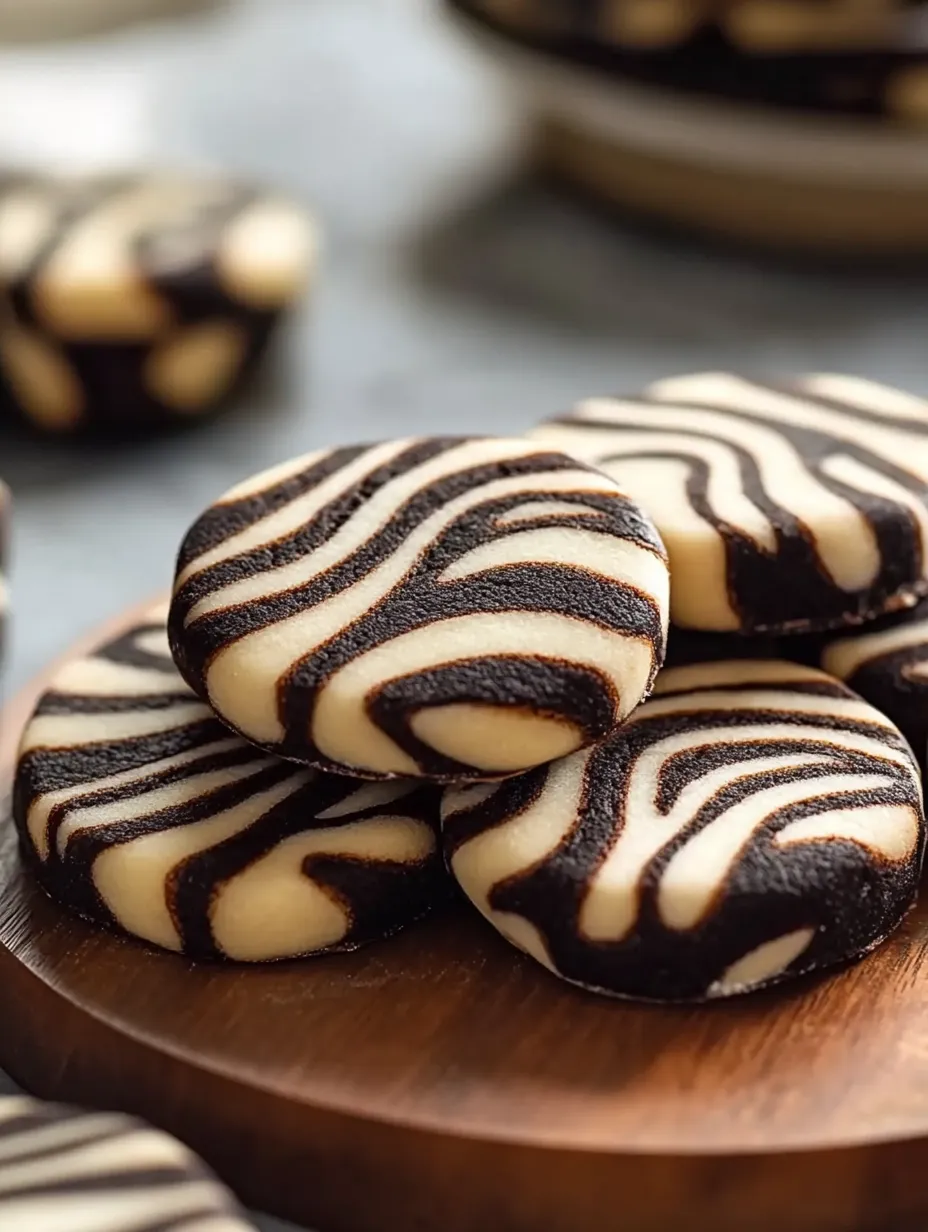
Chocolate Swirl Zebra Cookies are my not-so-secret favorite when I want bakery-worthy cookies without leaving my kitchen. Every bite packs vanilla goodness and bold chocolate dough that’s fun to look at and even better to munch. Their cool stripes are total show-stoppers at holiday parties and potlucks but you won’t believe how simple they are to whip together.
My first shot at these cookies was for a school fundraiser and they disappeared way faster than anything else. Now everyone in the family begs for them at every get-together.
Dreamy Ingredients
- Baking powder: helps the cookies bake up thick and keeps the center nice and soft.
- Salt: wakes up all the other flavors and keeps the sweetness in check.
- Unsweetened cocoa powder: turns half your dough seriously chocolatey. Try Dutch process for extra deep color.
- Vanilla extract: gives the dough its classic, homey smell. Go for real extract if you can swing it.
- Large eggs: bring in moisture and help everything stick together. Let them sit out so they’re not cold before you mix.
- Granulated sugar: makes things sweet and just melty enough in the oven. Pick fresh, soft sugar if you have it.
- Unsalted butter: loads these cookies with butter flavor you can control. European butter adds extra richness if you’re feeling fancy.
- All-purpose flour: keeps your cookies soft but still chewy. Unbleached flour is awesome for flavor.
Easy Step Instructions
- Bake and Cool
- Get your oven going at 175°C or 350°F. Bake them for around 10-12 minutes. When the edges are set (but not brown), let the pan cool on the counter for a bit before you move the cookies to a rack.
- Layer and Swirl
- Scoop both chocolate and vanilla dough by spoonfuls, dropping them side by side on your lined baking tray. Time to play: drag a toothpick through the dough to swirl, but don’t mash the colors together too much or you’ll lose the striking zebra pattern.
- Add Cocoa for Chocolate Dough
- Mix the cocoa powder into one of your dough halves until the color turns dark and even. No streaks—go for a solid chocolate look.
- Divide Dough and Flavor
- Split your dough in half. Leave one as is for classic vanilla stripes and get the other half ready for chocolate magic.
- Combine Dry Ingredients
- Grab a second bowl and stir the flour, baking powder, and salt together so you don’t wind up with lumps. Slowly add this to your wet mix just until a dough shows up—no need to keep mixing.
- Add the Eggs and Vanilla
- Crack in the eggs one at a time, mixing just until smooth each time. Pour in the vanilla and let the whole thing get silky and glossy.
- Cream the Butter and Sugar
- Beat softened butter with sugar for a few minutes with a mixer till it’s super fluffy and light in color. This is what makes your cookies puff up and stay soft.
My top thing? Making the dark chocolate half extra intense. One time my nephew tried swirling for the first time—his face was pure wow. Now every visit, he’s the first to ask if we can make more together.
Storage Help
Pop these cookies in a sealed jar or tin and they’ll stay fresh on your counter for a whole week. Want to keep them even longer? Freeze them between pieces of parchment so they don’t stick and just let them thaw when you need a treat.
Swaps for Ingredients
If you’re after something wheat-free, grab a cup-for-cup gluten-free flour instead. Dairy-free? Use any rich, plant-based margarine you trust. You can tweak the chocolate vibes too—swap between Dutch process and plain cocoa for lighter or deeper chocolate color.
Serving Ideas
Pile these cookies on a cake stand next to bowls of berries or scoop some vanilla ice cream beside them. They’re perfect wrapped with a cute ribbon for a gift, or just serve with tea for a little elegance.
Fun Background
The wild stripes inspired the “zebra” name, but swirling dough like this goes way back to old European kitchens. Bakers have shown off their skills this way for decades, especially for bake sales and parties because these treats always look impressive.
Frequently Asked Cooking Questions
- → How do I get that bold marbled look?
Just swirl the chocolate and vanilla doughs together a bit. Don’t overdo it, or you’ll lose the crisp marbling.
- → Is it fine to use salted butter?
Yep, just dial back any extra salt in your mix so things don’t get too salty.
- → What helps the cookies stay thick and not spread?
If it’s warm, stick the dough shapes in the fridge before baking to help them keep their shape.
- → Best way to mix in cocoa?
Make sure you work the cocoa into half the batch so there aren’t any powdery spots and the chocolate flavor pops.
- → Can I freeze these cookies?
Yep! Once they’re totally cool, seal them in a container and freeze. They’ll keep for several weeks.