
 Save
Save
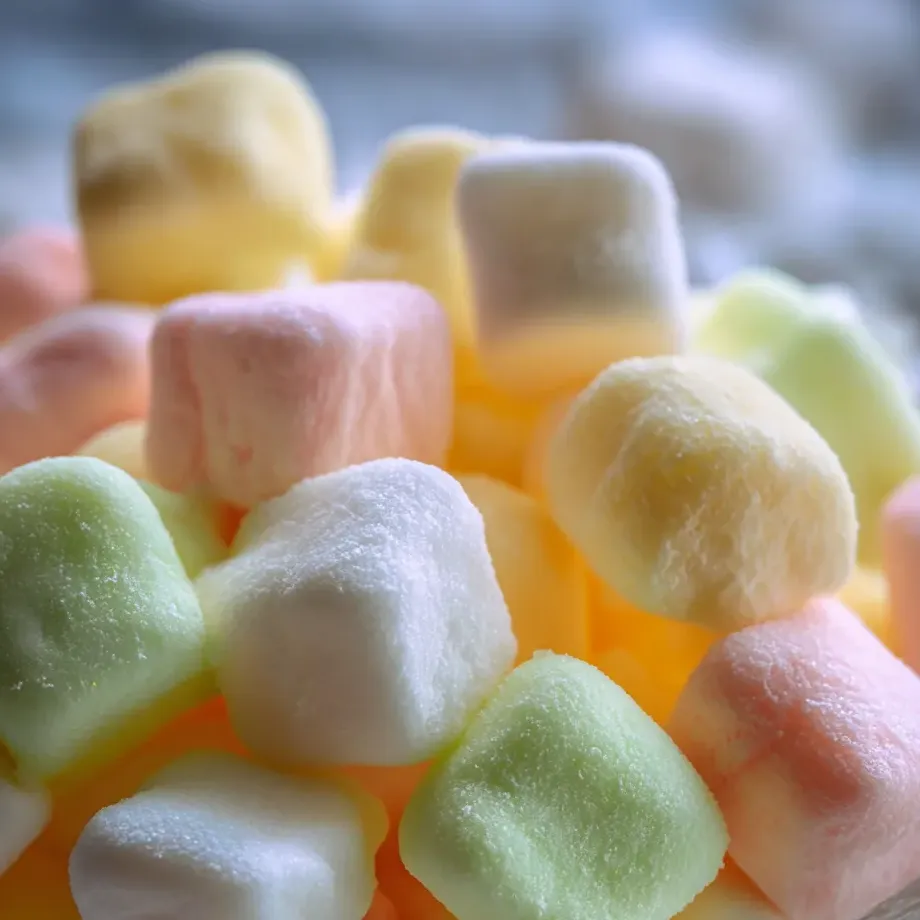
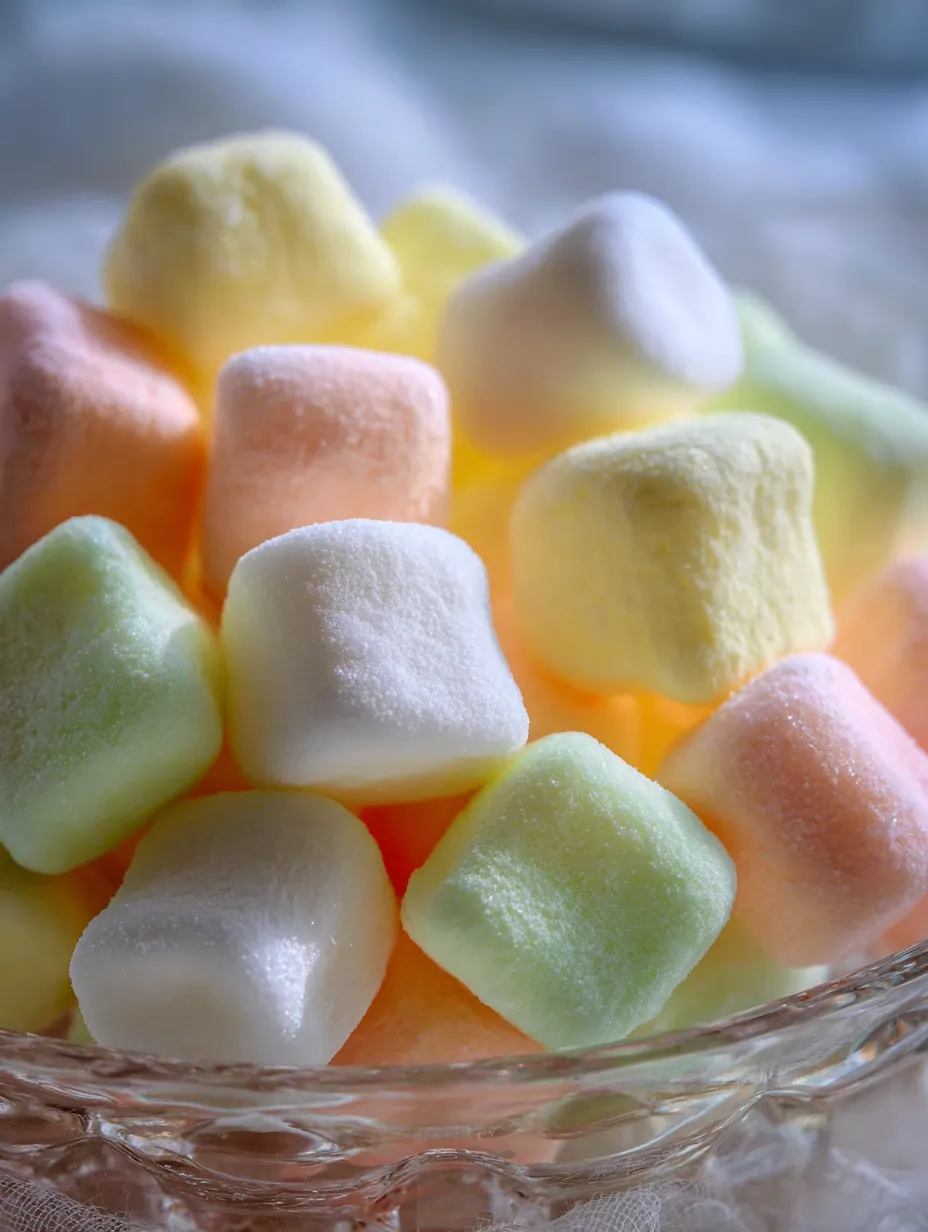
Classic butter mints are tiny bursts of sweetness that brighten any treat plate and make a charming homemade gift. These soft, pastel bites bring back memories of holiday gatherings. The best thing—anyone can make them at home with just a handful of basic ingredients. You don’t need any fancy tools!
I started making butter mints standing on a kitchen stool next to my grandma after Sunday lunch. We’d roll bright dough together, sneaking little tastes. Now I carry on the tradition every Easter and birthday with my children.
Dreamy Ingredients
- Food coloring: Gives you that fun, gentle pastel look. Go for gel colors to keep dough from getting watery and to get vibrant shades.
- Vanilla extract: Makes the mintiness more mellow and smooth. I say use the real stuff for best flavor.
- Peppermint extract: Adds that cool, fresh taste you remember. Make sure it’s pure for a clean flavor.
- Sweetened condensed milk: Adds smoothness and richer flavor. Check brands for the fewest ingredients if you can.
- Powdered sugar: Sweetens and holds the mints together. Make sure yours isn’t lumpy—if it is, give it a quick sift.
- Unsalted butter: The magic behind that soft, creamy texture. European style is extra rich if you’re feeling fancy.
Irresistible How-To
- Dry Them Out
- Spread each bite on a lined tray, leaving a little space between so they dry well. Let them air dry for a whole day. You’ll get a crisp outside with a dreamy soft middle.
- Cut and Shape
- Take a chunk of colored dough, roll it into a rope about half an inch wide, then slice into cute, bite-size pillows with your favorite small knife or pizza wheel.
- Time to Color
- Split your dough in as many pieces as you want colors. Drop in a bit of food coloring to each and knead gently. Stop early if you want a cool marble effect. Gloves will keep hands clean.
- Mash and Mix
- Pour in powdered sugar, vanilla, peppermint, and condensed milk. Start mixing on low so you don’t end up in a sugar cloud, then crank it up to beat until you’ve got a thick dough. If it’s too sticky, add more sugar little by little until it just sticks together.
- Whip the Butter
- Pop the softened butter into a bowl and whip it with an electric mixer. This takes half a minute or so. Keep going till it’s light and lump-free. If you want super soft mints, don’t rush this part.
What I love most is the colorful swirl in every piece. Reminds me of marble fudge my mom made every Christmas. My family always argued about which color tasted best, but (spoiler) they all taste the same!
Keeping Them Fresh
Stash your finished mints in a container with a lid and keep in your fridge for a few weeks. Or toss them in a freezer bag and freeze for up to eight weeks. Let them sit out a bit before you eat them so they get soft again.
Switching It Up
I stick with vanilla and peppermint for that familiar taste, but you can swap in lemon, orange, even almond extracts for something new. Want to skip dairy? Try vegan butter and coconut condensed milk—just know the flavor will be different.

Fun Ways to Share
Fill up cute jars and tie on a bow for a sweet gift. Toss them on a party platter, in wedding or shower goodie bags, or simply leave a bowl out at your next family hangout. They’re always a hit!
History and Traditions
Butter mints were a tradition at church potlucks, teas, and Southern weddings way before you could buy them at the store. Folks made their own at home. Each family made them a little different—colors and flavors changed with the occasion.
Frequently Asked Cooking Questions
- → Can I use different flavor extracts besides peppermint?
Totally! Try swapping in orange, lemon, or almond to change things up and make them just how you like.
- → How do I prevent the dough from sticking to my hands?
If it gets sticky, just mix in a bit more powdered sugar. Wearing gloves also keeps your hands from getting messy, especially with food coloring.
- → How long should the mints air dry before storing?
Leave 'em out at room temp for a full day—about twenty-four hours does the trick for that perfect soft-but-firm bite.
- → What is the best way to color the mints?
Drop some food color into each chunk, then knead until the color’s blended in. Gloves will help you skip the stains.
- → How should I store the finished butter mints?
Tuck your mints into an airtight jar, chill in the fridge and they’ll stay nice for weeks, or stash them in the freezer so they last even longer—up to two months.