
 Save
Save
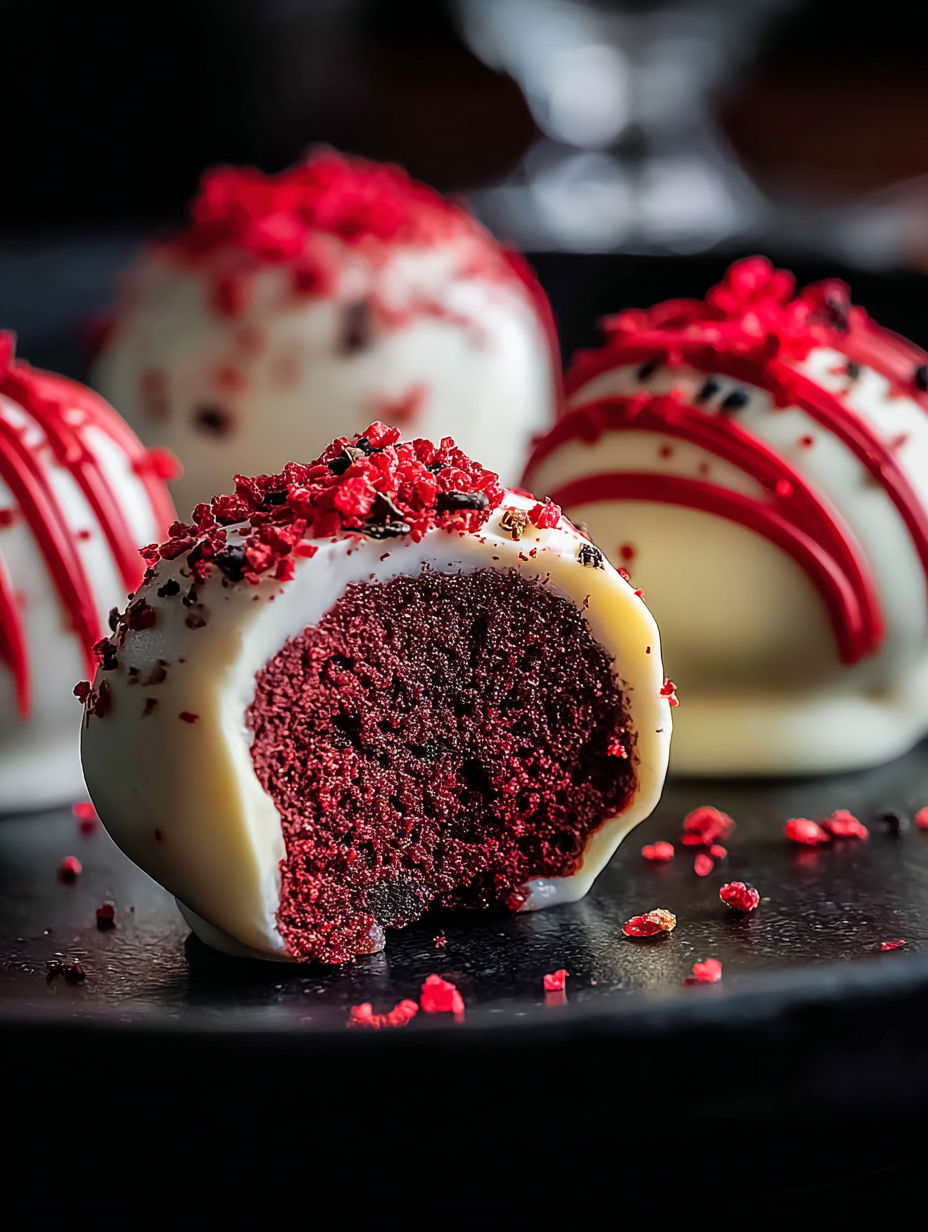
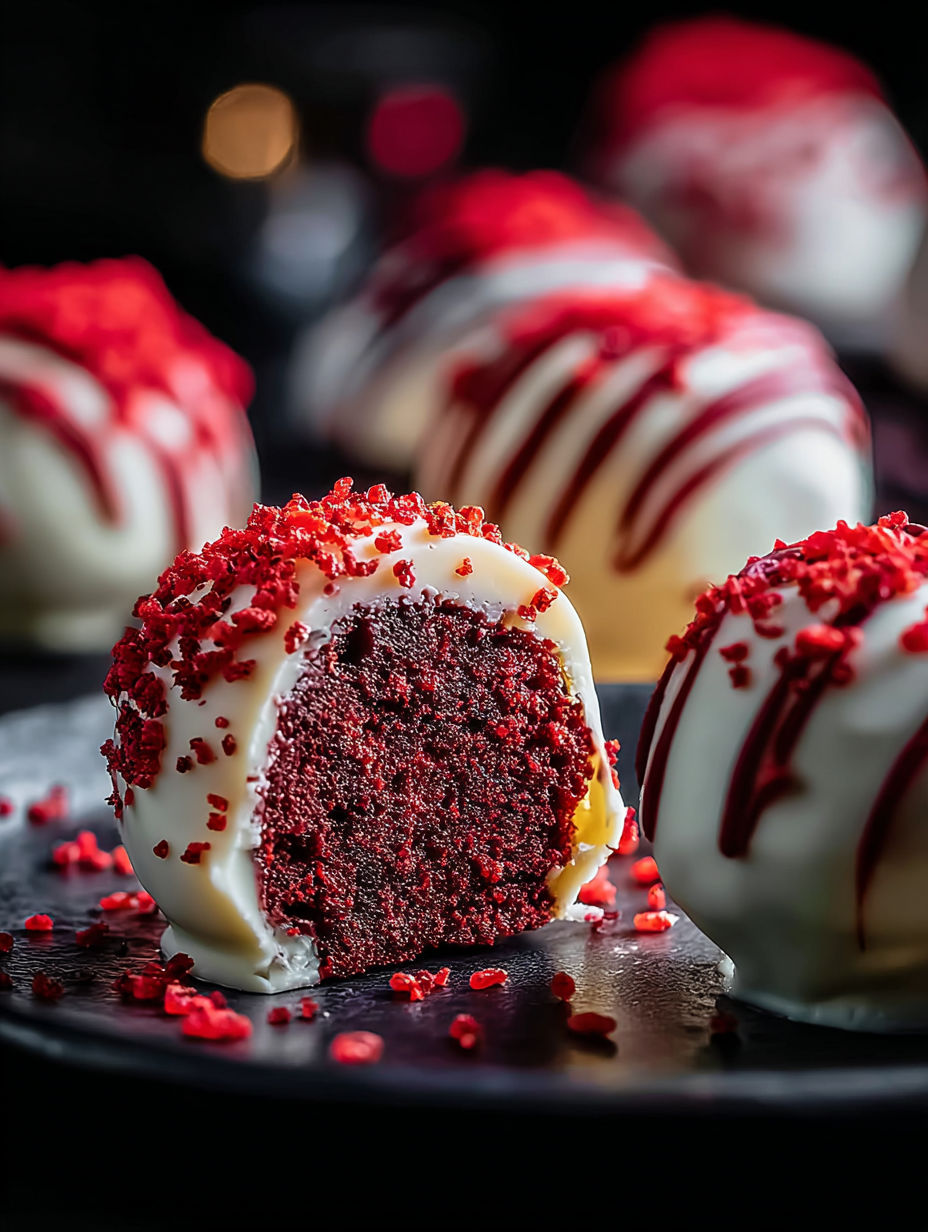
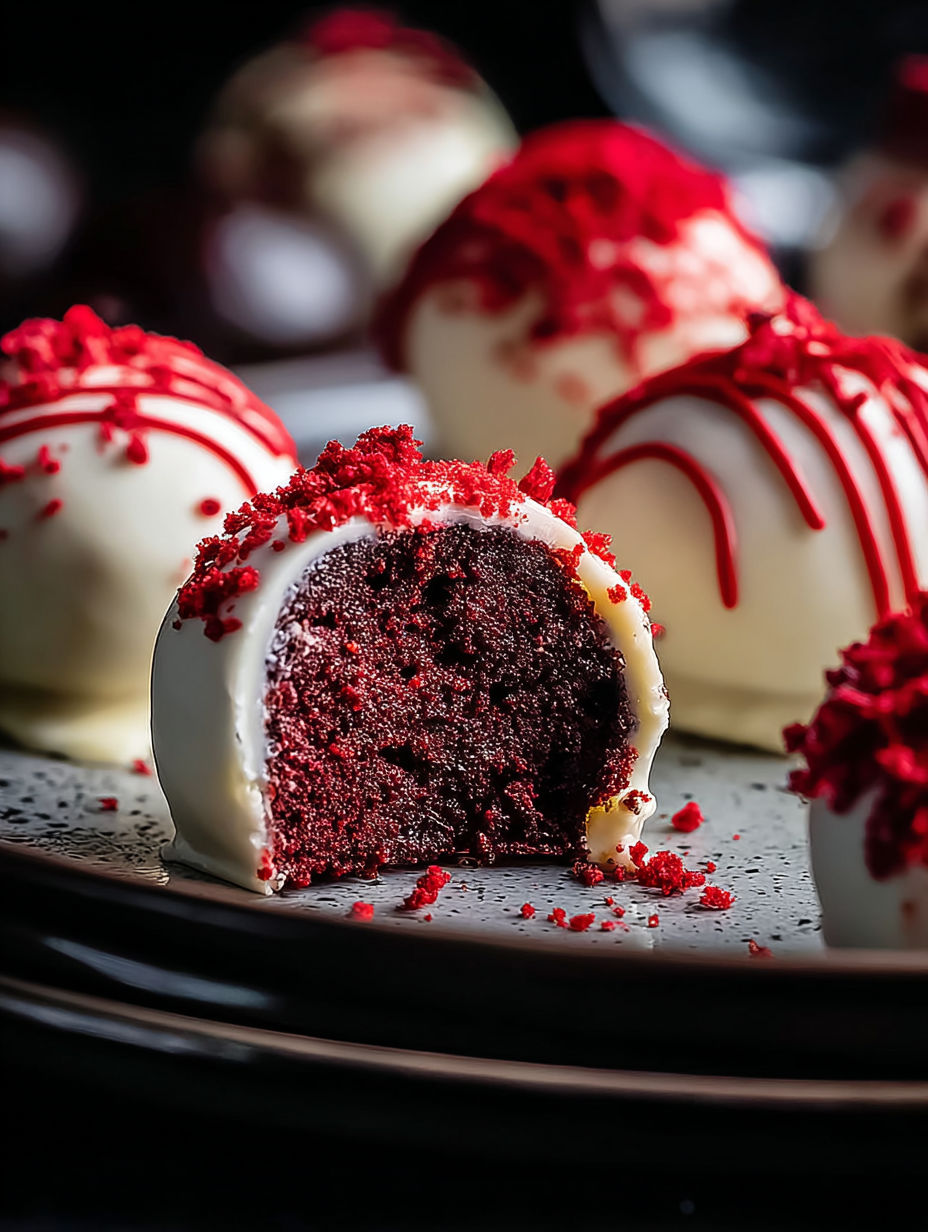
You’ll love these moist red velvet cake pops that bring some fun and cheer to any gathering. Covered in smooth chocolate and topped with bright sprinkles, they mix that classic red velvet taste with creamy frosting in a cute, easy-to-hold bite.
I whipped these up for a family party once, and everyone couldn’t stop smiling or asking for more. They were a big hit right away.
Items Needed
- 1 ½ cups red velvet cake: either store-bought or homemade works as long as it’s soft and tasty
- ½ cup cream cheese frosting: helps hold the crumbs together and adds a nice sweet tang, homemade or store-bought is fine
- 1 cup chocolate melts: melts smoothly for dipping and gives a shiny finish
- 10 lollipop sticks: so you can hold and enjoy the pops easily, sturdy ones work best
- Sprinkles: for that fun splash of color and extra cheer, pick whatever you like
Step-by-Step Instructions
- Start With The Cake:
- Bake your red velvet cake fully based on what the package or your method says. Let it cool all the way before crumbling it finely so it doesn’t clump.
- Mix Frosting & Crumbs:
- Stir the cake crumbs with cream cheese frosting in a big bowl. Fold gently until everything’s coated and moist without being sticky. This makes the balls hold nicely and stay soft.
- Form And Chill:
- Shape the mix into smooth balls about an inch wide and space them out on parchment paper. Pop them in the fridge about half an hour so they firm up and won’t fall apart when dipped.
- Get The Chocolate Ready:
- Warm the chocolate melts carefully as the package says until they’re silky and glossy. This helps them coat the balls evenly without lumps.
- Dip And Dress Up:
- Stick each lollipop halfway into a chilled cake ball, then dip it into the melted chocolate carefully. Let the extra drip off before putting them back on parchment. Sprinkle on some toppings while the chocolate’s still soft.
Making these cake pops has turned into a fun birthday tradition for us. Everyone decorates their own which fills the kitchen with laughter and excitement. The mix of simple steps and fancy finishing makes it a winner every time.
Best Ways To Keep Them
Keep your cake pops fresh by storing them in a sealed container in the fridge. The chocolate will stay firm and they’ll taste good for up to four days. If you want to keep them longer freeze the cake balls before dipping, then add the chocolate coating after thawing to keep them just right.
Tasty Swaps
Switch things up by using different cake flavors like chocolate or vanilla for the base. Try frosting with strawberry cream cheese or a dash of citrus zest to brighten things. Replace chocolate melts with white or colored candy melts to match your party’s look.
Great Match Ideas
These pops go great with rich hot cocoa or a smooth vanilla latte. Pairing them with fresh fruit or a light salad brings a nice balance to the sweetness. They also fit perfectly on a dessert tray with cookies and tiny cupcakes.
This treat brings together festive vibes and great tastes to brighten any get-together.
Frequently Asked Cooking Questions
- → What keeps cake balls from breaking apart?
Make sure to chill the cake balls well before dipping so they stay firm and don’t crumble when coated with chocolate.
- → Can I use my own cake for this?
Yeah, homemade red velvet works great as long as it’s cooled down and crumbled into fine pieces.
- → Which chocolate melts best for coating?
Good quality chocolate melts smooth and shines nicely, making the coating look great and stick well.
- → Do I have to use sprinkles?
Sprinkles add color and crunch but you can skip them or swap with nuts or shredded coconut if you want.
- → How long do cake balls need to chill before chocolate dipping?
Let them chill in the fridge for around 30 minutes so they become firm and easier to dip.