
 Save
Save
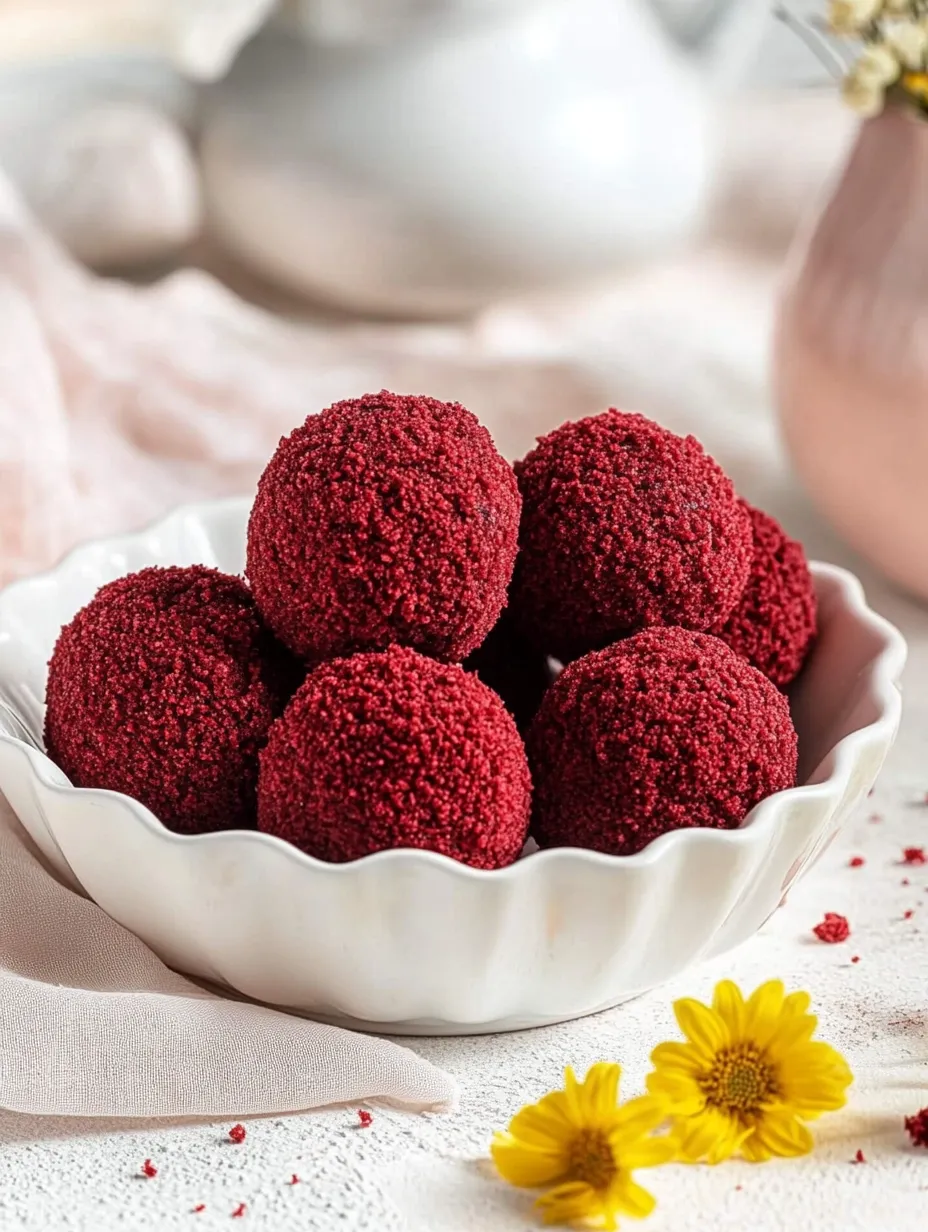
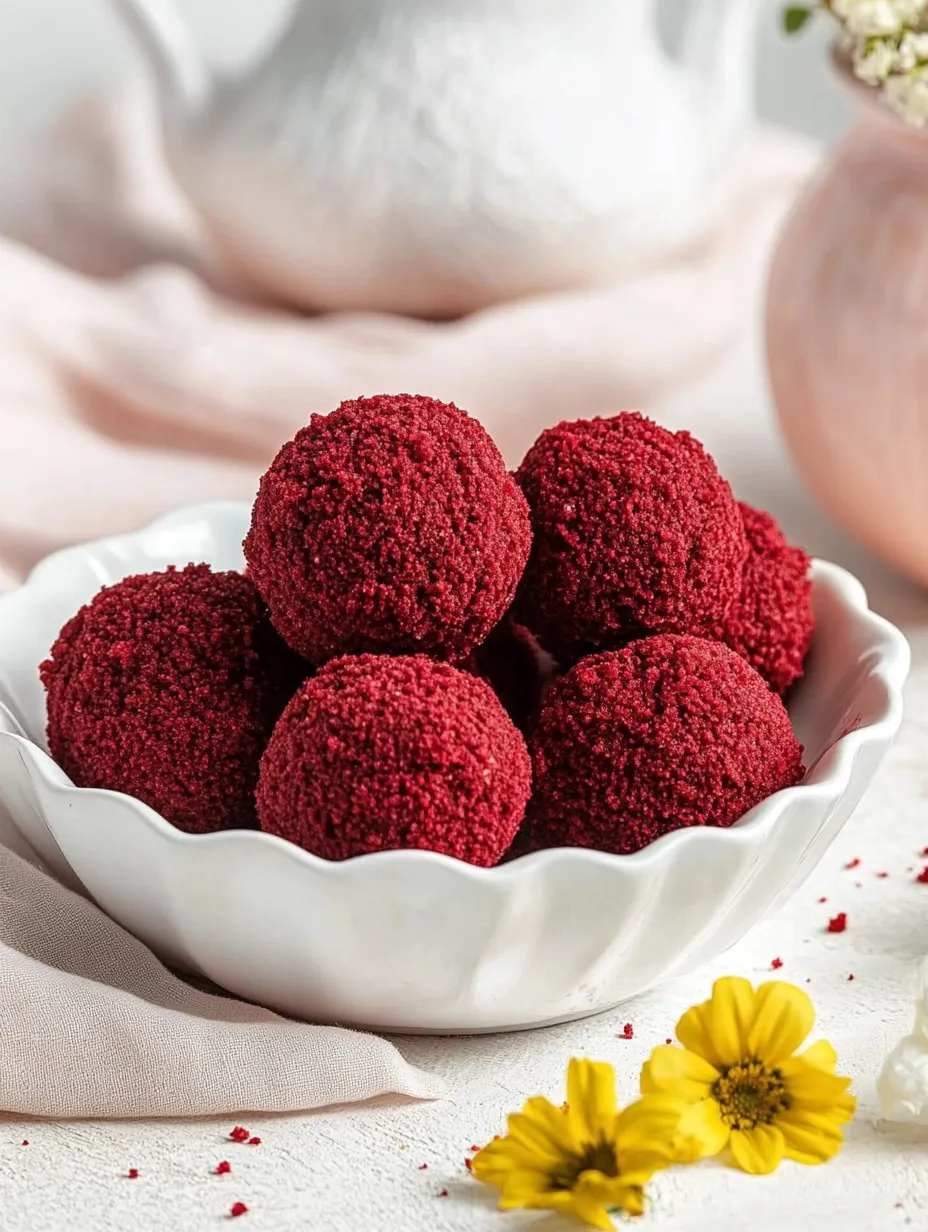
This luscious red velvet cheesecake bite recipe transforms classic cake into elegant, bite-sized treats that deliver the perfect balance of tangy cream cheese and rich red velvet flavor. They're my go-to dessert when I want to impress guests without spending hours in the kitchen.
I first made these for my daughter's birthday party when she requested something "fancy but not too fancy" and they've become our signature family celebration treat. The contrast between the creamy center and cake exterior makes everyone think they came from a pastry shop.
Ingredients
- 1 box red velvet cake mix: The foundation of our recipe giving that iconic color and flavor
- Ingredients listed on cake mix packaging: Usually eggs, oil, and water, follow package directions exactly for best results
- 16 ounces cream cheese, room temperature: Full fat works best here as it creates a richer, smoother filling
- 4 tablespoons butter, room temperature: Use unsalted butter to control the overall salt level
- 1/2 cup powdered sugar: Provides sweetness without the grittiness of granulated sugar
- 2 cups graham crackers, crushed: Adds texture and a subtle honey note to complement the cream cheese
- 1 teaspoon vanilla extract: Pure extract gives the best flavor dimension
Step-by-Step Instructions
- Prepare the Cake Base:
- Preheat your oven to 350°F and prepare your cake pans with either parchment paper or a thorough greasing. Follow the directions on your cake mix package exactly, measuring ingredients precisely. The cake texture needs to be perfect for proper crumbling later.
- Bake and Cool:
- Transfer batter to your prepared pans and bake according to package directions, usually about 25–30 minutes. The cake must cool completely before proceeding; this takes at least an hour. Rushing this step will result in gummy rather than crumbly texture.
- Create the Crumbs:
- Break the cooled cake into chunks and rub between your fingers until you achieve a sandy consistency. If your cake seems too moist, spread the chunks on a baking sheet and dry in the oven at 350°F for 5–6 minutes, watching carefully to prevent burning. The crumbs should be dry enough to stick to the filling but not overly moist.
- Prepare Cream Cheese Mixture:
- In a large bowl, beat cream cheese and butter together until completely smooth and fluffy, about 3 minutes with an electric mixer. Add powdered sugar and continue beating until fully incorporated. The mixture should be light and airy with no lumps.
- Complete the Filling:
- Fold in the crushed graham crackers and vanilla extract using a rubber spatula. Mix just until combined, avoiding overmixing which can make the filling dense. The texture should be firm enough to scoop but still creamy.
- Form the Centers:
- Using a 2-teaspoon cookie scoop, portion out the cream cheese mixture onto a lined baking sheet. Roll each portion between your palms to create smooth balls. Work quickly as the mixture warms and becomes sticky with handling. Refrigerate for at least one hour until the balls are firm to the touch.
- Create the Bites:
- Roll each chilled cream cheese ball in the red velvet crumbs, pressing gently to ensure the crumbs adhere completely. Cover all sides evenly, reshaping into rounds if needed. The contrast between the white center and red exterior creates a stunning visual effect.
- Serve or Store:
- Arrange on a serving platter for immediate enjoyment or refrigerate in an airtight container until ready to serve. The flavors actually develop and improve after 24 hours of chilling.
The graham crackers are actually my secret ingredient here. When I first developed this recipe, I was trying to mimic the flavor of cheesecake crust without the baking step. The crushed crackers mixed into the filling give that perfect cheesecake essence while keeping the recipe simple.
Storage Solutions
These red velvet bites maintain their best texture and flavor when stored in the refrigerator in an airtight container with layers separated by parchment paper. They will keep beautifully for up to 5 days, though the red velvet coating may soften slightly over time. For longer storage, you can freeze them for up to a month—arrange them on a baking sheet until frozen solid, then transfer to a freezer bag. Thaw in the refrigerator overnight before serving.
Creative Variations
While the classic recipe is absolutely delightful, this versatile dessert can be customized in numerous ways. Try using chocolate cake mix instead of red velvet for a traditional cookies and cream flavor. White cake with food coloring works beautifully for seasonal variations—think green for St. Patrick's Day or orange for Halloween. You can also roll the finished bites in white chocolate, drizzle with dark chocolate, or coat with colored sprinkles for special occasions.
Serving Suggestions
These elegant bites shine as part of a dessert display on a tiered stand alongside fresh berries and mint sprigs. For a more formal presentation, place each bite in a mini cupcake liner and arrange on a silver platter. They pair wonderfully with coffee after dinner or with champagne for celebrations. I often serve them on a bed of cocoa powder with a few fresh raspberries for color contrast at dinner parties.
The Science Behind the Recipe
The success of these bites relies on temperature control throughout the process. Room temperature cream cheese and butter are essential for achieving the smooth, creamy filling while proper chilling ensures the bites hold their shape. The cake crumbs act as a natural coating that adheres to the slightly tacky surface of the cream cheese mixture, creating that perfect textural contrast that makes these treats so addictive.
Frequently Asked Cooking Questions
- → Can I use store-bought red velvet cake instead of making it from scratch?
Yes! Store-bought red velvet cake works perfectly for this. Just ensure it's cooled completely before crumbling it. If the cake is very moist, you may still need to dry the crumbs in the oven as directed to achieve the right texture for coating.
- → How long do these Red Velvet Cheesecake Bites stay fresh?
When stored in an airtight container in the refrigerator, these cheesecake bites will stay fresh for up to 5 days. The texture is actually best after they've had at least a few hours to chill thoroughly.
- → Can I freeze these cheesecake bites?
Absolutely! Place the finished bites on a baking sheet until frozen solid (about 2 hours), then transfer to a freezer-safe container. They'll keep for up to 3 months. Thaw in the refrigerator before serving.
- → What can I substitute for graham crackers in the filling?
Good alternatives include digestive biscuits, vanilla wafers, gingersnaps, or even Oreo cookies (without the cream). Just ensure they're crushed to a fine crumb consistency for the right texture in the filling.
- → How can I make these Red Velvet Cheesecake Bites look more elegant for a special occasion?
For a more elegant presentation, try drizzling white chocolate over the tops, adding a light dusting of powdered sugar, or placing each bite in a mini cupcake liner. You could also add small edible gold leaf accents or a tiny mint leaf garnish for special events.
- → Can I make this dessert without an electric mixer?
While an electric mixer creates the fluffiest texture, you can mix by hand if your cream cheese and butter are very soft. Allow them to come fully to room temperature, then use a wooden spoon and plenty of arm strength to beat until completely smooth and combined.